Introduction
The JOC Cockpit comes with a graphical editor for Managing Authentication and Authorization Accounts - the Account Manager.
FEATURE AVAILABILITY STARTING FROM RELEASE 1.11.2
Authentication can either take place against an Apache ShiroTM compliant configuration file, an LDAP compliant directory service or information stored in a database. The Authentication and Authorization - Configuration article describes the configuration of the Shiro configuration file in detail - this article describes how the Account Manager is used to edit the Shiro configuration file to create Users and Roles and allocate Permissions.
Permissions Hierarchy
Permissions are configured hierarchically:
- User
- Role(s)
- Permission(s)
- Role(s)
In addition permissions can be specified for specific:
- JobScheduler Master IDs and
- Folders within a JobScheduler's live folder.
Using the Manage Accounts view
Permissions
The following permission grants access to the Manage Accounts section of the JOC Cockpit:
sos:products:joc_cockpit:jobscheduler_master:administration:edit_permissions
In the default configuration delivered with the JOC Cockpit installer this permission are allocated to the administrator and root roles. After Installation of the JOC cockpit the root role is active with password root. See the JOC Cockpit - Installation article for more information.
Getting Started
After installing the JOC Cockpit log in with the default root:root user name and password.
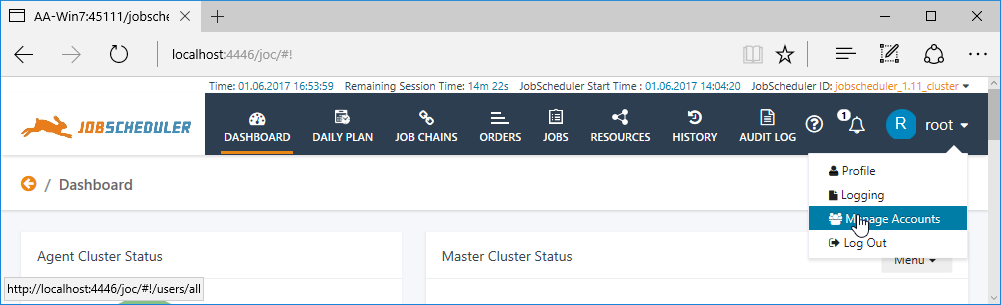
The Manage Accounts section of the JOC Cockpit is then accessed via the Profile Menu as shown in the screenshot below.
The Account Manager has three main Views:
- Accounts: for the configuration of User Accounts. Accounts configured here use shiro name / password Authentication.
- Note that while Shiro authentication is not as secure as, for example, LDAP, it provides a convenient basis for configuring a authorization in a test environment.
- See the JOC Cockpit - Authentication and Authorization article for more information about shiro and other methods of authentication that can be used with the JOC Cockpit.
- Masters: for configuring the JobScheduler Masters that can be accessed by a Role
- Permissions: for configuring access to Folders and the Permissions for a Role
These views will be described in the following sections.
The Accounts View
The Accounts view is the view that is opened first when a User selects the Manage Accounts view.
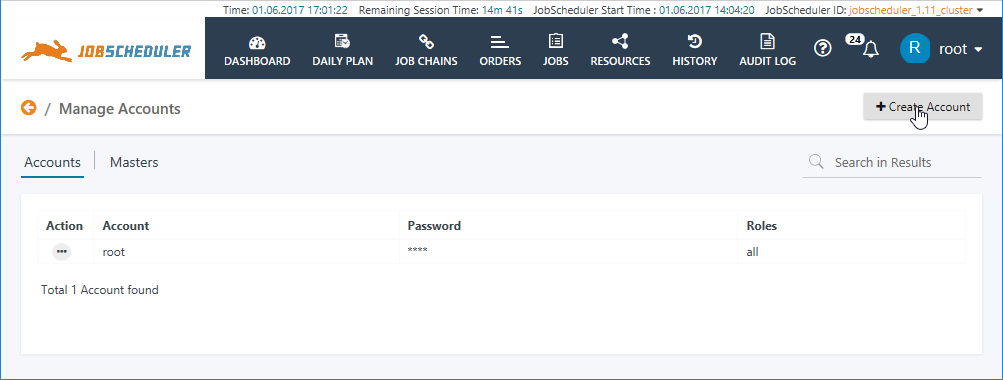
The above screenshot shows the default root User Account view which is active after installation of the JOC Cockpit.
The Create Account button is used to open a modal window to add a new User Account - clicking on the additional option (ellipsis) symbol or the Account name brings the user to the Master view (described below) where the Account name, password and roles allocated can be edited.
The Masters View
The main purpose of the Masters view is to allow Master JobSchedulers Roles to be configured.
When the view is first opened after installation of the JOC Cockpit it will appear as shown in the next screenshot:

The above screen shows seven default roles that are delivered with the JOC Cockpit. These Roles are intended to help system administrators get a realistic authorization configuration working as quickly as possible and can be modified as required. These roles are valid for all JobScheduler Master Ids in the environment.
Positioning the mouse over a role name blends in two links as shown in the screenshot above:
- the pencil link allows the role to be edited and
- the X link allows the role to be deleted.
A set of Permissions is configured for each Role in line with ITIL definitions. Each Permissions Set can be inspected by clicking on the Role name in the Masters view list. An example Permissions Set is described in the next section.
The Permissions View
The main purpose of the Permissions view is to allow Permissions and Folders to be configured for each Role.
The Screenshot below shows the default permissions for the administrator Role.
Individual scope of Permissions can be edited and they can be removed from the Role using the pencil and X symbols that are blended in when the user's mouse is moved over a permission.

The Folder part of the view is for restricting the Role to accessing particular Folders - and thereby particular Jobs, Job Chains, etc - within a JobScheduler Master's live folder and will be described later.
Editing Permissions will also be described later.
Basic Configuration
Adding User Accounts and Roles
The following example describes the addition of User Accounts to the JOC Cockpit in addition to the default root user account. Each User Account will be allocated one of the default Roles described in the Masters View section above and for simplicity will use the same name as the Role they will be given.
To add an administrator User Account:
- Go to the Accounts view and click on the Create Account button at the top right.
- This will open the following Modal window:
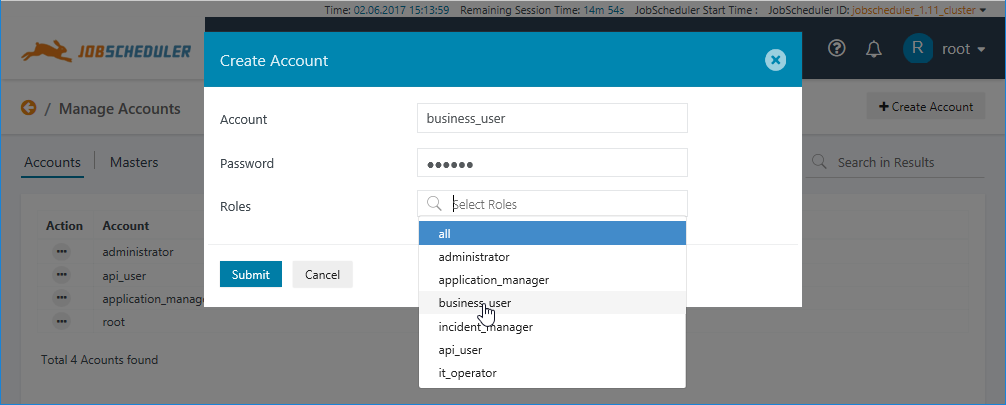
- Passwords will be saved in a configuration file in plain text.
- Selecting the administrator Role from the list will avoid possible errors from a mistyped role name.
- It will be clear form the functioning of the Roles Selection that any number of Roles can be specified for a User Account if required
- Click the Submit Button to save the Account configuration, which will become active in a few seconds.
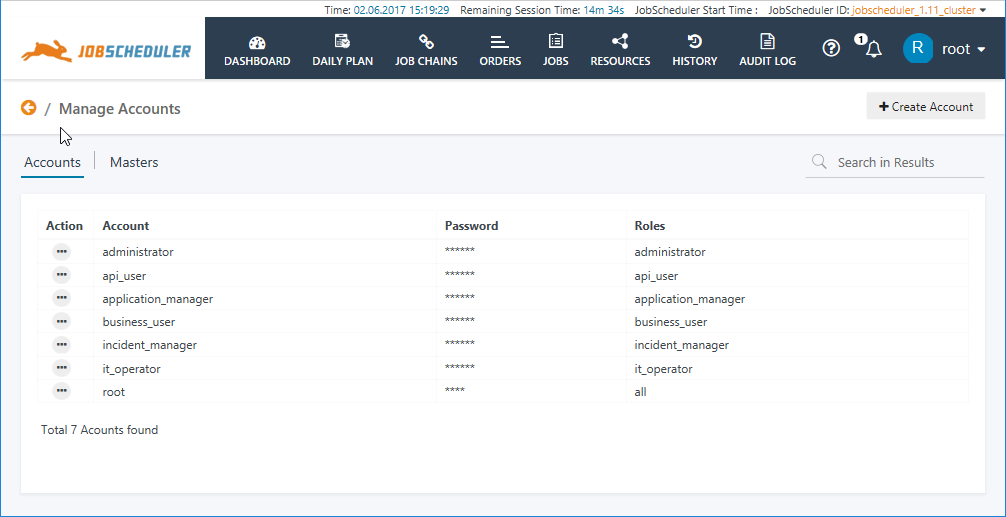
Once a User Account has been created for each role, the Accounts view would look like: