Introduction
JOC Cockpit offers a graphical Workflow Editor for designing workflows, jobs and dependencies.
- Workflows can be designed by drag & drop in a graphical view.
- Workflows can be edited in a JSON source code view.
- Job scripts within a workflow can be edited using a special editor that allows working on longer scripts.
The Workflow Editor supports keyboard shortcuts to move objects and to copy, cut and paste objects.
Graphical Workflow Editor
The Workflow Editor is available from the Configuration->Inventory View. This view has the following panels:
- Left panel: The tree panel allows navigation to folders and objects. Workflows can be available in any folder from the sub-folder Workflows.
- Middle panel: The design panel allows JS7 - Workflow Instructions to be copied from the tool panel to a workflow by drag & drop.
- Right panel: The property editor allows management of instruction properties such as the jobs that are available with a workflow.

Drag and Drop
The middle panel holds a toolbar with icons for the relevant JS7 - Workflow Instructions.
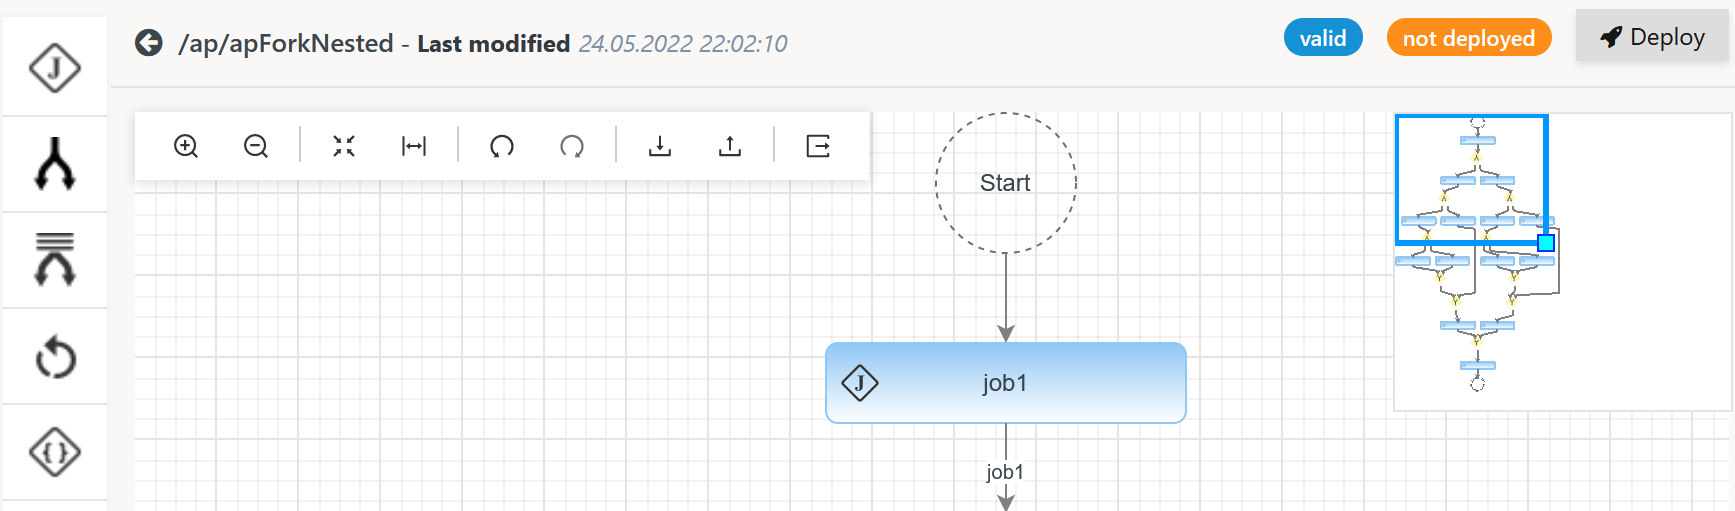
The first instruction icon for a Job can be dragged from the toolbar and dropped in the indicated area:
- The
 icon is used to add a Job from the toolbar.
 - The dropping area has to be touched by the cursor, not by the Job icon.
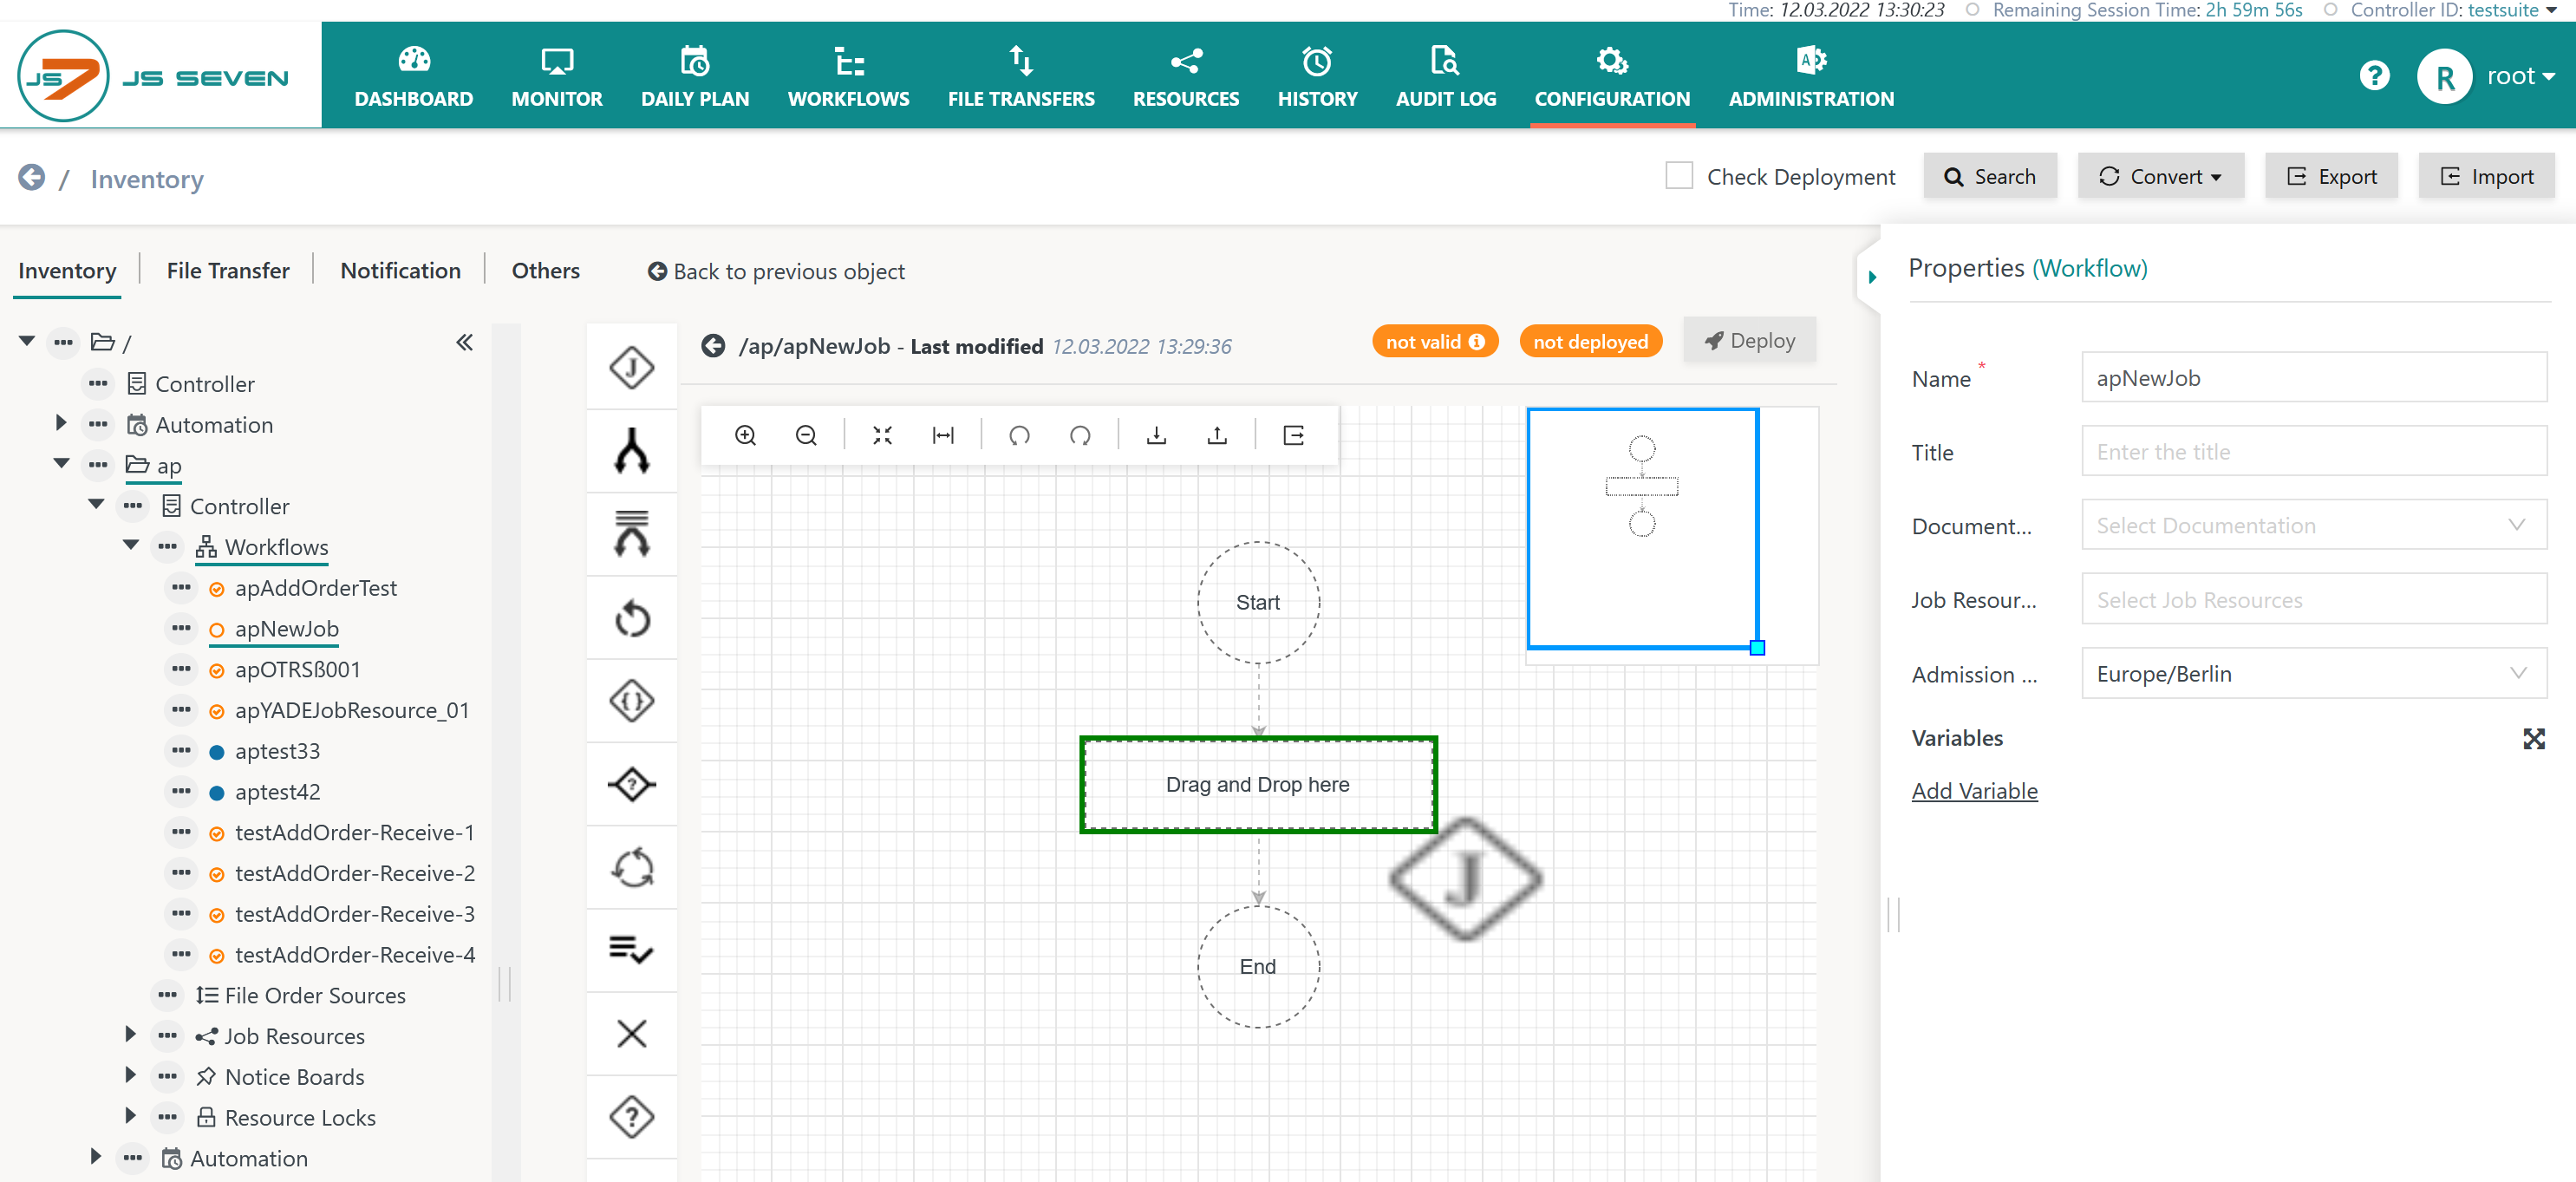
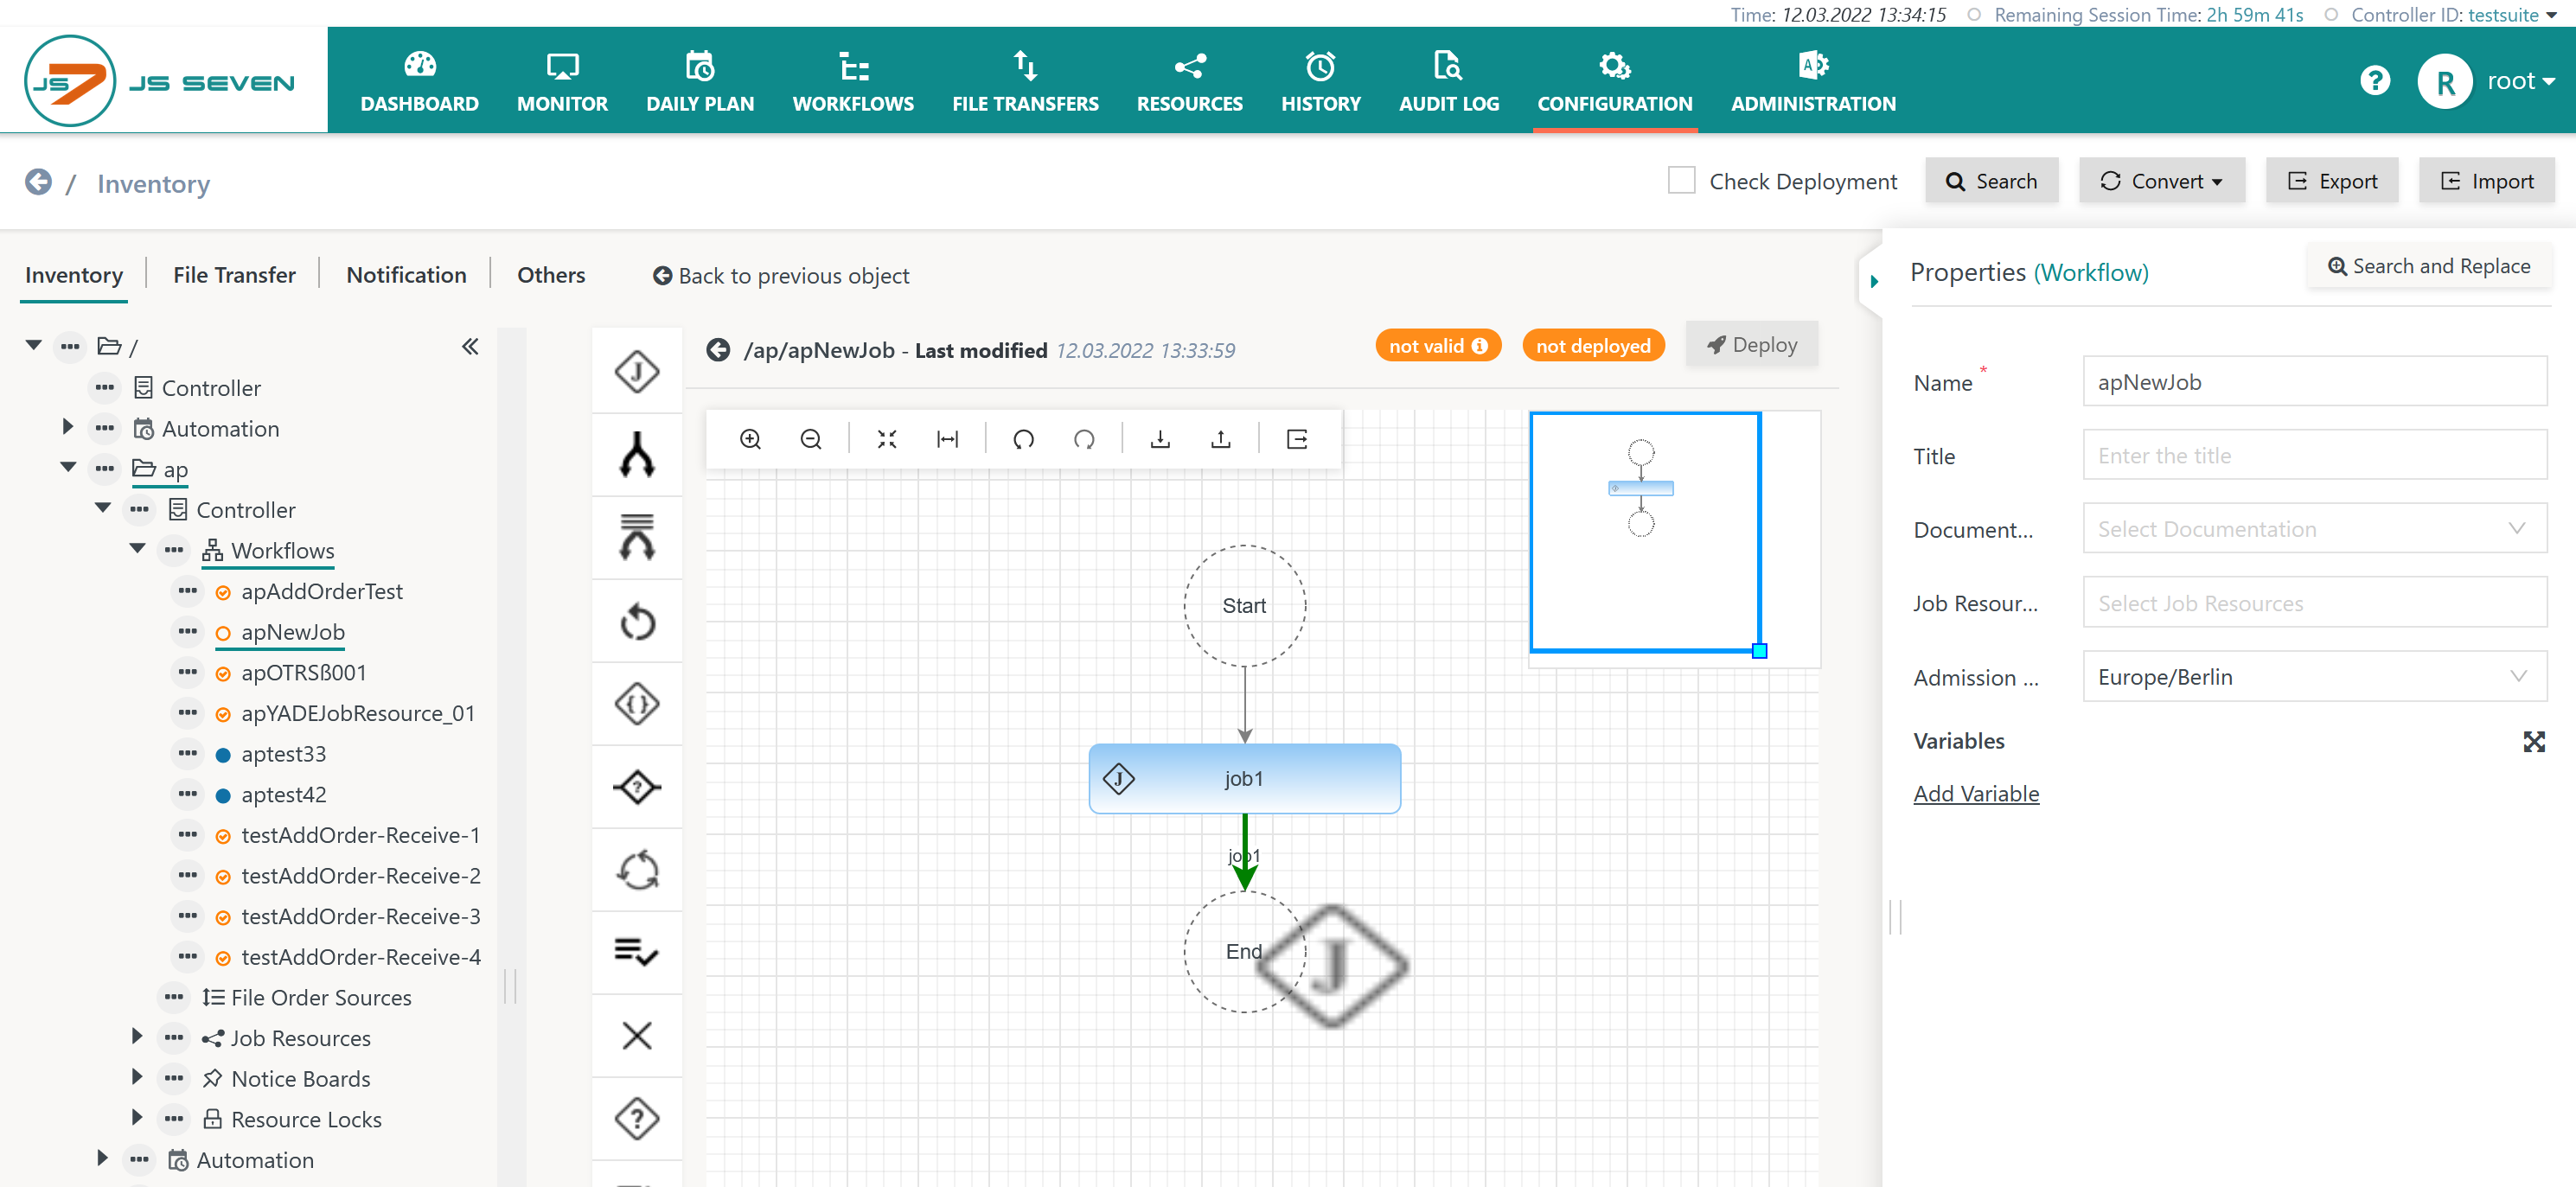
To add further instructions to a workflow, for example a second Job, the Job is dropped on the connector lines before or after the existing job.
- The connector line has to be touched by the cursor, not by the Job icon.
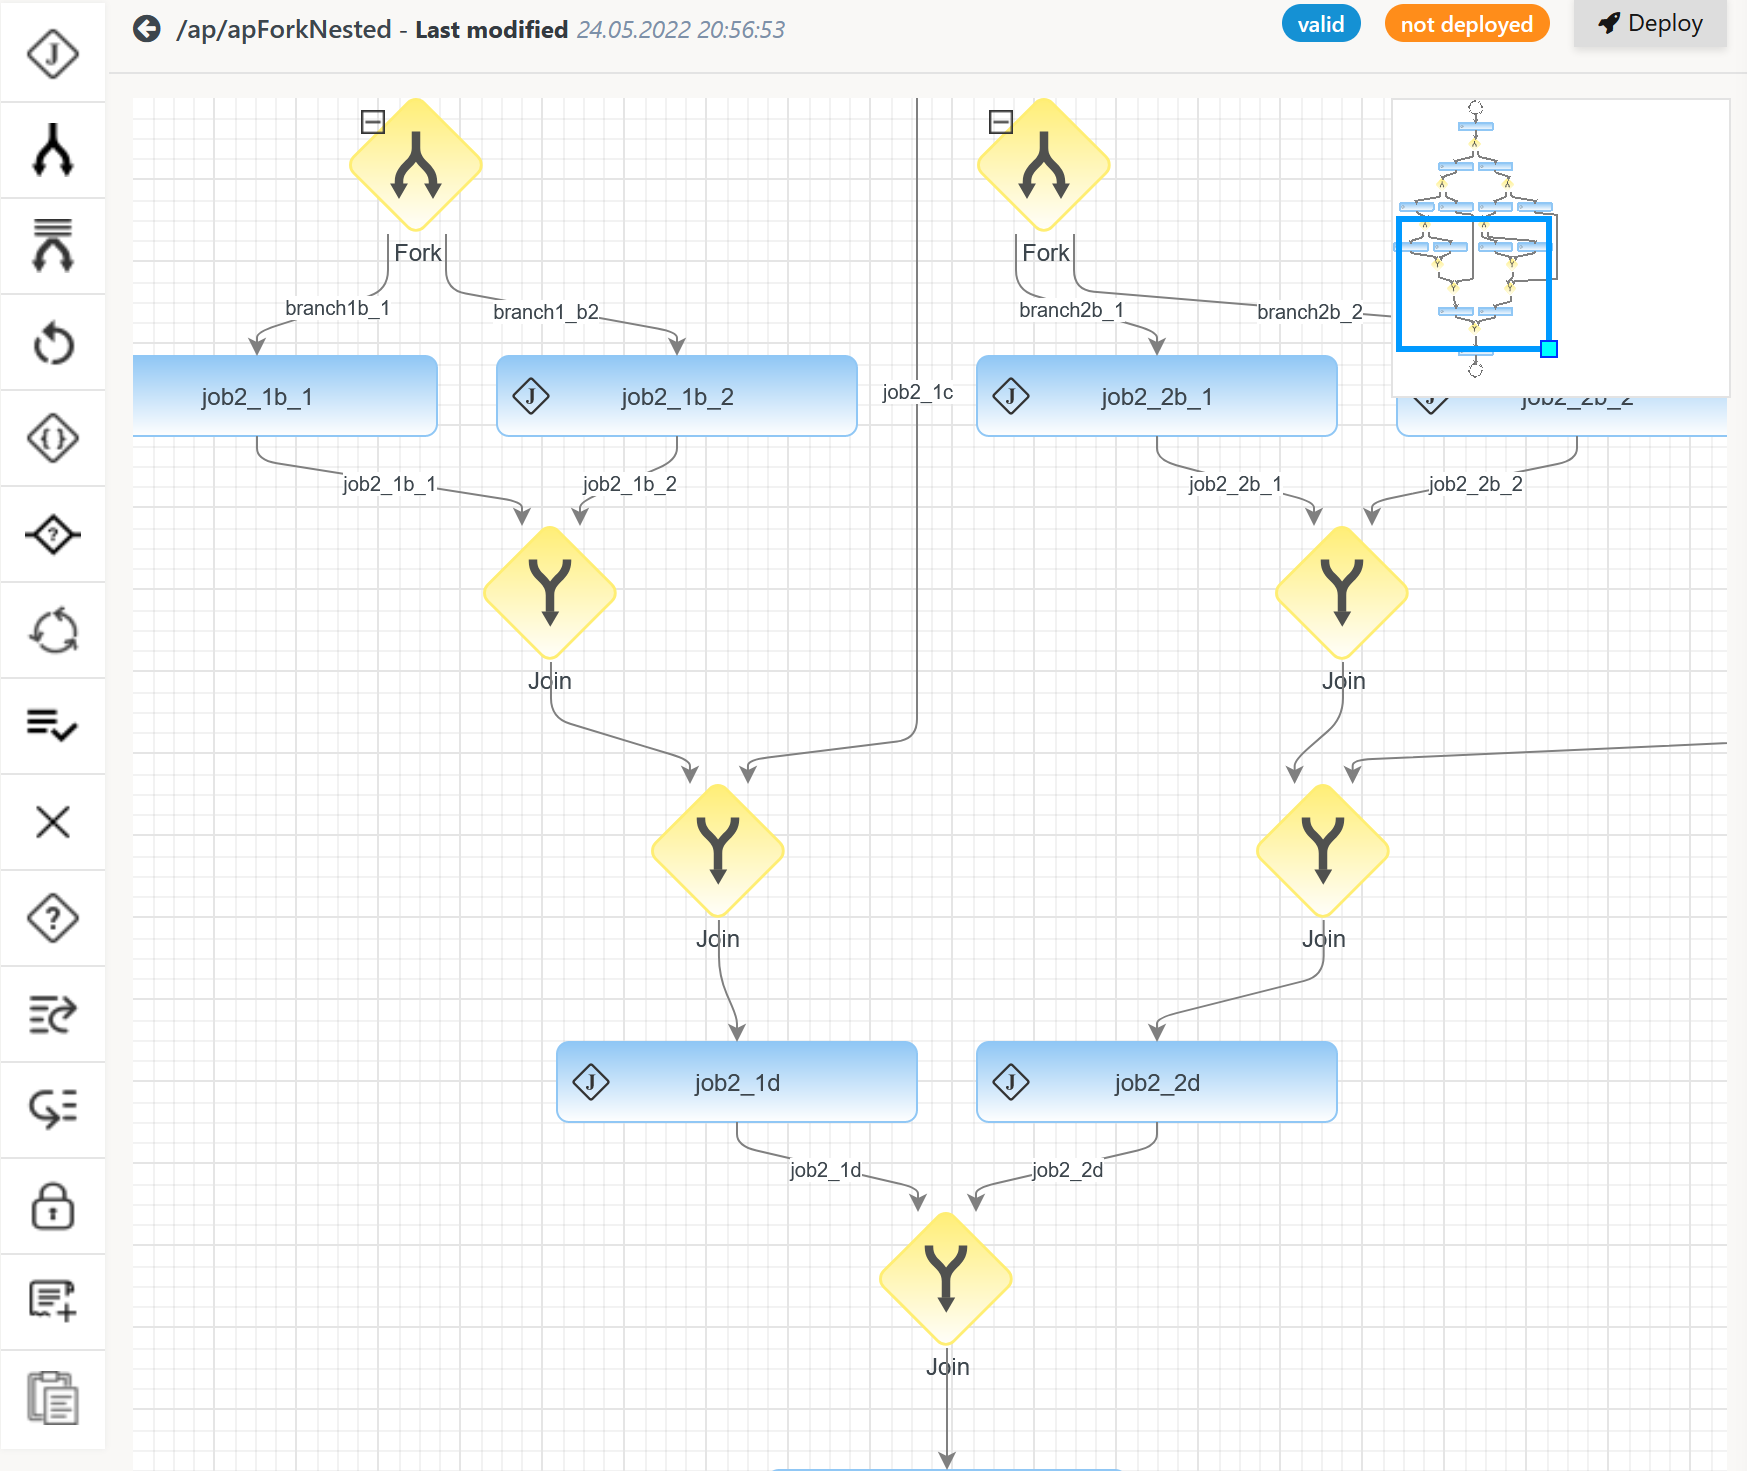
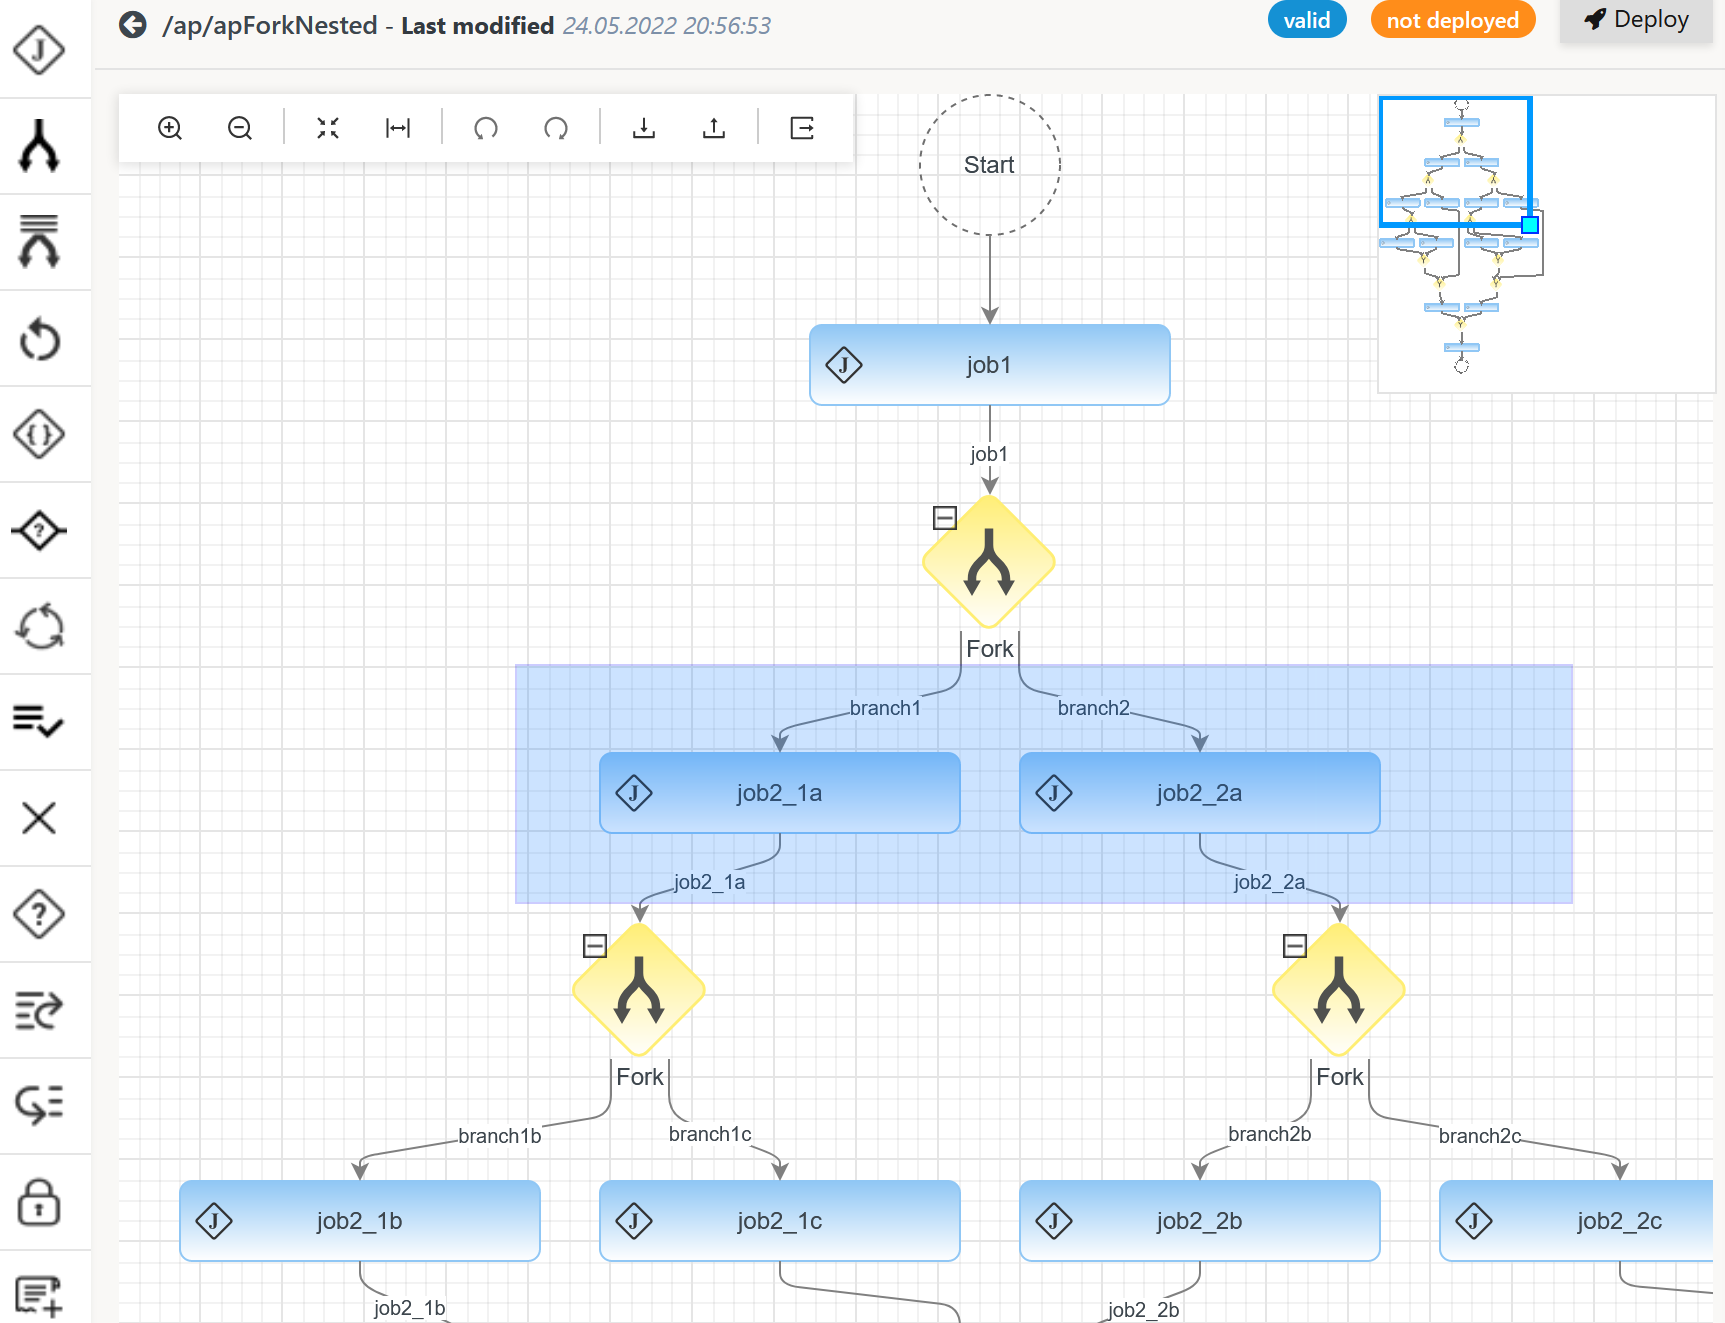
Example for Adding Fork/Join Instruction Branches
Users can add branches for jobs that run in parallel by dragging and dropping a JS7 - Fork / Join Instruction.
- The toolbar
 icon is used to add a Fork/Join Instruction.
 - In a first step an empty block for Fork and Join is created.
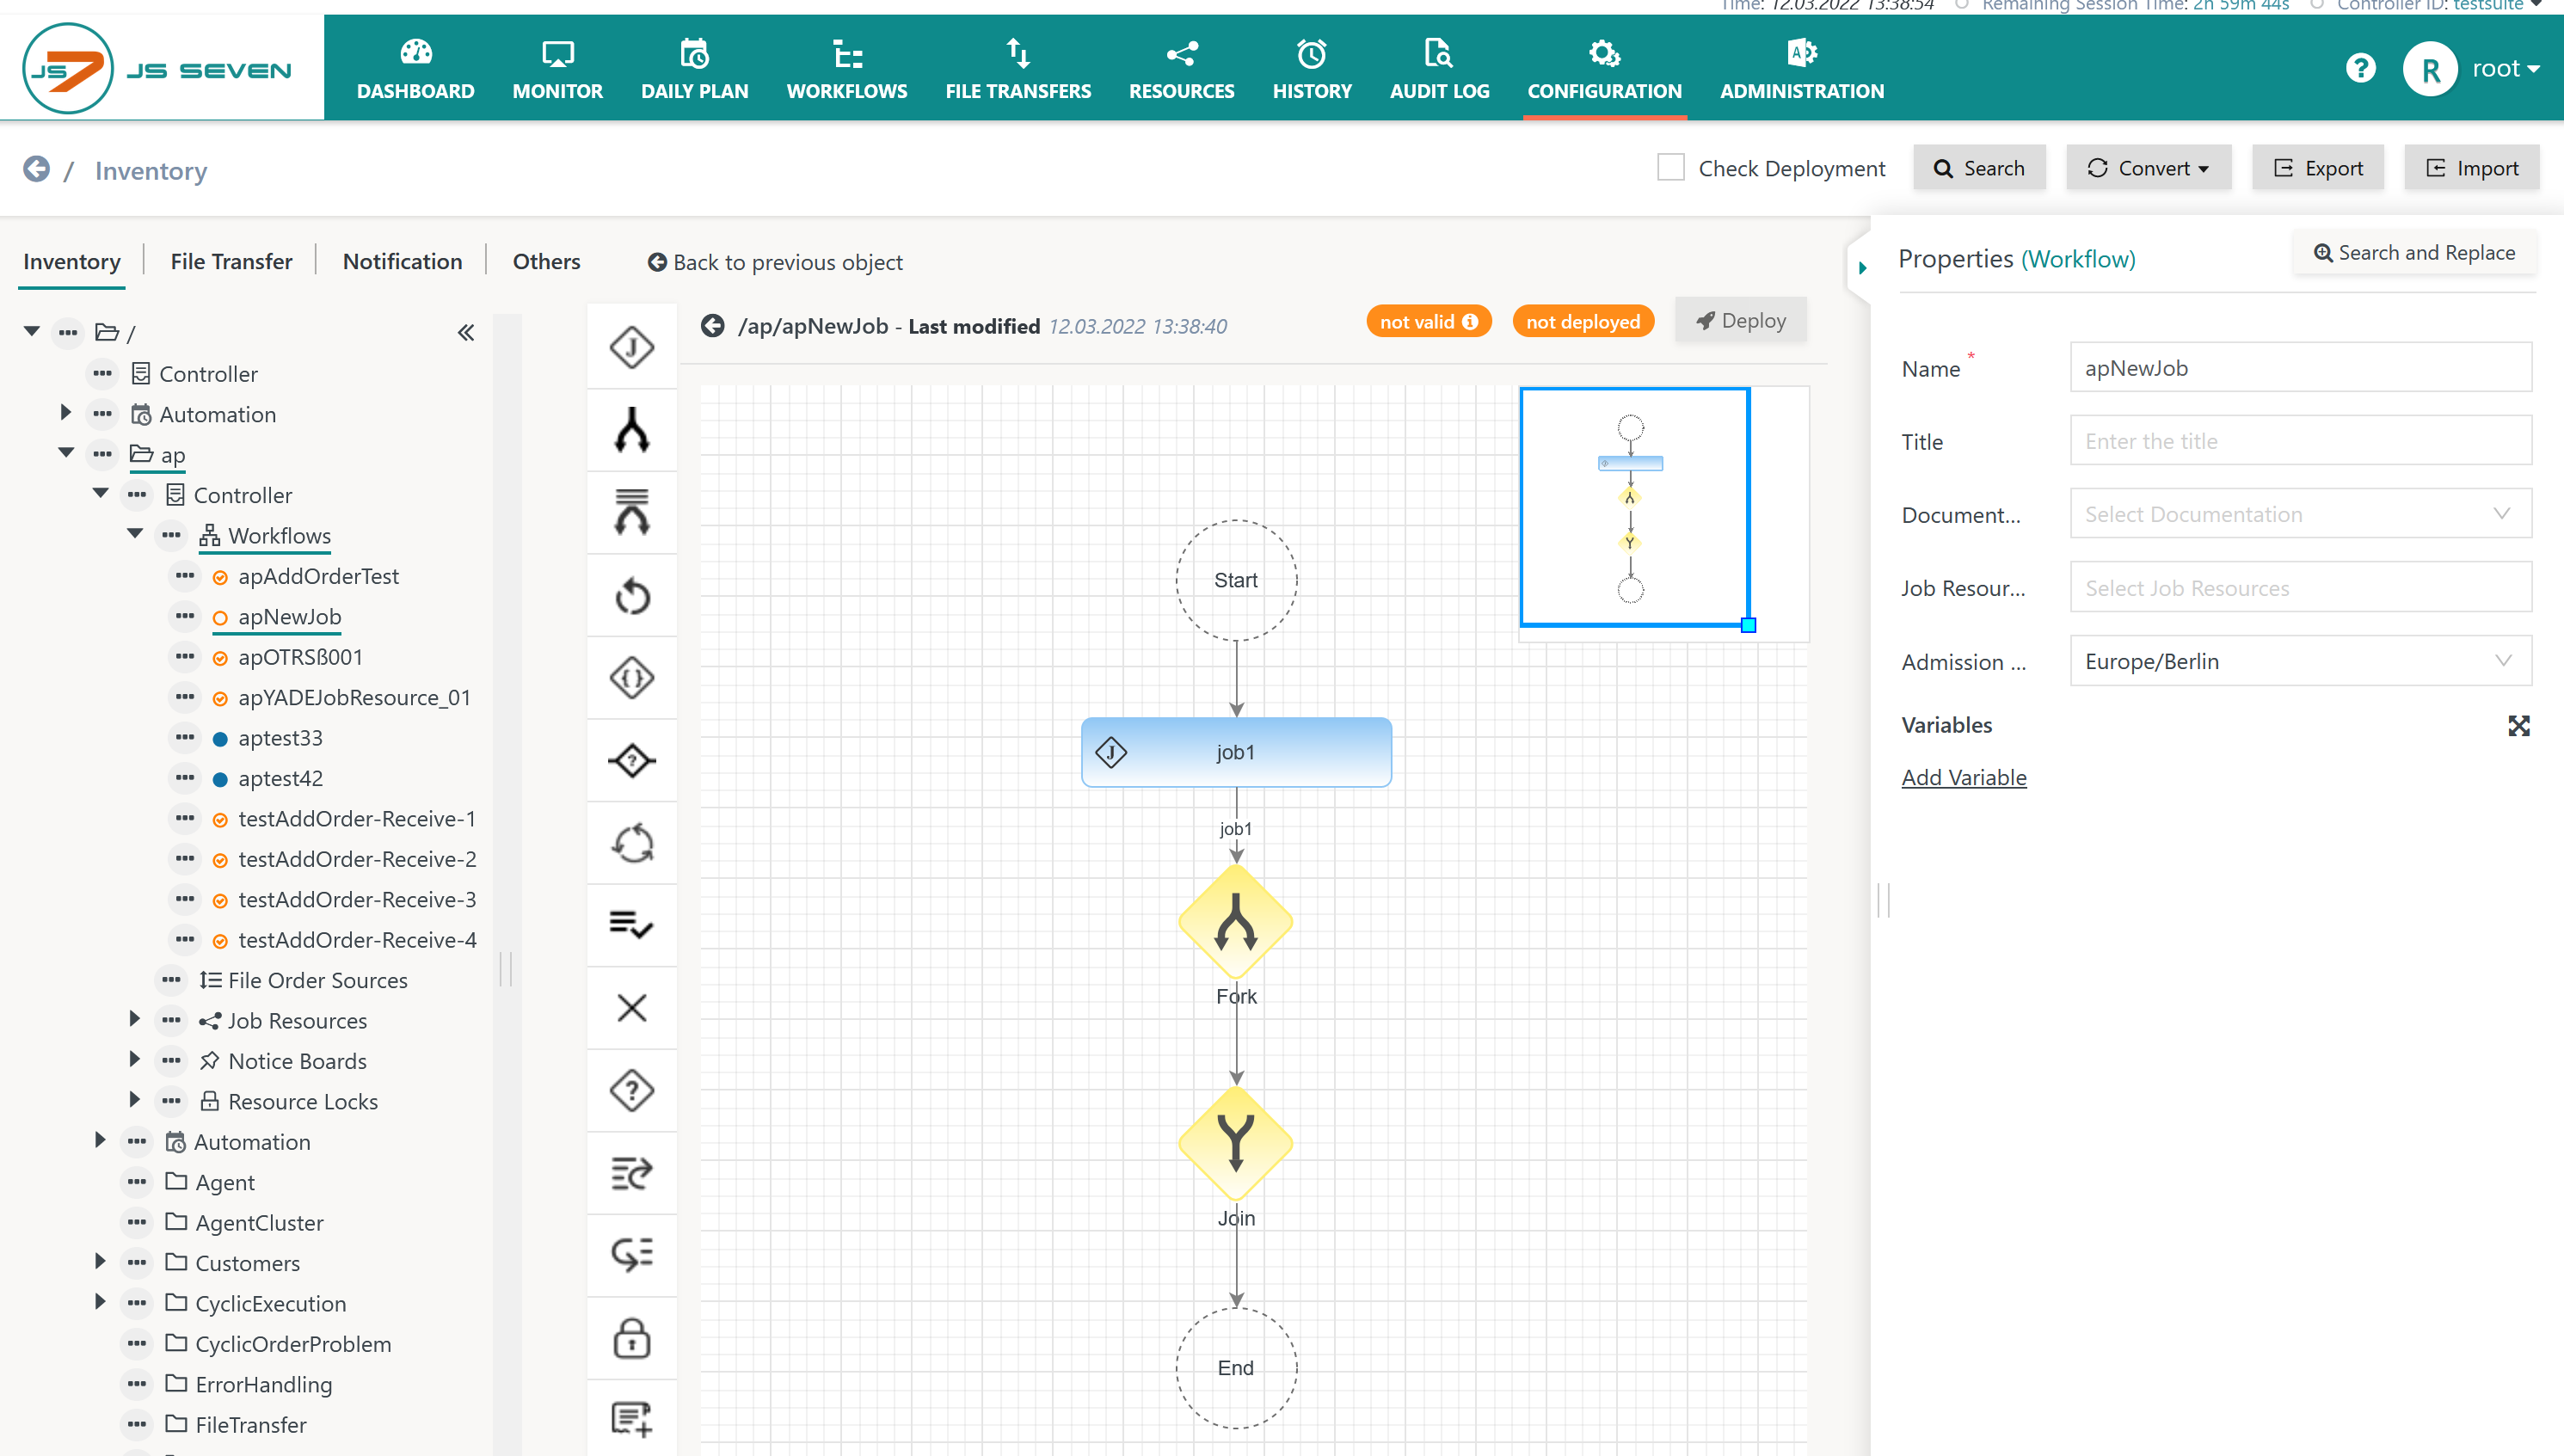
To add a branch to the Fork/Join Instruction, for example a Job, the ![]() icon is dragged and dropped directly onto the Fork icon.
icon is dragged and dropped directly onto the Fork icon.
- The
 Fork icon has to be touched by the cursor, not by the icon for the Job that is being added.

When drag and dropping a Job directly onto the ![]() Fork icon is repeated, then an additional branch will be created each time as shown below:
Fork icon is repeated, then an additional branch will be created each time as shown below:

Users can add jobs to an existing branch by dragging and dropping the ![]() icon onto the connector lines before or after an instruction such as a Job:
icon onto the connector lines before or after an instruction such as a Job:

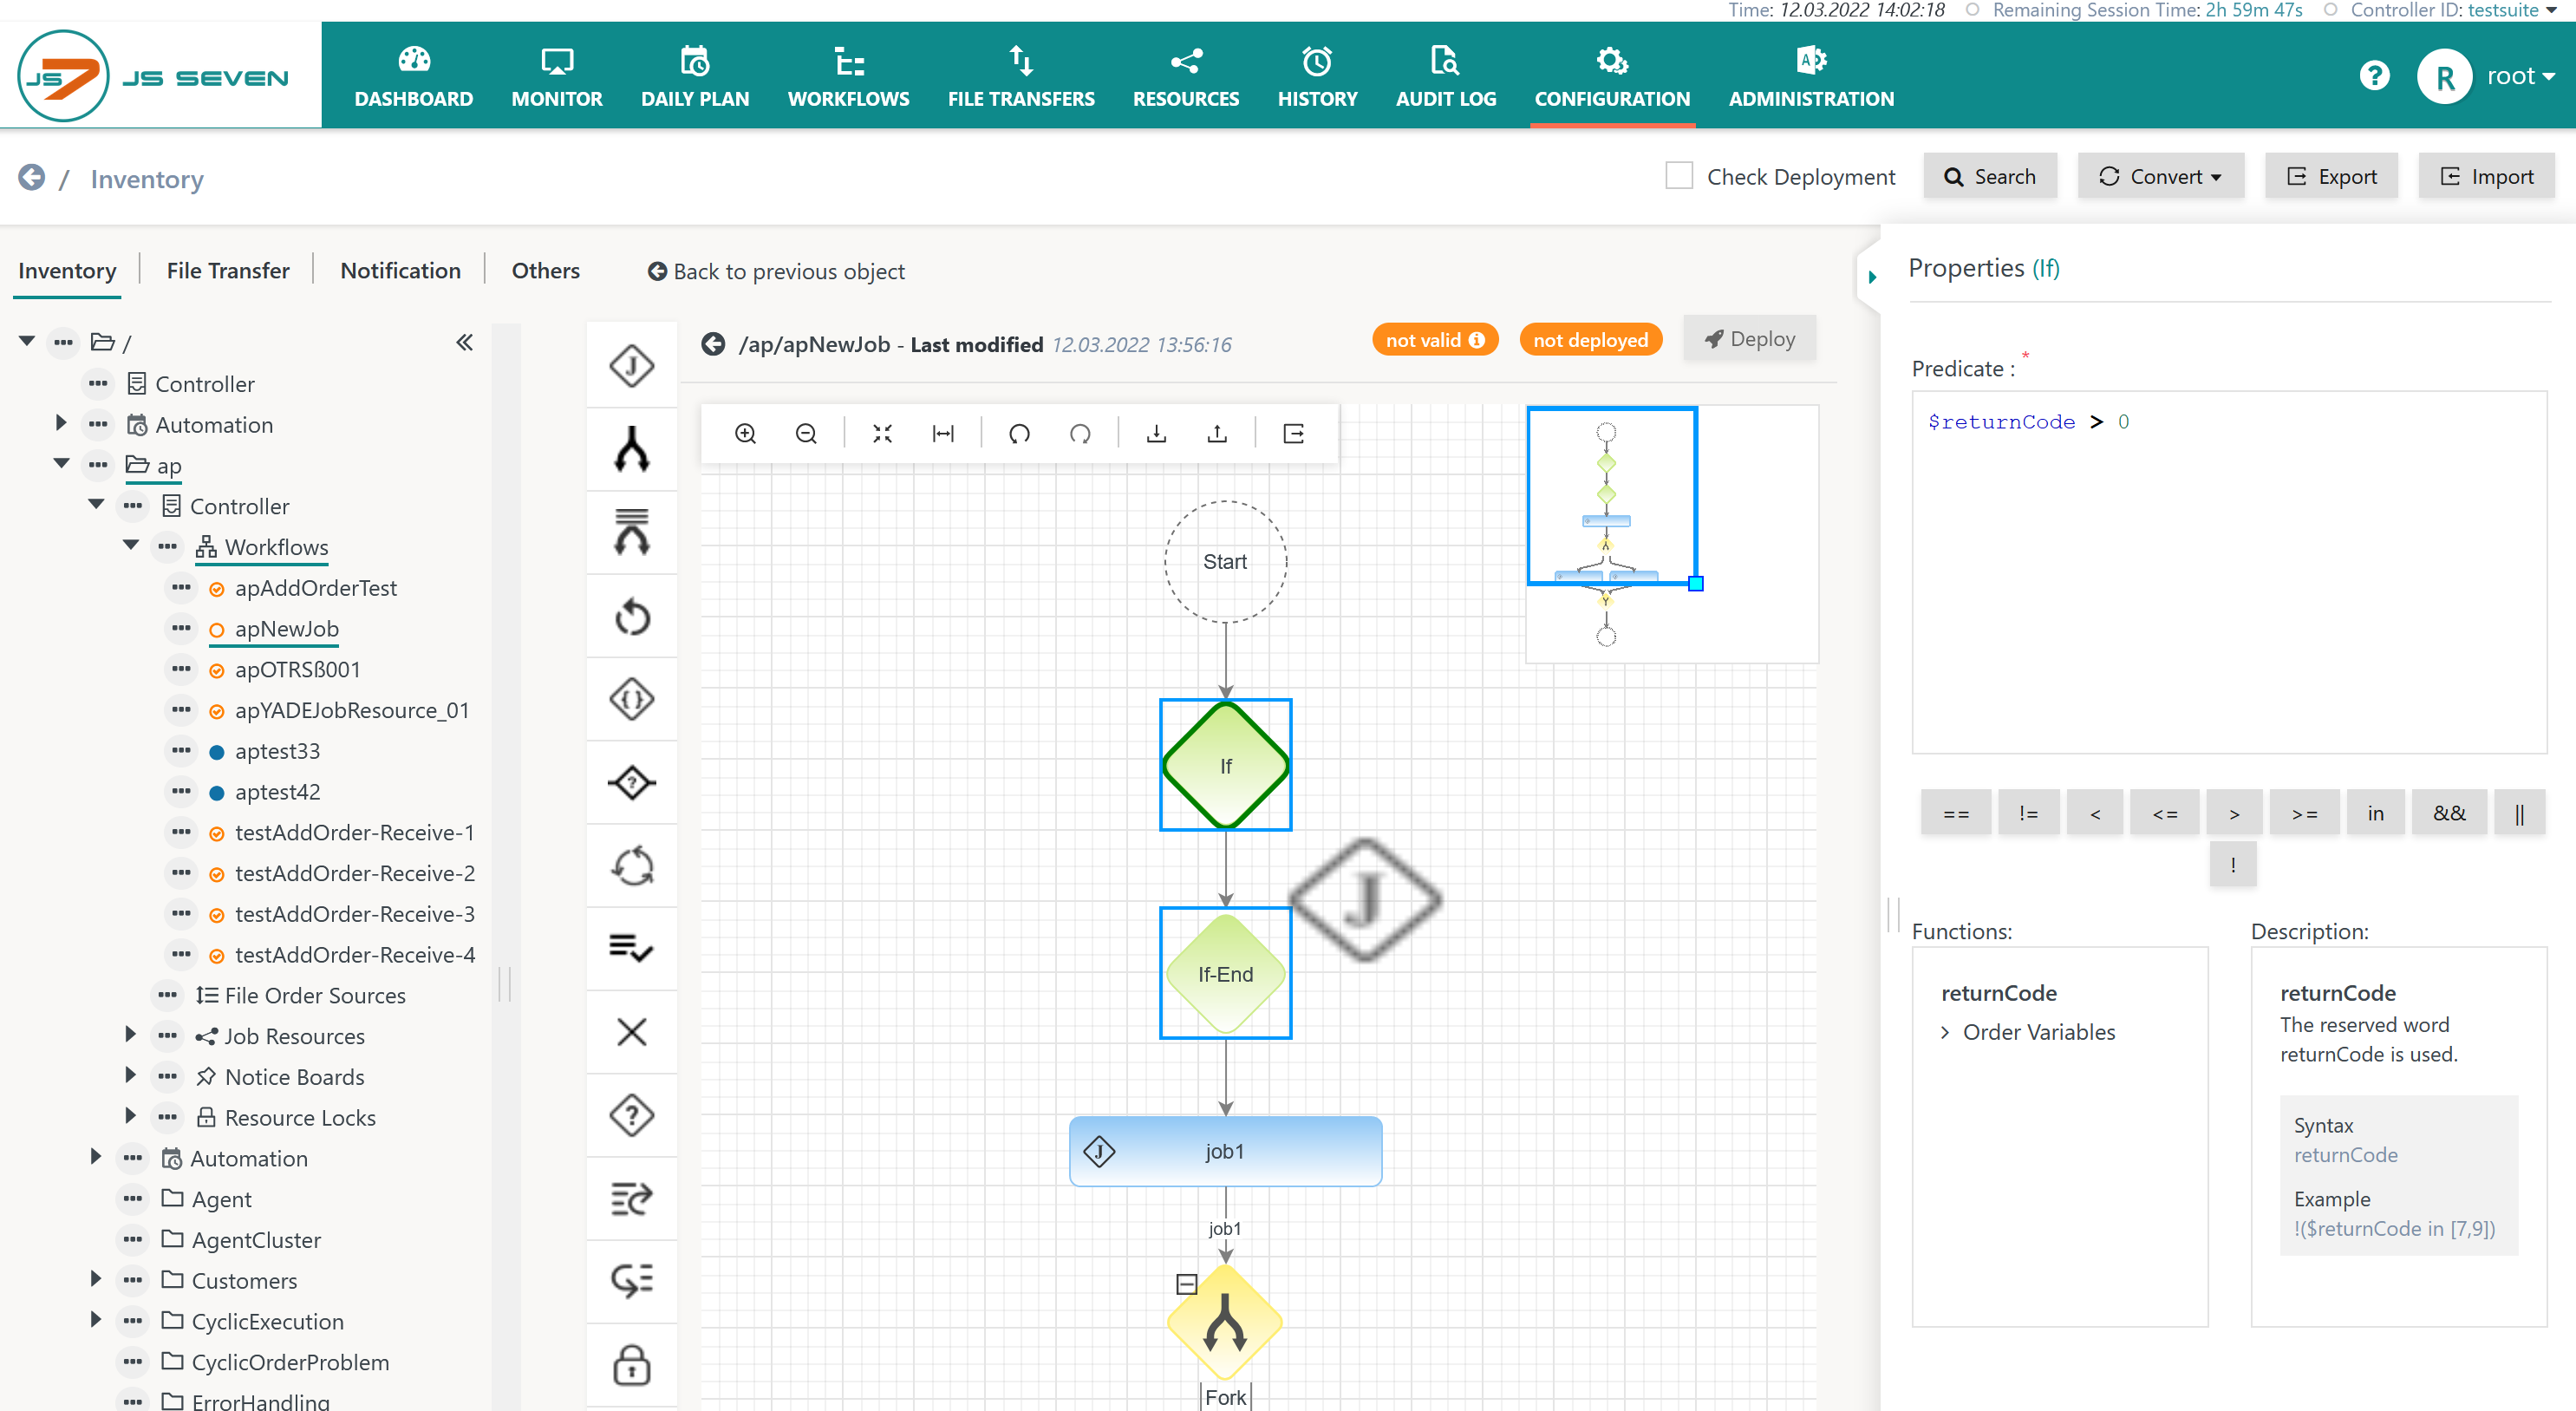
Example for Adding If Instruction Branches
Adding a JS7 - If Instruction to a workflow allows conditional execution of jobs and further instructions to be performed.
- The
 icon is used to add an If Instruction from the toolbar.
 - In a first step an empty block for If and If-End is created.
- The property editor is then used to specify the predicate of the If Instruction, i.e. the condition.
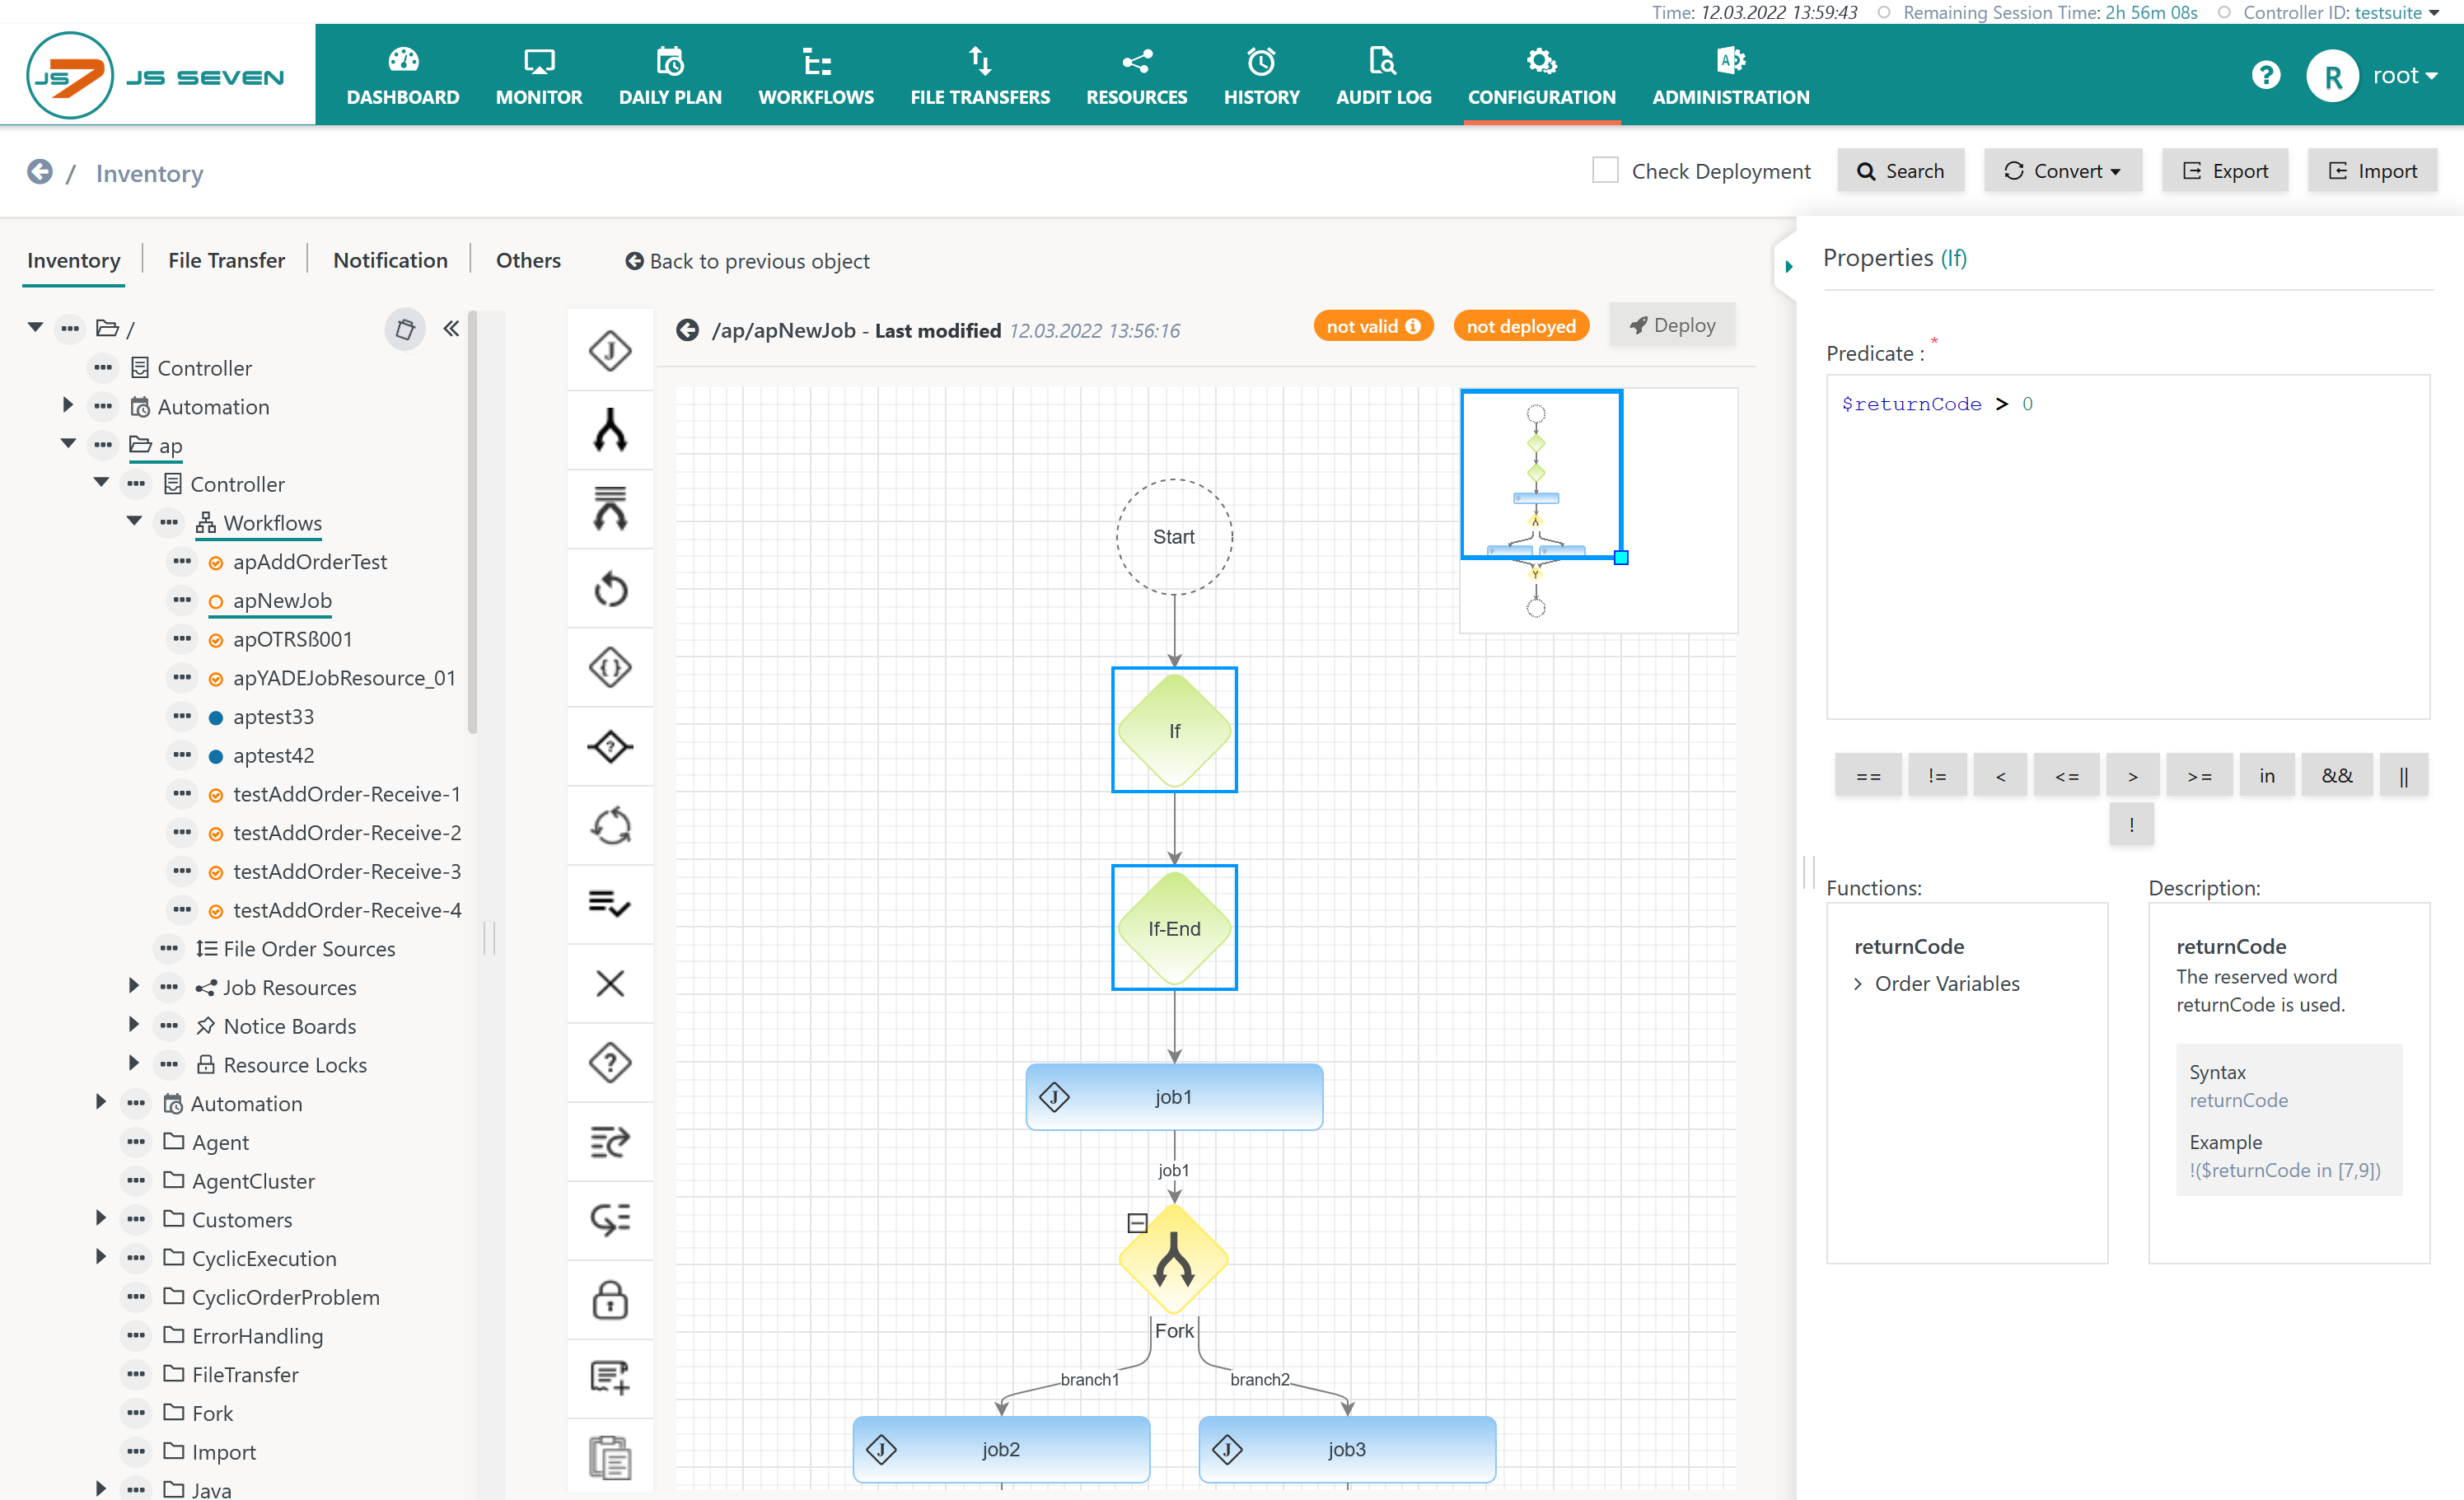
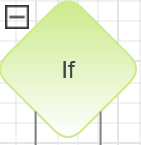
To add a branch to an If Instruction for, for example, a Job, the ![]() icon is dragged and dropped directly onto the
icon is dragged and dropped directly onto the ![]() If icon.
If icon.
If a further Job is dragged and dropped directly onto the ![]() If icon, a second branch will be created for the If Instruction as shown in the diagram below.
If icon, a second branch will be created for the If Instruction as shown in the diagram below.
- The left hand branch will be processed if the condition evaluates to true, the right hand branch will be processed if it evaluates to false.
- The
 icon has to be touched by the cursor, not by the Job icon.
Visible Section Operations
Moving the Lens
The visible section of the design panel can be moved by use of keyboard shortcuts:
- Left, right, up and down arrows move the lens to focus on different sections of the design panel.
- Alternatively users can move the lens by clicking and moving the indicated blue frame.

With each click on an arrow key the focus is moved to the respective direction.
Zooming
When clicking into the design panel a toolbar is made available:
The toolbar offers
- the
 zoom-in button to enlarge objects in the visible section of the design panel.
 - the
 zoom-out button to reduce the size of objects in the visible section of the design panel.
 - the
 zoom-default button resets the zoom to its default value.
 - the
 zoom-fit button zooms the visible section to a size required to make all objects visible.
Object Operations
Selecting Objects
The following operations are supported for selecting objects:
- Hitting the Ctrl+A key selects all objects in the design panel.
- Pressing the Ctrl key and clicking individual objects in the design panel selects the respective objects.
- Alternatively users can highlight with the mouse an area with objects that should be selected:
Copy, Cut & Paste Objects
The following keyboard operations are supported:
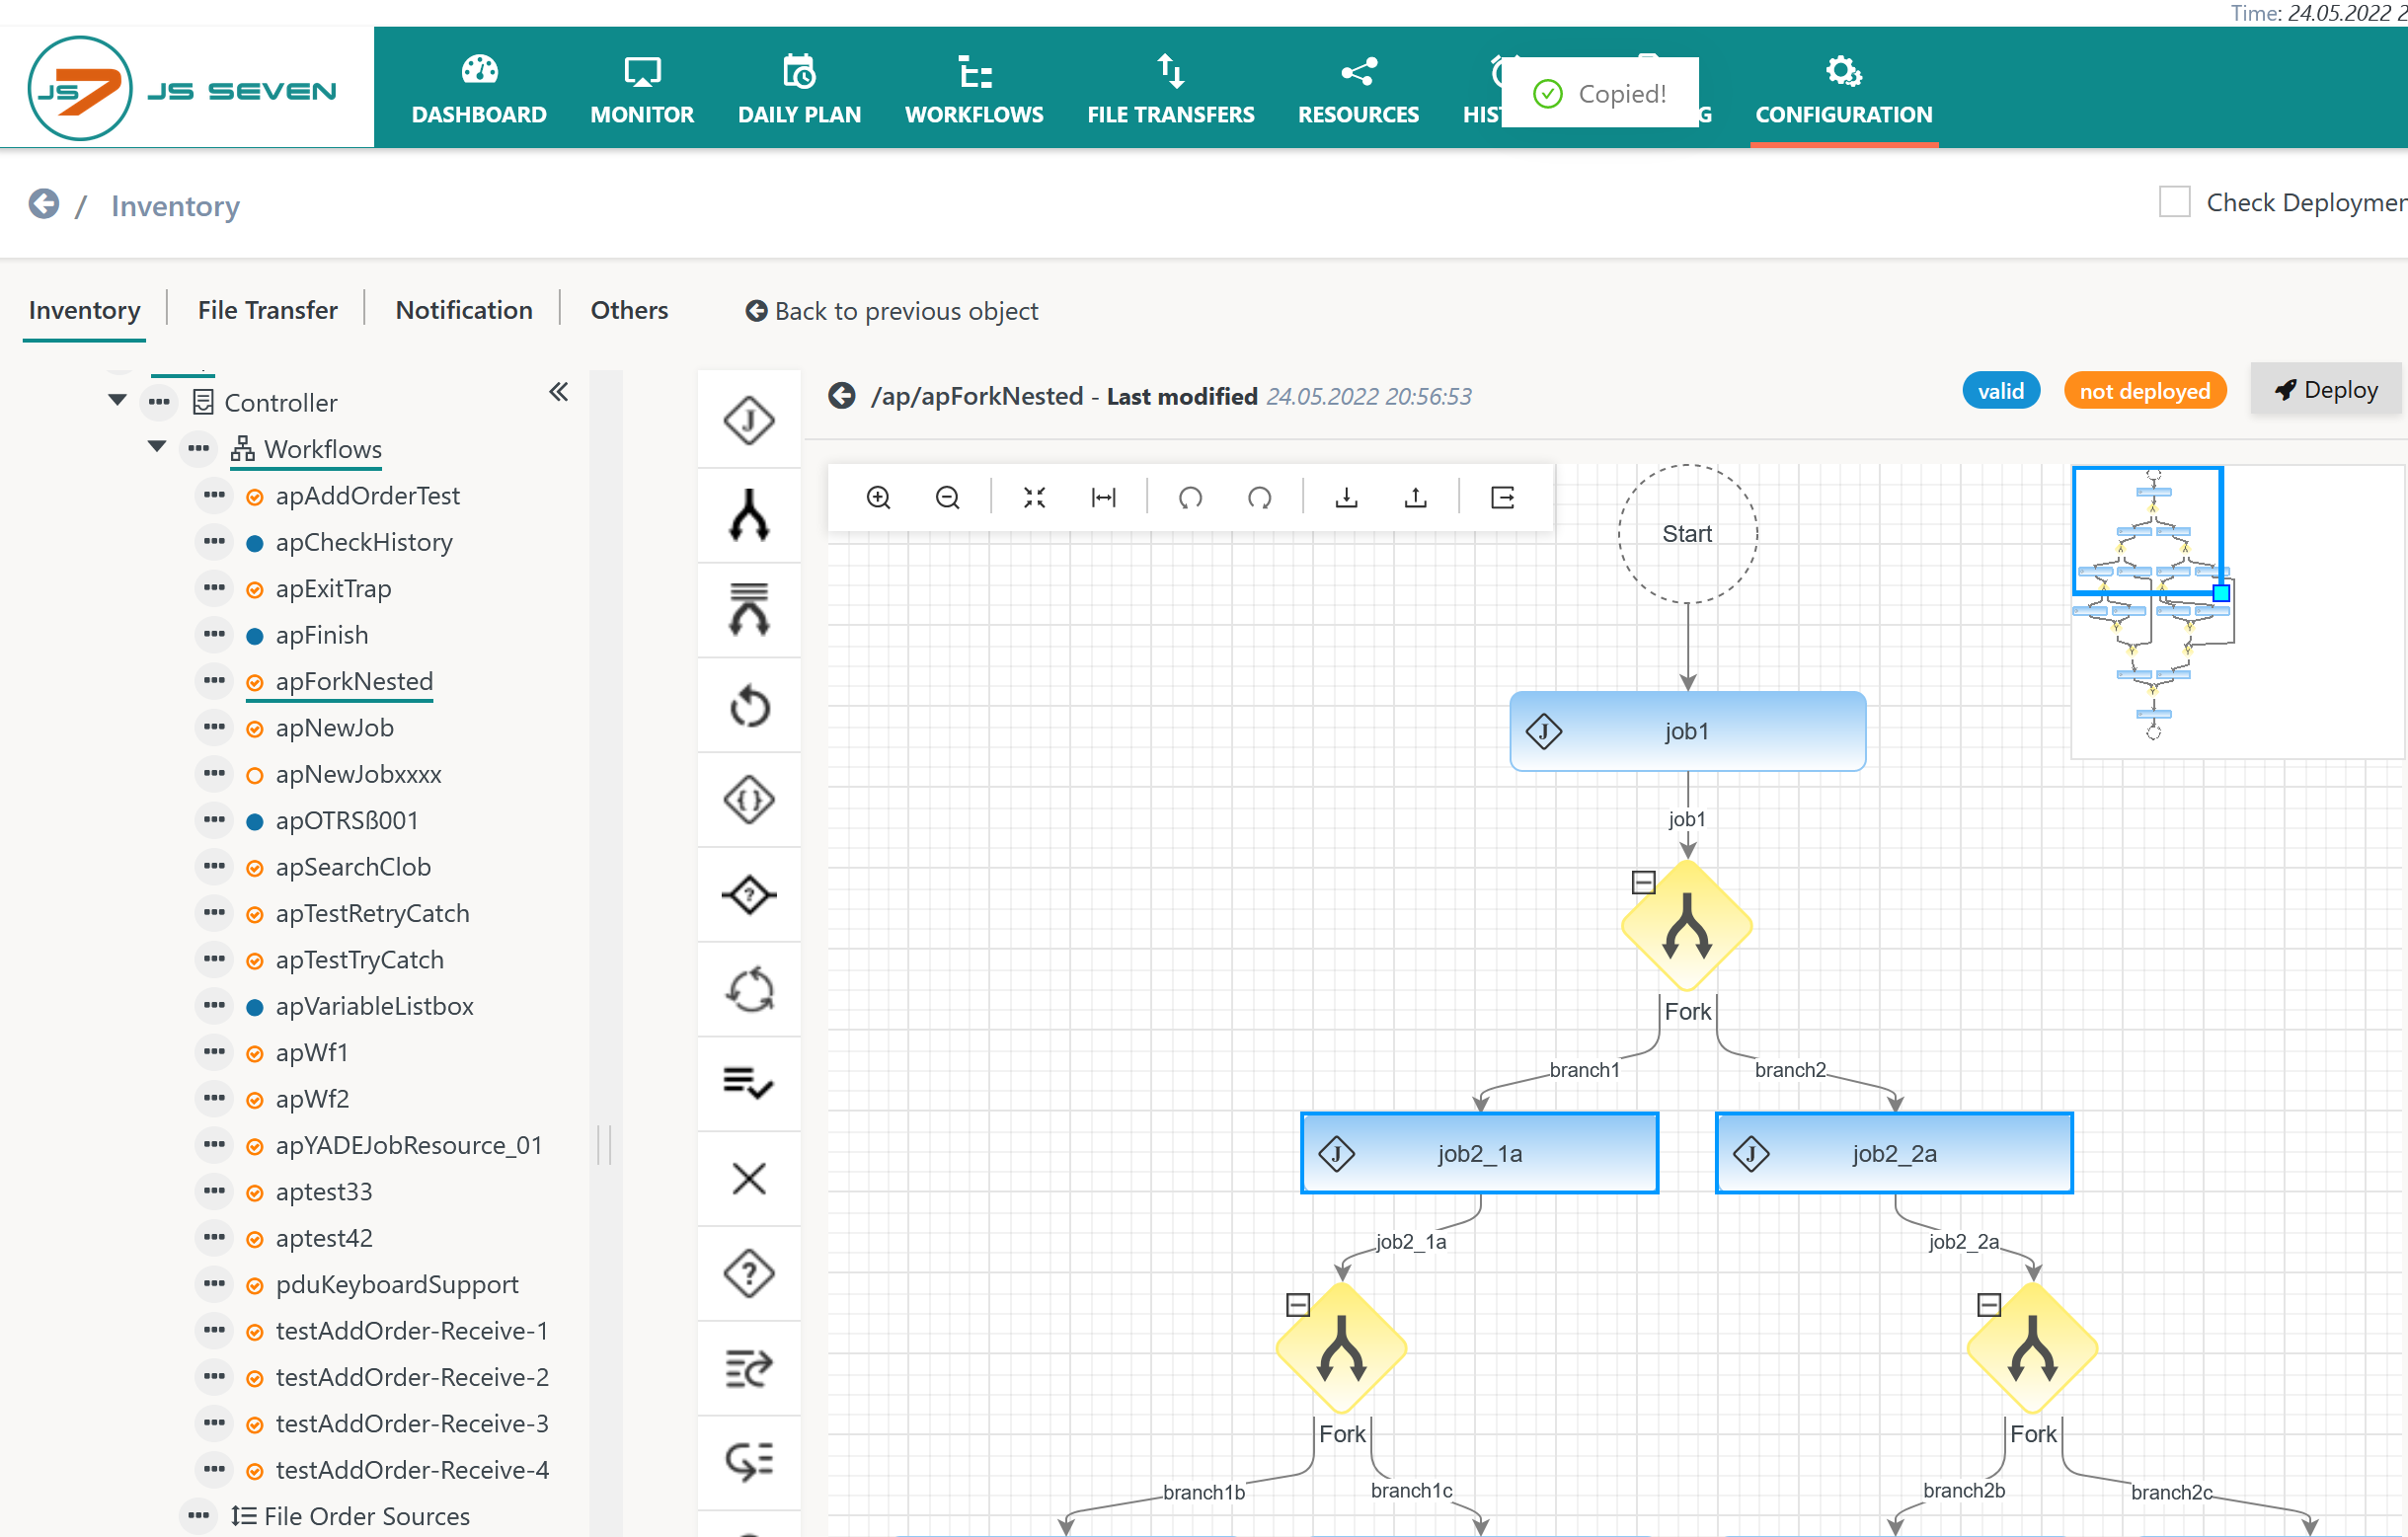
- Ctrl+C: copies the selected object(s) to the clipboard.
- Ctrl+X: cuts the selected object(s) to the clipboard.
- Ctrl+V: pastes the selected object(s) from the clipboard.
When hitting the Ctrl+C key a popup message appears that indicates Copied!.
Similarly when using the Ctrl+X key a popup message indicates Ready for paste!.
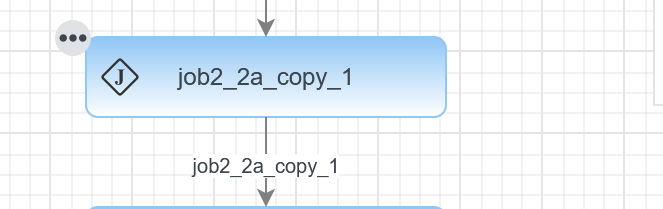
In order to select the position to which objects should be pasted users can click a connector line that will be highlighted in green color like this:
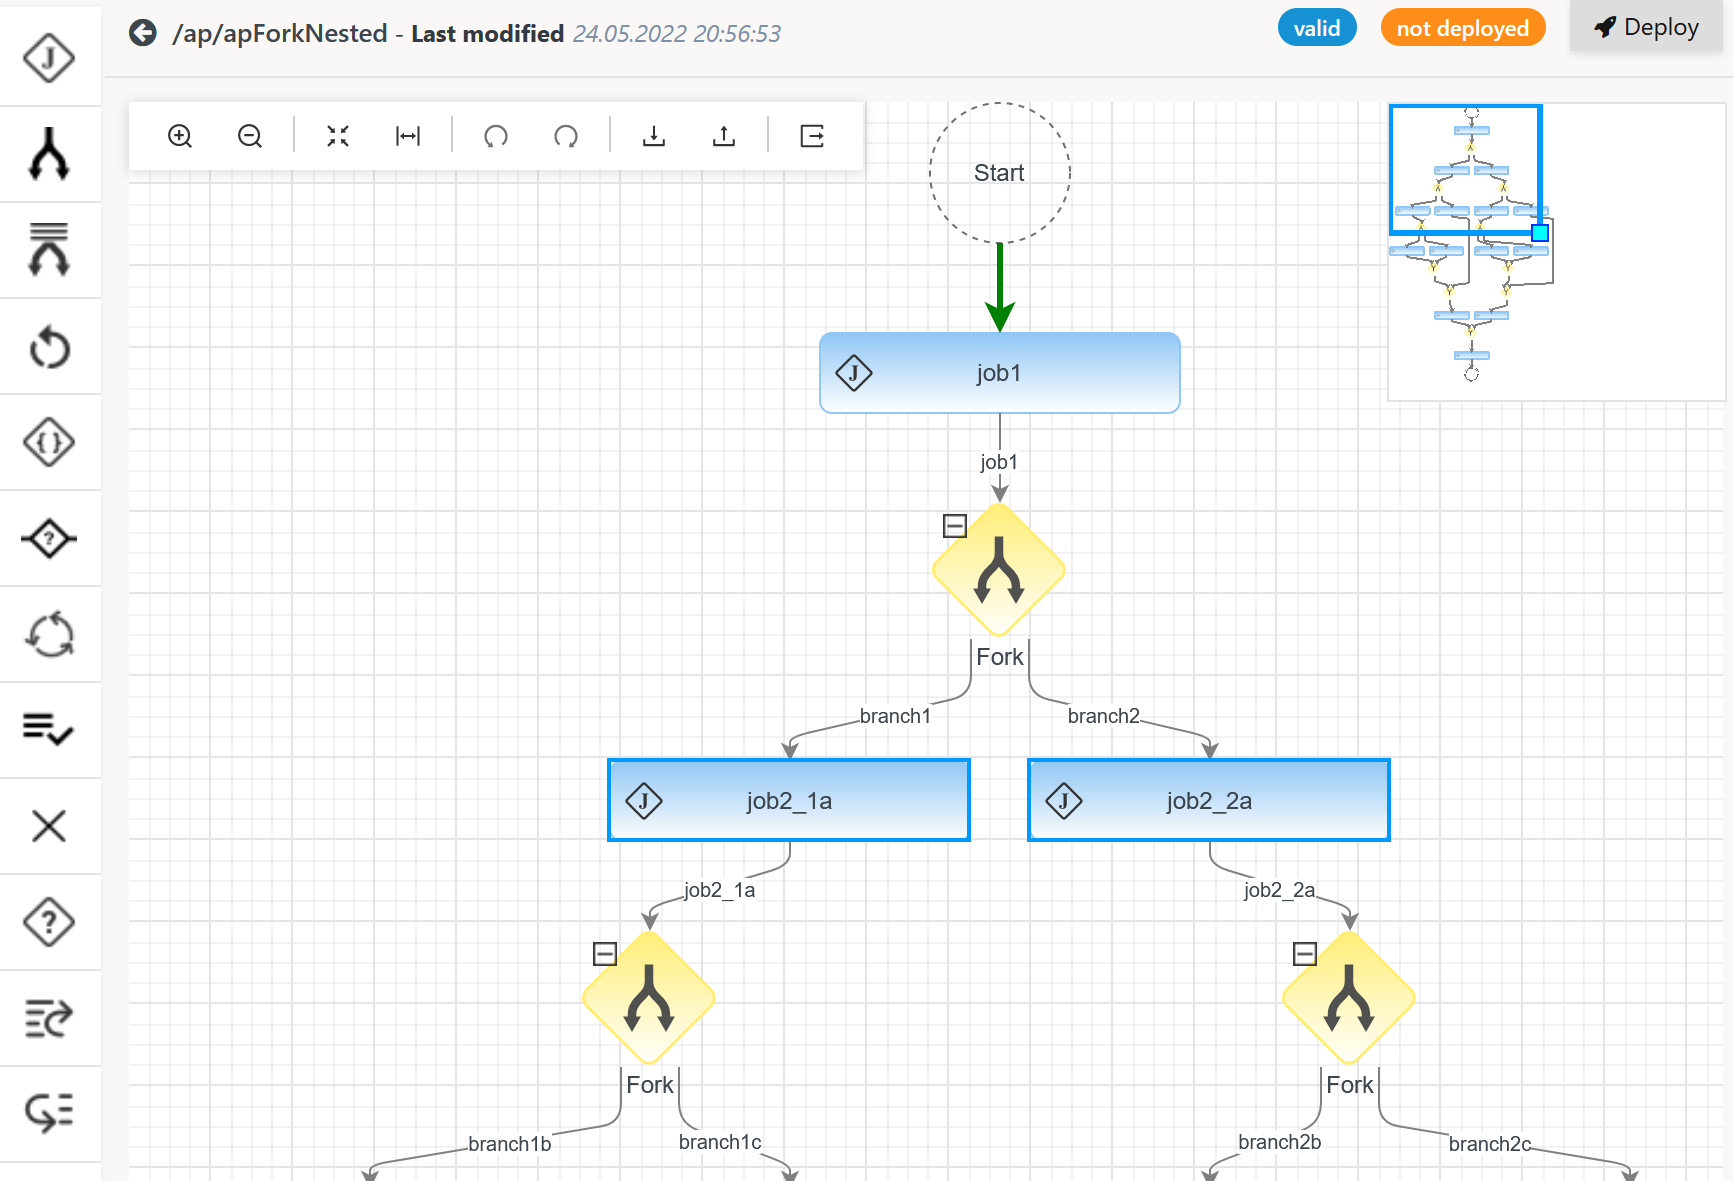
When hitting the Ctrl+V key the objects are pasted to the indicated location:

Removing Objects
The DEL key can be used to remove selected objects.
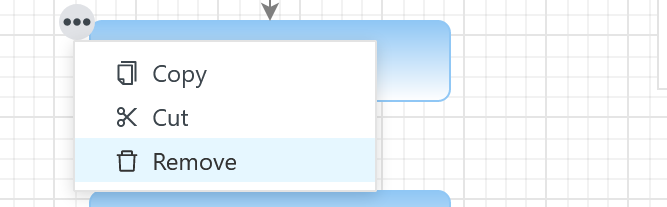
Alternatively when moving the mouse on an individual object its ![]() action menu becomes visible:
action menu becomes visible:
Clicking the action menu brings forward the menu item to remove the respective object.
Removal of objects can be undone, see next section.
Undo/Redo Operations
The Workflow Editor offers a stack of up to 20 levels to undo and to redo previous operations on graphical instructions and on text input to the Property Editor.
When clicking into the design panel a toolbar is made available:
The toolbar offers
- the
 undo operation allows to undo the most recent operation on a graphical instruction or on text input.
 - the
 redo operation allows to redo the most recent operation that was undone.
Repeatedly hitting the undo / redo button applies this operation on previous operations further in the stack.
Download / Upload Operations
The Workflow Editor offers to download and upload objects in JSON format.
When clicking into the design panel a toolbar is made available:
The toolbar offers
- to download an object from the
 icon. Users should locate the downloaded object in the directory that is offered for downloads from their browser.
 - to upload an object from the
 icon. For further information on uploads see the JS7 - How to upload .json examples article.
Export Operations
The Workflow Editor offers graphical export of objects in PNG format.
When clicking into the design panel a toolbar is made available:
The toolbar offers to export objects from the ![]() icon.
icon.
An exported .png file can look like this:

JSON Object Editor
JS7 stores scheduling objects in JSON format. Users can display and modify the JSON representation of objects such as workflows from the object's action menu:
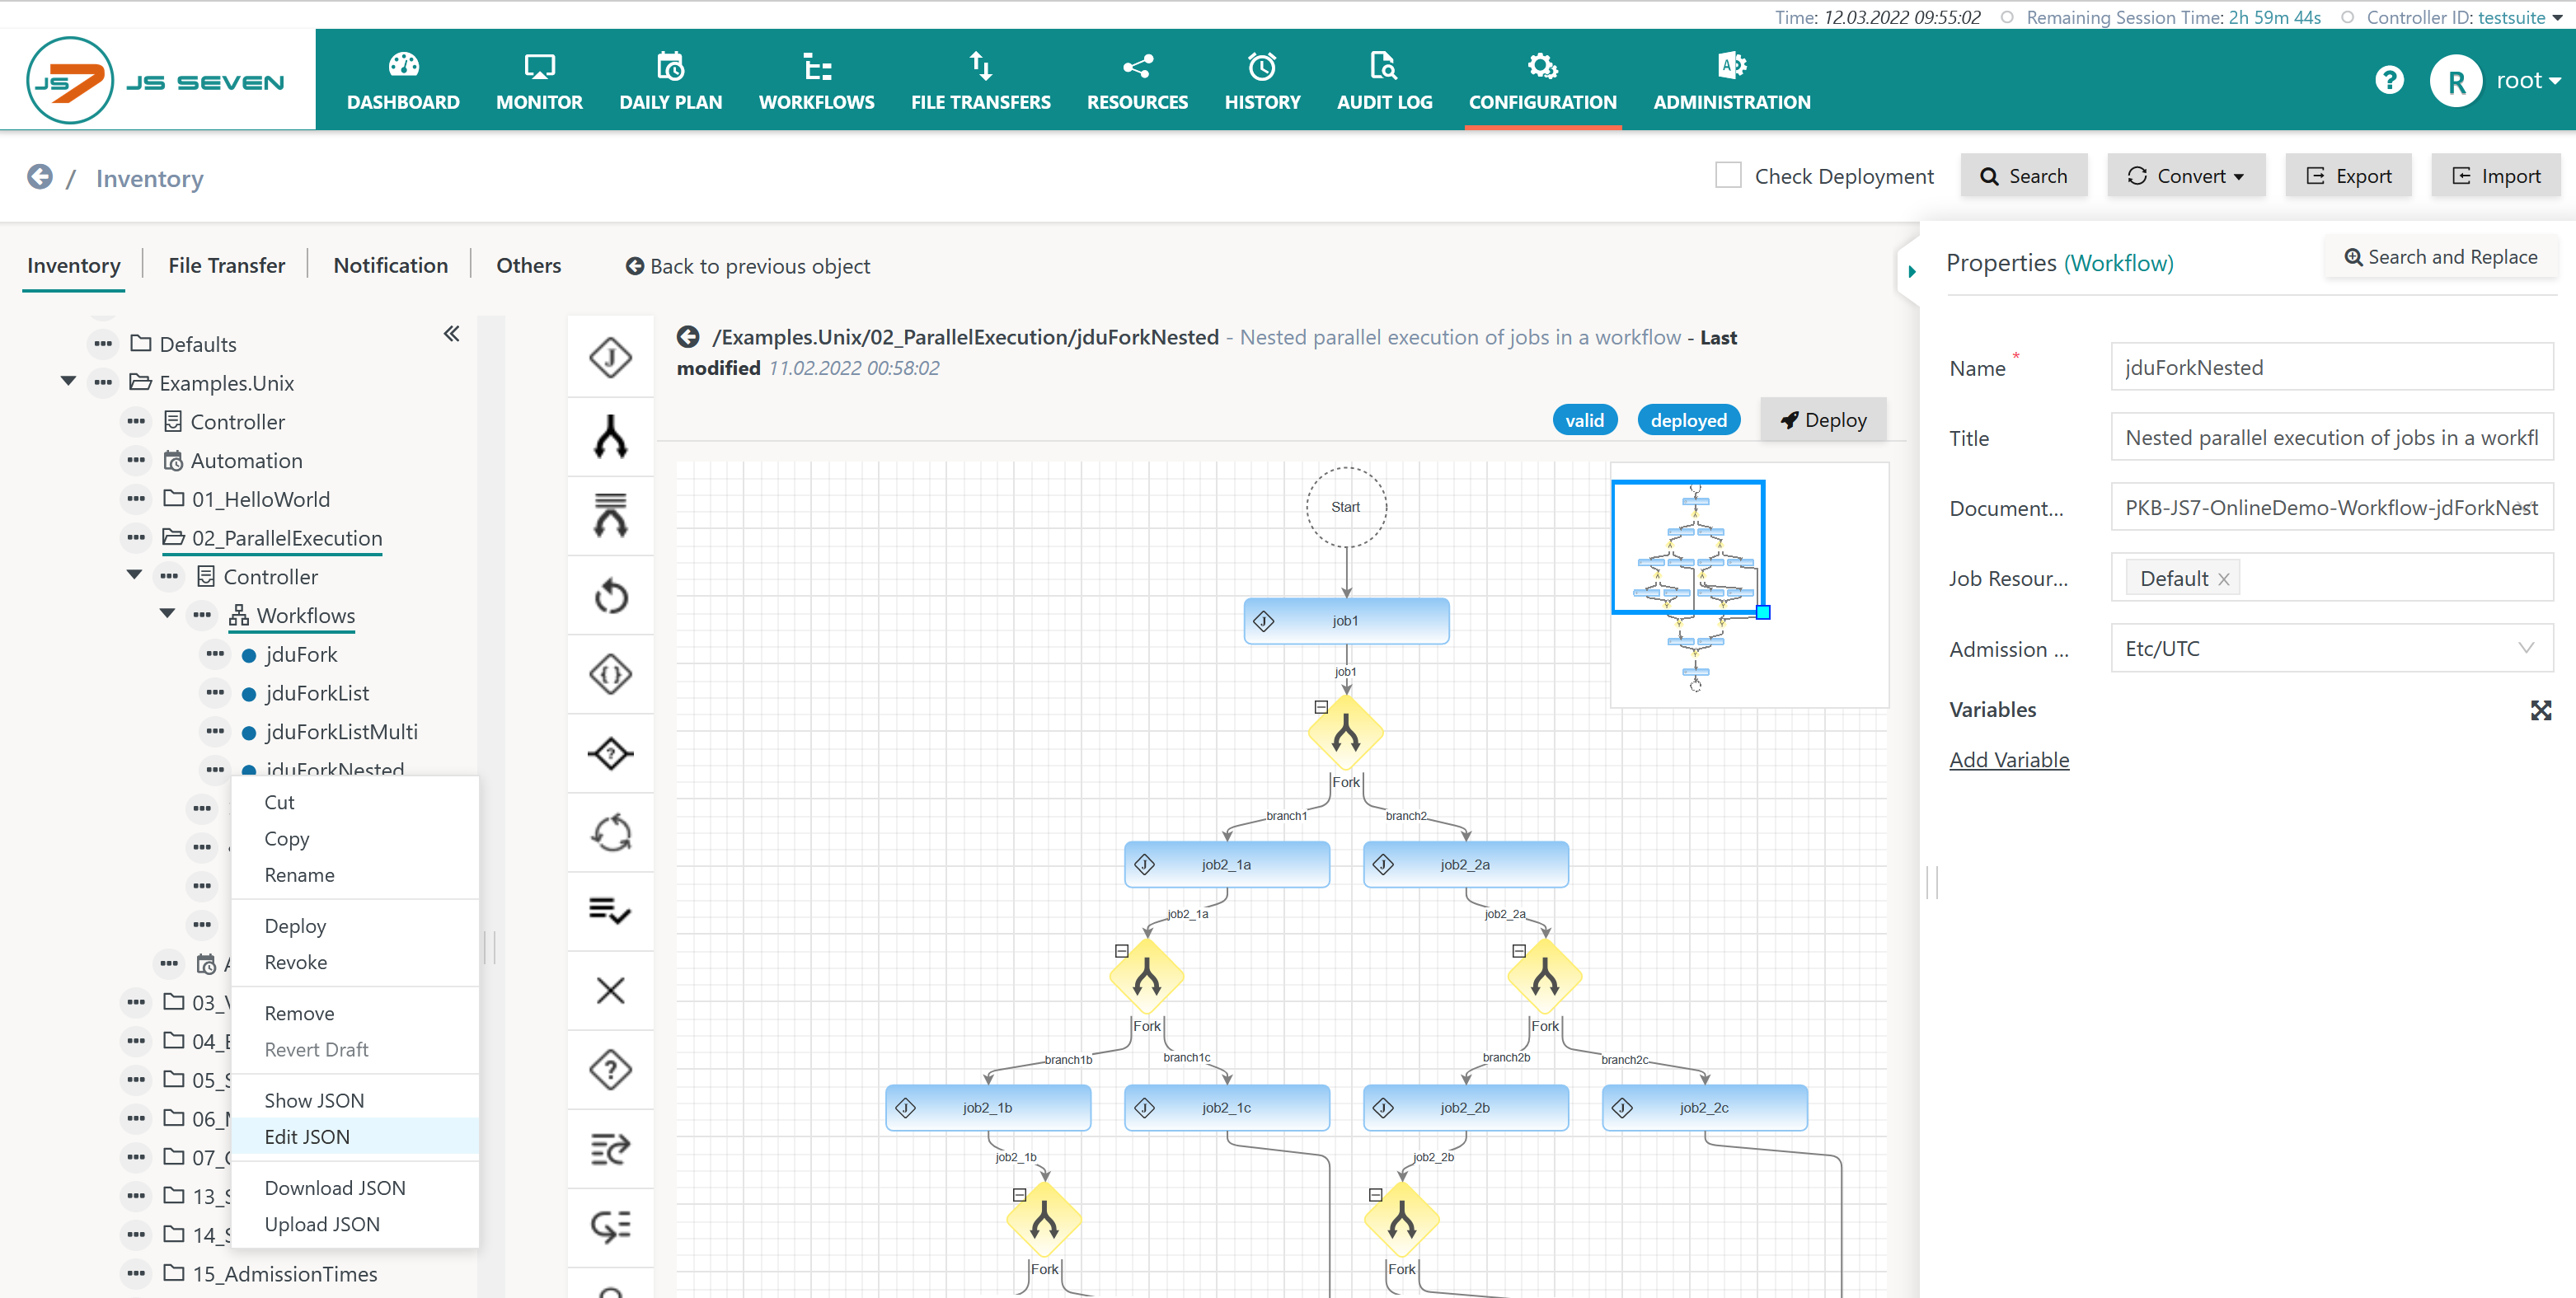
The action menu items Show JSON and Edit JSON bring forward popup windows to display and modify JSON code respectively.
- The JSON code is generated and validated with JSON Schemas that are available per object type, see JS7 - Inventory Storage Format.
- The JSON Editor is explained from the JS7 - Inventory Object Editor (JSON) article.
Job Script Editor
The JOC Cockpit Configuration->Inventory View opens the Script Editor for the modification of job scripts:
- Job scripts can be directly edited from the multi-line input field in the lower right hand corner of the property editor.
- The
 pencil icon will be displayed when the mouse is moved into the job script input field. Clicking this icon invokes the Script Editor.

The Job Script Editor is explained in more detailed in JS7 - Job Script Editor.
Overview
Content Tools