Introduction
The JOC Cockpit comes with an editor for Managing Authentication and Authorization - the Manage Accounts view. FEATURE AVAILABILITY STARTING FROM RELEASE 1.11.2
Permissions Hierarchy
Permissions are configured hierarchically:
- User Account
- Role(s)
- Permission(s)
- Role(s)
In addition permissions can be specified for specific:
- JobScheduler Master IDs and
- Folders within a JobScheduler's live folder.
Using the Manage Accounts view
Getting Started
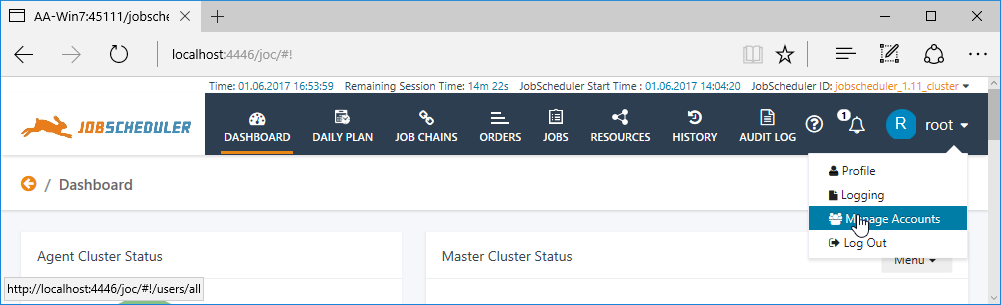
After installing the JOC Cockpit, log in with the default root:root user name and password.
The Manage Accounts section of the JOC Cockpit is then accessed via the Profile Menu as shown in the screenshot below.
The Account Manager has three main Views:
- Accounts: for the configuration of User Accounts. Accounts configured here use shiro name / password Authentication.
- Note that while Shiro authentication is not as secure as, for example, LDAP, it provides a convenient basis for configuring authorization in a test environment.
- See the JOC Cockpit - Authentication and Authorization article for more information about Shiro and other methods of authentication that can be used with the JOC Cockpit.
- Masters: for configuring the JobScheduler Masters that can be accessed by a Role
- Permissions: for configuring access to Folders and the Permissions for a Role
These views will be described in the following sections.
The Accounts View
The Accounts view is the view that is opened first when a user selects the Manage Accounts view and lists all the User Accounts that have been configured along with the Roles they have been assigned.
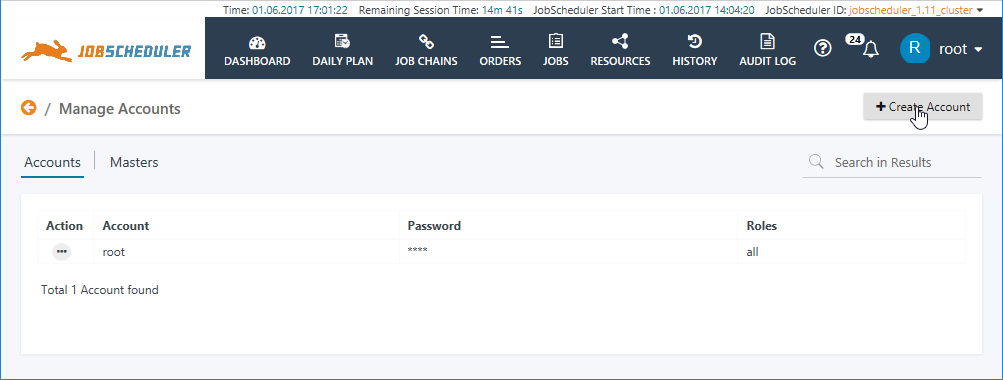
The above screenshot shows the default root User Account which is the only Account that is configured after installation of the JOC Cockpit.
The Create Account button is used to open a window to add a new User Account - clicking on the additional option (ellipsis) symbol or the Account name brings the user to the Masters view (described below) where the Account Name, Password and Role(s) allocated can be edited.
The Masters View
The main purpose of the Masters view is to allow JobScheduler Master Roles to be configured.
When the view is first opened after installation of the JOC Cockpit it will appear as shown in the next screenshot:

The above screen shows seven default roles that are provided with the JOC Cockpit. These Roles are intended to help system administrators get a realistic authorization configuration working as quickly as possible and can be modified as required. These roles are valid for all JobScheduler Master instances in the environment.
Positioning the mouse over a role name blends in two links as shown in the screenshot above:
- the pencil link allows the role to be edited and
- the X link allows the role to be deleted.
A set of Permissions is configured for each Role. Each Permissions set can be inspected by clicking on the Role name in the Masters view list. An example Permissions set is described in the next section.
The Permissions View
The main purpose of the Permissions view is to allow Permissions and Folders to be configured for each Role.
The screenshot below shows the default permissions for the administrator Role.
The individual scope of Permissions can be edited and they can be removed from the Role using the pencil and X symbols that are blended in when the user's mouse is moved over a permission.

The Folder part of the view is for restricting the Role to accessing particular Folders - and thereby particular Jobs, Job Chains, etc - within a JobScheduler Master's live folder and will be described later.
Editing Permissions will also be described later.
Initial Configuration
Adding User Accounts and Roles
The following example describes how to add User Accounts to the JOC Cockpit in addition to the default root user account. Each User Account will be assigned one of the default Roles described in the Masters View section above and for simplicity will use the same name as the Role they will be given.
To add a Business User Account:
- Go to the Accounts view and click on the Create Account button at the top right.
- This will open the following window:
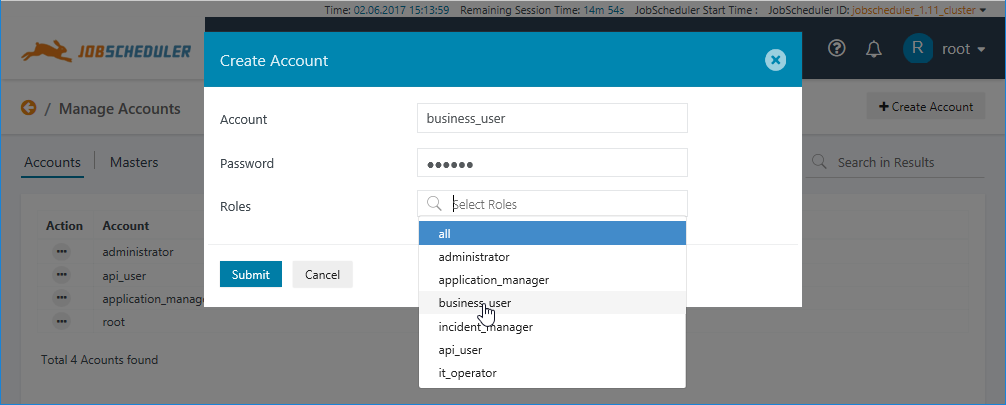
- Account Names may not contain spaces.
- Selecting the business_user Role from the list will avoid possible errors from a mistyped role name.
- It will be clear form the functioning of the Roles selection that any number of Roles can be specified for a User Account if required.
- Click the Submit Button to save the Account configuration.
- Note that if one of the Accounts should contain a configuration error (such as a blank space in an Account Name), none of the Accounts will be saved to the configuration file.
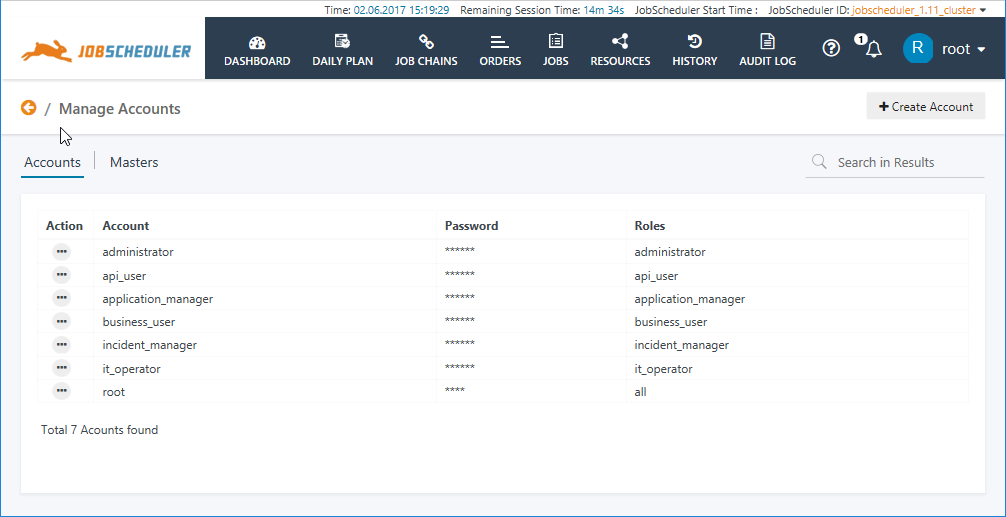
Once a User Account has been created for each of the default Rolesole, the Accounts view would look like:
Account Use
The root User can now be logged out via the Profile Menu and the other User Accounts used.
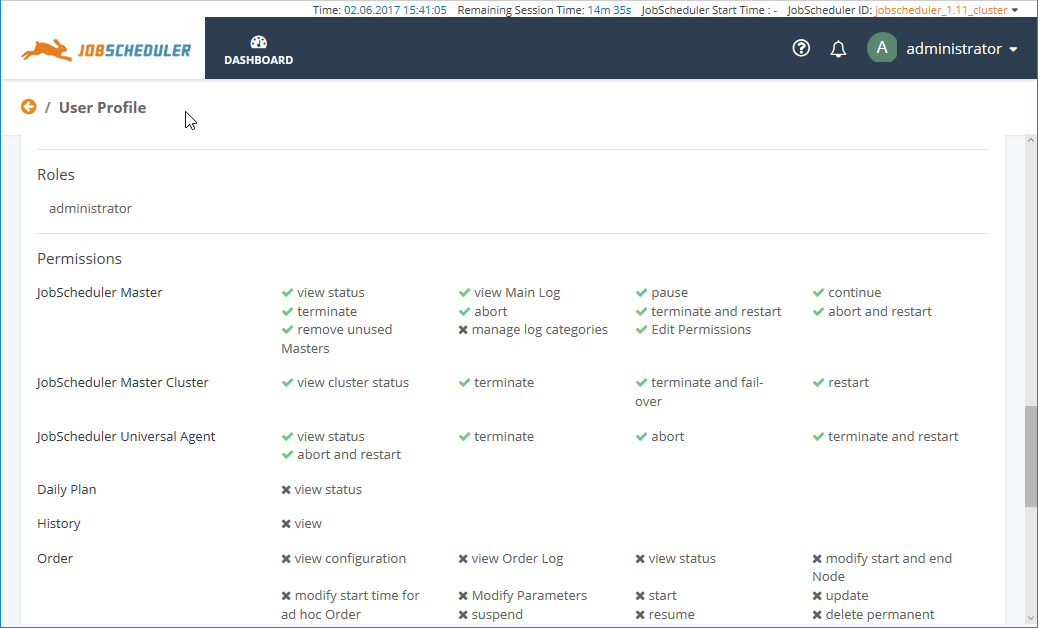
Individual Users can check - but not change - the Permissions they have been granted in the Profile View for their Account as can be seen in the following screenshot which shows part of the Permissions section for Administrator Account with the default administrator Role.
Note that as the default administrator Role is granted a limited Permissions set, the Main Menu Bar in the JOC Cockpit only contains a link to the Dashboard view as can be seen in the screenshot below. In contrast, the root User Account has links for a further seven views (see the screenshots above).
By default the administrator Role is granted Permissions for the Manage Accounts view and therefore the configuration of the User Accounts will continue using this Account rather than root.
A matrix describing and listing the Permissions that are granted by default for the default Roles is available in the Authentication and Authorization - Permissions for the JOC Cockpit Web Service article.
In addition, the same article contains a link to a full list of all Permissions that can be granted.
Editing User Permissions
Permissions Structure
Permissions are hierarchical:
- A Role with the Permission
sos:products:joc_cockpit:jobscheduler_master:view'only' allows a User to view JobScheduler Masters while a User with the 'higher'sos:products:joc_cockpit:jobscheduler_masterPermission is able not only to view JobScheduler Masters but able to carry out all other operations - view, execute and administrate.
Editing Permissions
Consider the default business_user Role, which has the following permission:
sos:products:joc_cockpit:jobscheduler_master:view:status
This permission does not allow the business_user role to access JobScheduler Master log files or parameters which would be granted individually with the Permissions:
sos:products:joc_cockpit:jobscheduler_master:view:mainlogsos:products:joc_cockpit:jobscheduler_master:view:parameters
The following Permissions can be set to allow the business_user role to access JobScheduler Master log files but not parameters:
sos:products:joc_cockpit:jobscheduler_master:view:statussos:products:joc_cockpit:jobscheduler_master:view:mainlog
Alternatively, it may make sense in some situations to grant the Role a higher level Permission and then remove specific Permissions. This approach is shown in the following combination:
sos:products:joc_cockpit:jobscheduler_master:view-sos:products:joc_cockpit:jobscheduler_master:view:parameters
where the ...jobscheduler_master:view Permission is an overall 'view' Permission and the -sos:...jobscheduler_master:view Permission is removed from the :parametersbusiness_user Role.
Caution
Users have to have a Role with the following Permission before they are able to log into the JOC Cockpit:
sos:products:joc_cockpit:jobscheduler_master:view:status
JobSchedulers
Text...
Folder
Text...