...
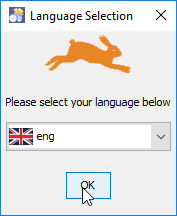
Language Selection
Select the language to be used for the setup: English and German are available.
Step 1 - Welcome Screen
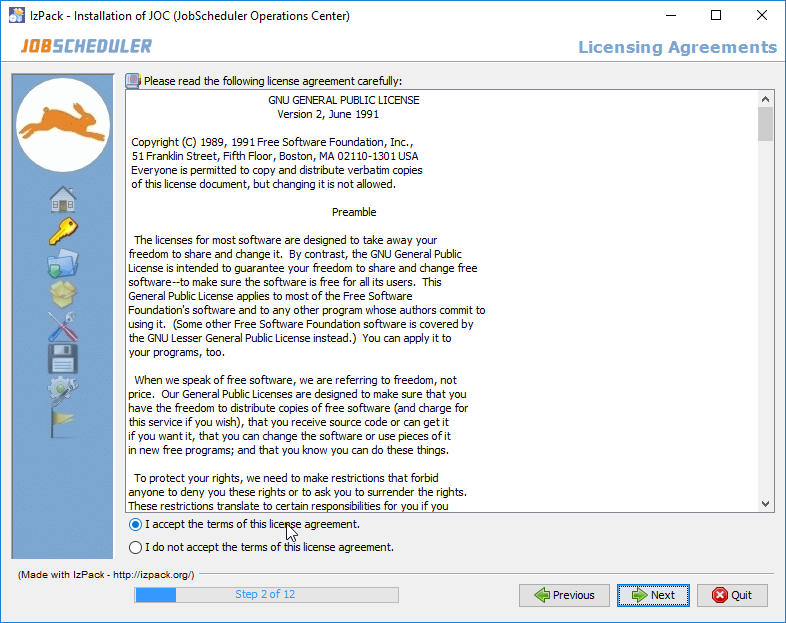
Step 2 - Licensing Agreement
The License Agreement shown in Step 2 of the installation has to be accepted before installation can take place.
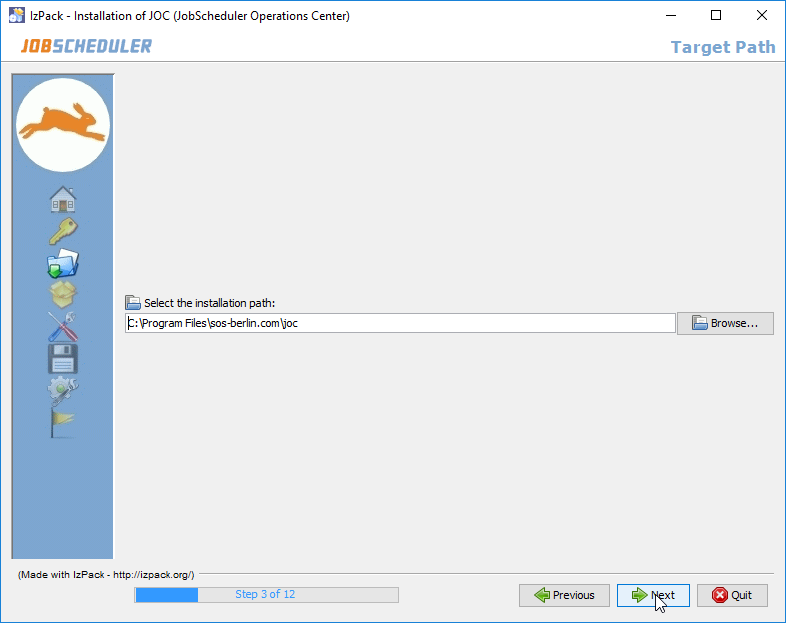
Step 3 - Target Path for the Installation
- The path to the installation directory for the JOC Cockpit program files - referred to later in this page as the joc_installation_directory - is set in this step.
The default installation paths for the JOC Cockpit are:
/opt/sos-berlin.com/jocon Linux systems andC:\Program Files\sos-berlin.com\jocon Windows.
- Users can use the Step 3 installation form shown below to specify their own installation path for the JOC Cockpit if required.
Step 4 - Jetty Installation & ConfigurationAnchor jetty-base jetty-base - The JOC Cockpit requires a Java-capable web server and comes with a Jetty server. Step 4 allows system administrators to specify whether this web server is to be installed and if so, to specify its configuration - i.e. the port(s) it uses, installation path, memory pool, etc..
- The Install JOC ... including Jetty checkbox specifies whether the Jetty web server should be installed.
Default Paths
- While the Jetty web server delivered with the JOC Cockpit is installed in the joc_installation_directory, which was configured in the previous step - the Jetty configuration files are installed in the jetty_base directory. The Jetty Base field in the form shown in the screenshot can be used to set the jetty_base directory.
- The default path to the jetty_base directory on Linux systems leads to the user's home directory:
- e.g.
/home/sos/sos-berlin.com/joc
- e.g.
- Log files are saved by default in:
/var/log/sos-berlin.com/jocon Linux systems.
- The default path to the jetty_base directory and log files on Windows systems is:
C:\ProgramData\sos-berlin.com\joc.
- The default path to the jetty_base directory on Linux systems leads to the user's home directory:
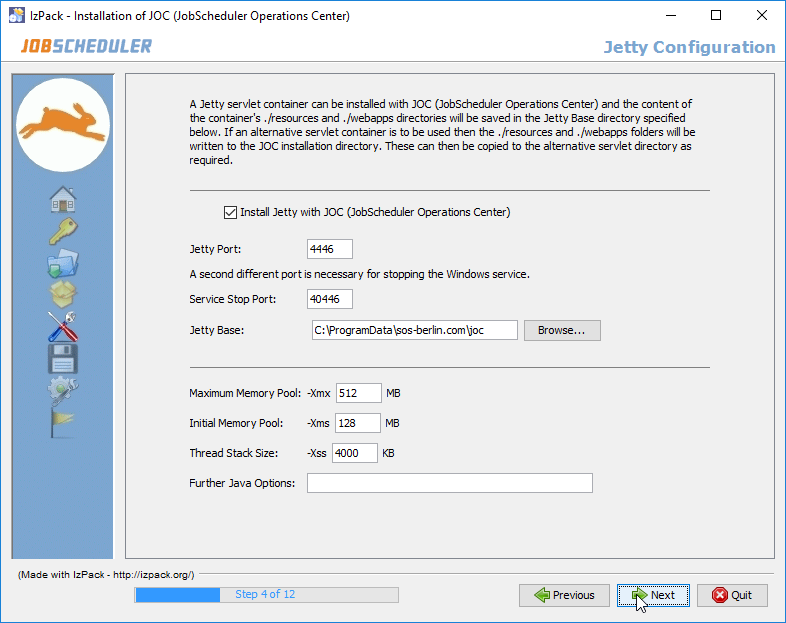
- Note that if If the Jetty delivered with the JOC Cockpit is not to be installed and either an alternative Jetty installation or another web server is to be used, then relevant configuration files for such a server such as the
shiro.iniandjoc.propertiesfiles will still be written to the file system. These files can then be moved by the system administrator to the suitable location for their web server as required. See the Configuration with Alternative Web Servers section below for more information.
Step 5 - Specify the Reporting DBMS
Choose the DBMS to be used by the JOC Cockpit for the Reporting Database.
Caution: the order in which the Reporting and JobScheduler Databases are configured is the opposite to that used in the installation of the JobScheduler.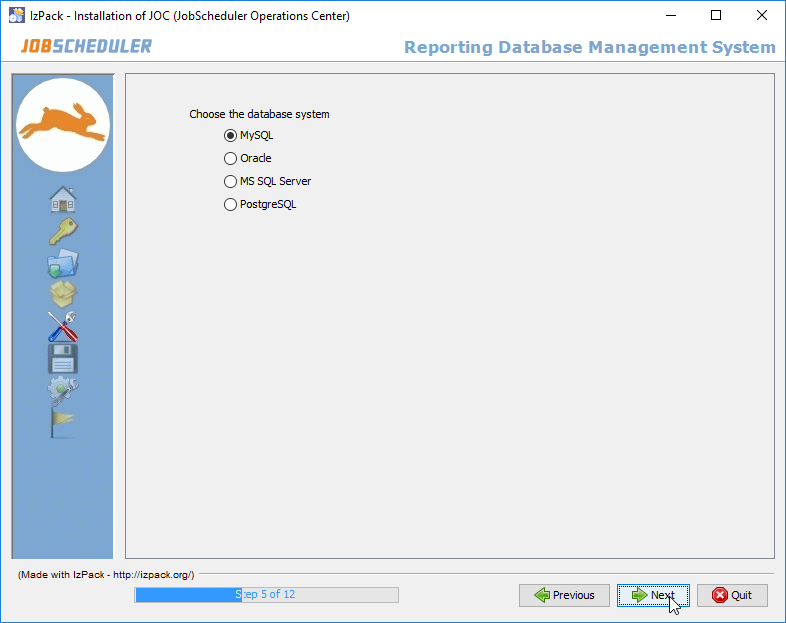
Step 6 - Configure the Reporting Database Connection
Specify the parameters for the connection to the Reporting Database.
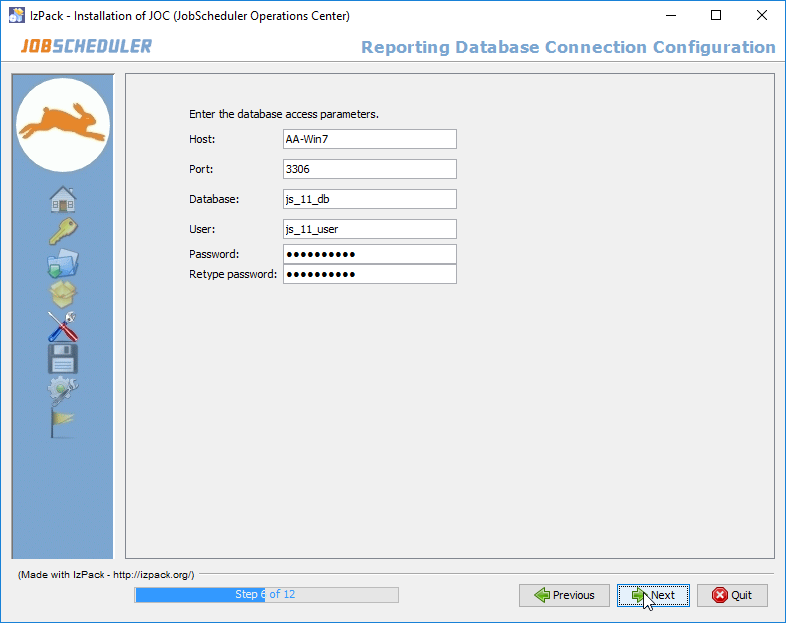
It will be probably be obvious from the names given to the parameters in the screenshot above that the values are for a database to be used by the JobScheduler. In this case the Reporting Database Tables will be integrated in the JobScheduler Database. This will be described in the next step.
The database configuration for the JOC Cockpit is written to an XML file during installation and saved in the
jetty_base/resources/jocfolder.
The default name of the database configuration file is:reporting.hibernate.cfg.xml
This file can be modified at a later date if required using a text editor. The JOC Cockpit service will then have to be restarted before changes made to this file are implemented.
The name and location of the database configuration file itself is specified in the
joc.propertiesfile, which can also be found in thejetty_base/resources/jocfolder.
...
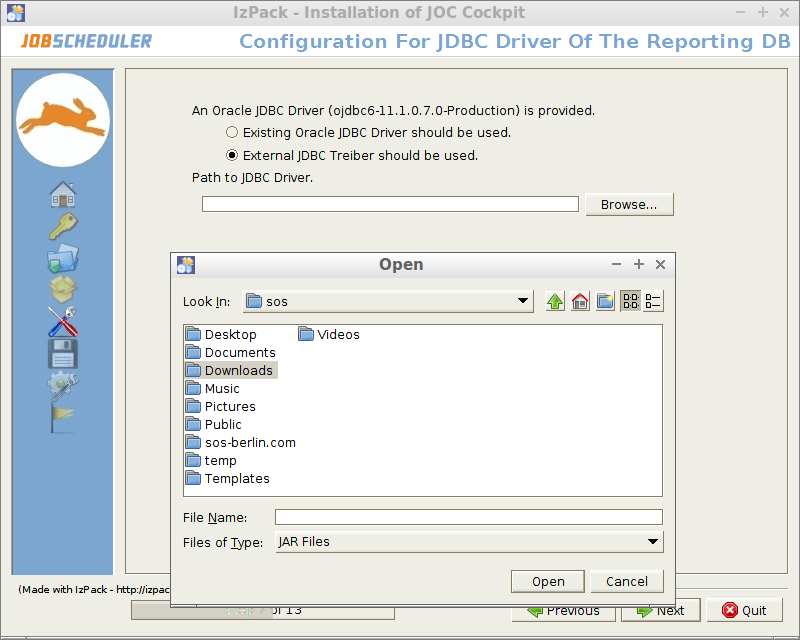
Step 7 - Specify the JDBC Driver for the Reporting Database Connection
- Specify if an JDBC driver provided with the installation should be used for the Reporting Database Connection or whether an external driver is required.
The information shown in this form depends on the DBMS previously selected:- The jTDS JDBC
®driver delivered with the JobScheduler is only shown as an option when Sybase® or Microsoft SQL Server® DBMSs have been specified. - If you have specified a MySql® DBMS then you will get a checkbox for specifying whether you want to use the MariaDB® JDBC® driver provided with the JobScheduler.
- If you do not check the jTDS JDBC® or the MariaDB JDBC drivers then you must enter your own JDBC® driver in the form shown below.
- The jTDS JDBC
Configuring the JDBC Driver-URL for Oracle RAC databases
The JDBC driver URL for Oracle RAC databases should be entered in the Host field of the database connection form. For example:
Code Block jdbc:oracle:thin:@(DESCRIPTION=(ADDRESS_LIST=(LOAD_BALANCE=OFF)(FAILOVER=ON) (ADDRESS=(PROTOCOL=TCP)(HOST=tst-db1.myco.com)(PORT=1604)) (ADDRESS=(PROTOCOL=TCP)(HOST=tst-db2.myco.com)(PORT=1604))) (CONNECT_DATA=(SERVICE_NAME=mydb1.myco.com)(SERVER=DEDICATED)))
In addition the Schema and Port fields should be left empty.
- Specify if an JDBC driver provided with the installation should be used for the Reporting Database Connection or whether an external driver is required.
Step 8 - Specify the Database Connection Used by the JobScheduler
Specify whether a separate connection it to be specified for the JobScheduler Database
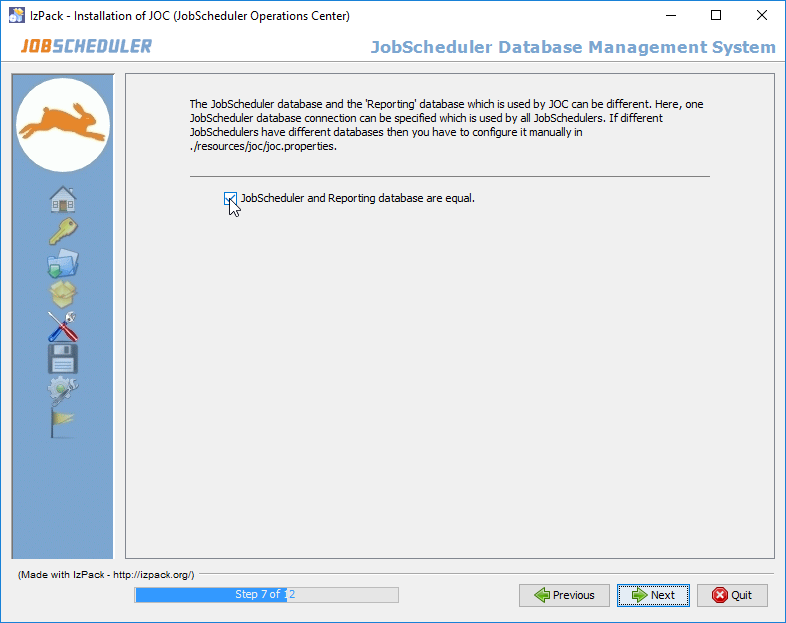
- If the JobScheduler(s) and JOC Cockpit share the same database then clicking Next will cause the Installation to proceed to Step 10. This step starts the installation process itself and changes to the configuration are no longer possible.
- If the JobScheduler(s) and JOC Cockpit use separate databases then the checkbox in the form should be deselected. In this case, clicking Next will cause the Installation to proceed to the specification of the DBMS and the connection parameters for the JobScheduler database, which are described next.
Step 9 - Specify the JobScheduler DBMS
- This form is identical to those already shown for the Reporting Database in Steps 5 to 8 above.
Step 10 - Configure the JobScheduler Database Connection
Specify the parameters for the connection to the JobScheduler Database.
- The DBMS type can be found in the database configuration for job history section of the
$JOBSCHEDULER_DATA/factory.inifile of one of the JobSchedulers to be operated from the JOC Cockpit, where$JOBSCHEDULER_DATAis defined in the JobScheduler Master Installation - 2 - Dialog Installation article.
- The DBMS type can be found in the database configuration for job history section of the
- The database configuration for the JOC Cockpit is written to an XML file during installation and saved in the
jetty_base/resources/jocfolder.
The default name of the database configuration file is:jobscheduler.hibernate.cfg.xml
This file can be modified at a later date if required using a text editor. A JOC Cockpit user will then have to log in again before changes made to this file are implemented.
The name and location of the database configuration file itself is specified in the
joc.propertiesfile, which can also be found in thejetty_base/resources/jocfolder.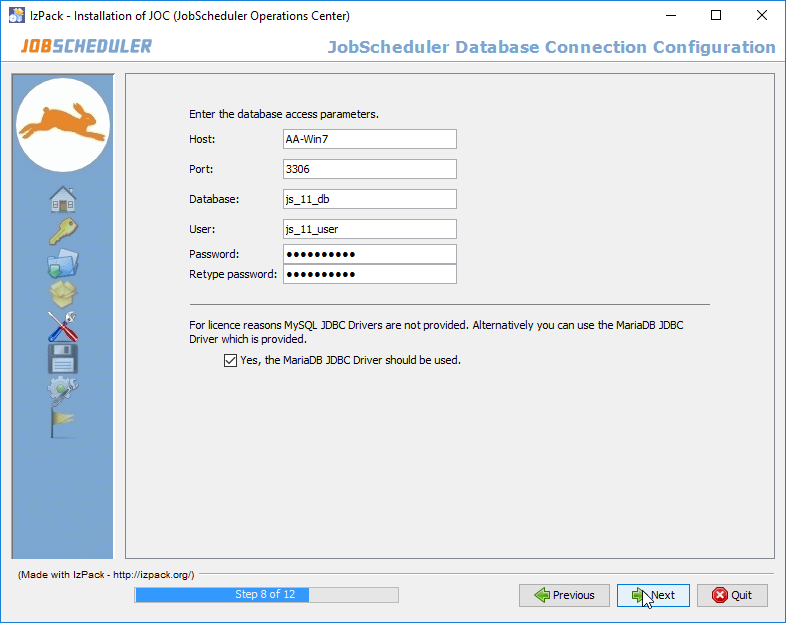
...
ProgramDatasos-berlin.comjocjoc_home(symlink, remains after uninstall)logs(directory with files, remains after uninstall)resources(remains after uninstall and (empty) after full uninstall)jocjobscheduler.hibernate.cfg.xml(remains after uninstall if modified)joc.properties(remains after uninstall)log4j.properties(remains after uninstall if modified)reporting.hibernate.cfg.xml(remains after uninstall if modified)shiro.ini(remains after uninstall)shiro.ini-example(only added ifshiro.inifile is found)
temp(directory with files, remains after uninstall)webappsstart.ini(file, remains after uninstall)
Program Filessos-berlin.comjocinstall(directory with files)install_jetty_base.cmdupdate_jetty_base.cmd
jetty(directory with files)jetty_base(symlink)serviceUninstaller(directory, the empty remains after uninstall and full uninstall)uninstall.cmduninstaller.jar
.jocinstallinformation(file, remains after uninstall)joc_install.xml(file, remains after uninstall)
...
Detailed descriptions of each parameter are included in the file and are intended to be self-explanatory.
| Code Block | ||||||||
|---|---|---|---|---|---|---|---|---|
| ||||||||
################################################################################ ### In almost all cases a JobScheduler Master has a URL in the form ### http(s)://[jobSchedulerHost]:[jobSchedulerHTTP(S)Port]. ### JOC Cockpit web services know this URL because the JobScheduler Master stores ### this information to the Reporting Database. ### If the JobScheduler Master is running in a docker container or behind a reverse ### proxy then the URL can be different and the JobScheduler Master cannot know by ### which URL it is accessible. ### Here you can set a url mapping in the form ### ### jobscheduler_url_myJobSchedulerHost_myJobschedulerHTTPPort = url ### ### all entries have a prefix "jobscheduler_url_" ### Please note that the key has to be in lowercase and contains always the ### HTTP port even if the URL uses the HTTPS protocol # jobscheduler_url_localhost_40444 = http://docker_url |
...
- on Linux systems in the directory:
/etc/default/jocif the installer was executed by the root account./home/<user>/jocrcif the installer was executed by a user account (./setup.sh -u <user>).- On startup JOC Cockpit will check the
/home/<user>/jocrcfile and only if this cannot be found it will check the/etc/default/jocfile.
- on Windows systems in the Registry under:
HKLM\SOFTWARE\WOW6432Node\Apache Software Foundation\Procrun 2.0\sos_joc\Parameters\Java
- Java Memory options can also be configured by opening the
sos_jocw.exewhich can be found in thejoc_home\servicedirectory.
...
- Tips from a user on Installation with Tomcat
...