Page History
...
The Workflow Editor supports keyboard shortcuts and mouse operations to move objects and to copy, cut and paste objects.
...
Drag and Drop
The middle panel holds a vertical toolbar with icons for the relevant JS7 - Workflow Instructions.
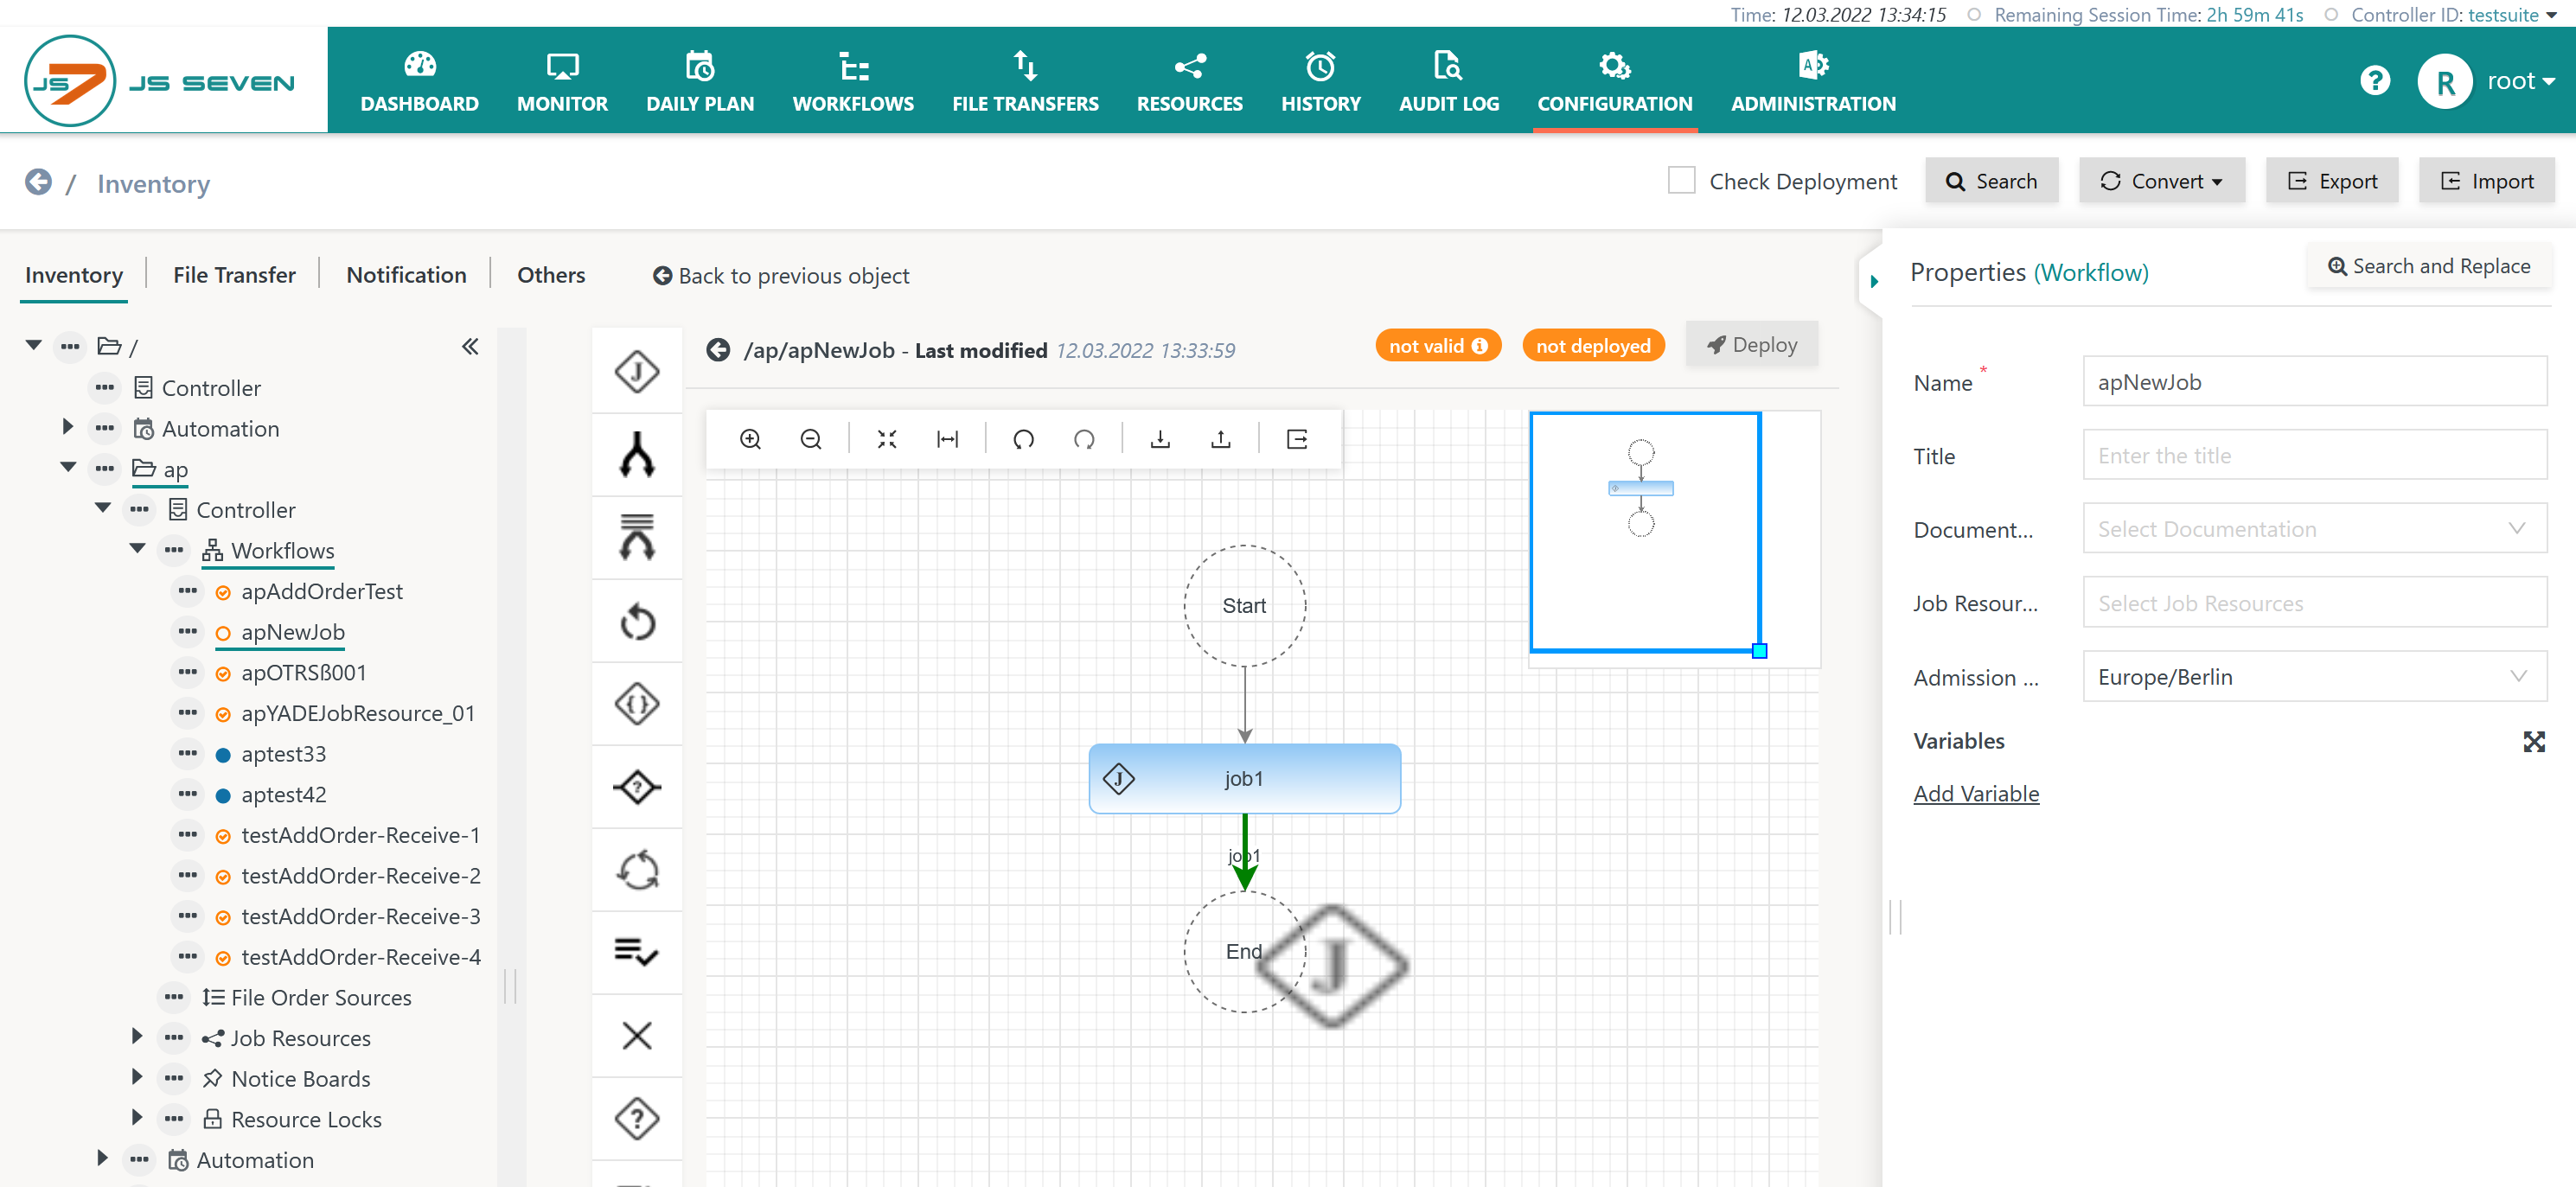
The first instruction icon for a Job indicates a JS7 - Job Instruction and can be dragged from the toolbar and dropped in the indicated area:
- The
 icon is used to add a Job Instruction from the toolbar.
 - The dropping area has to be touched by the cursor, not by the Job Instruction icon.
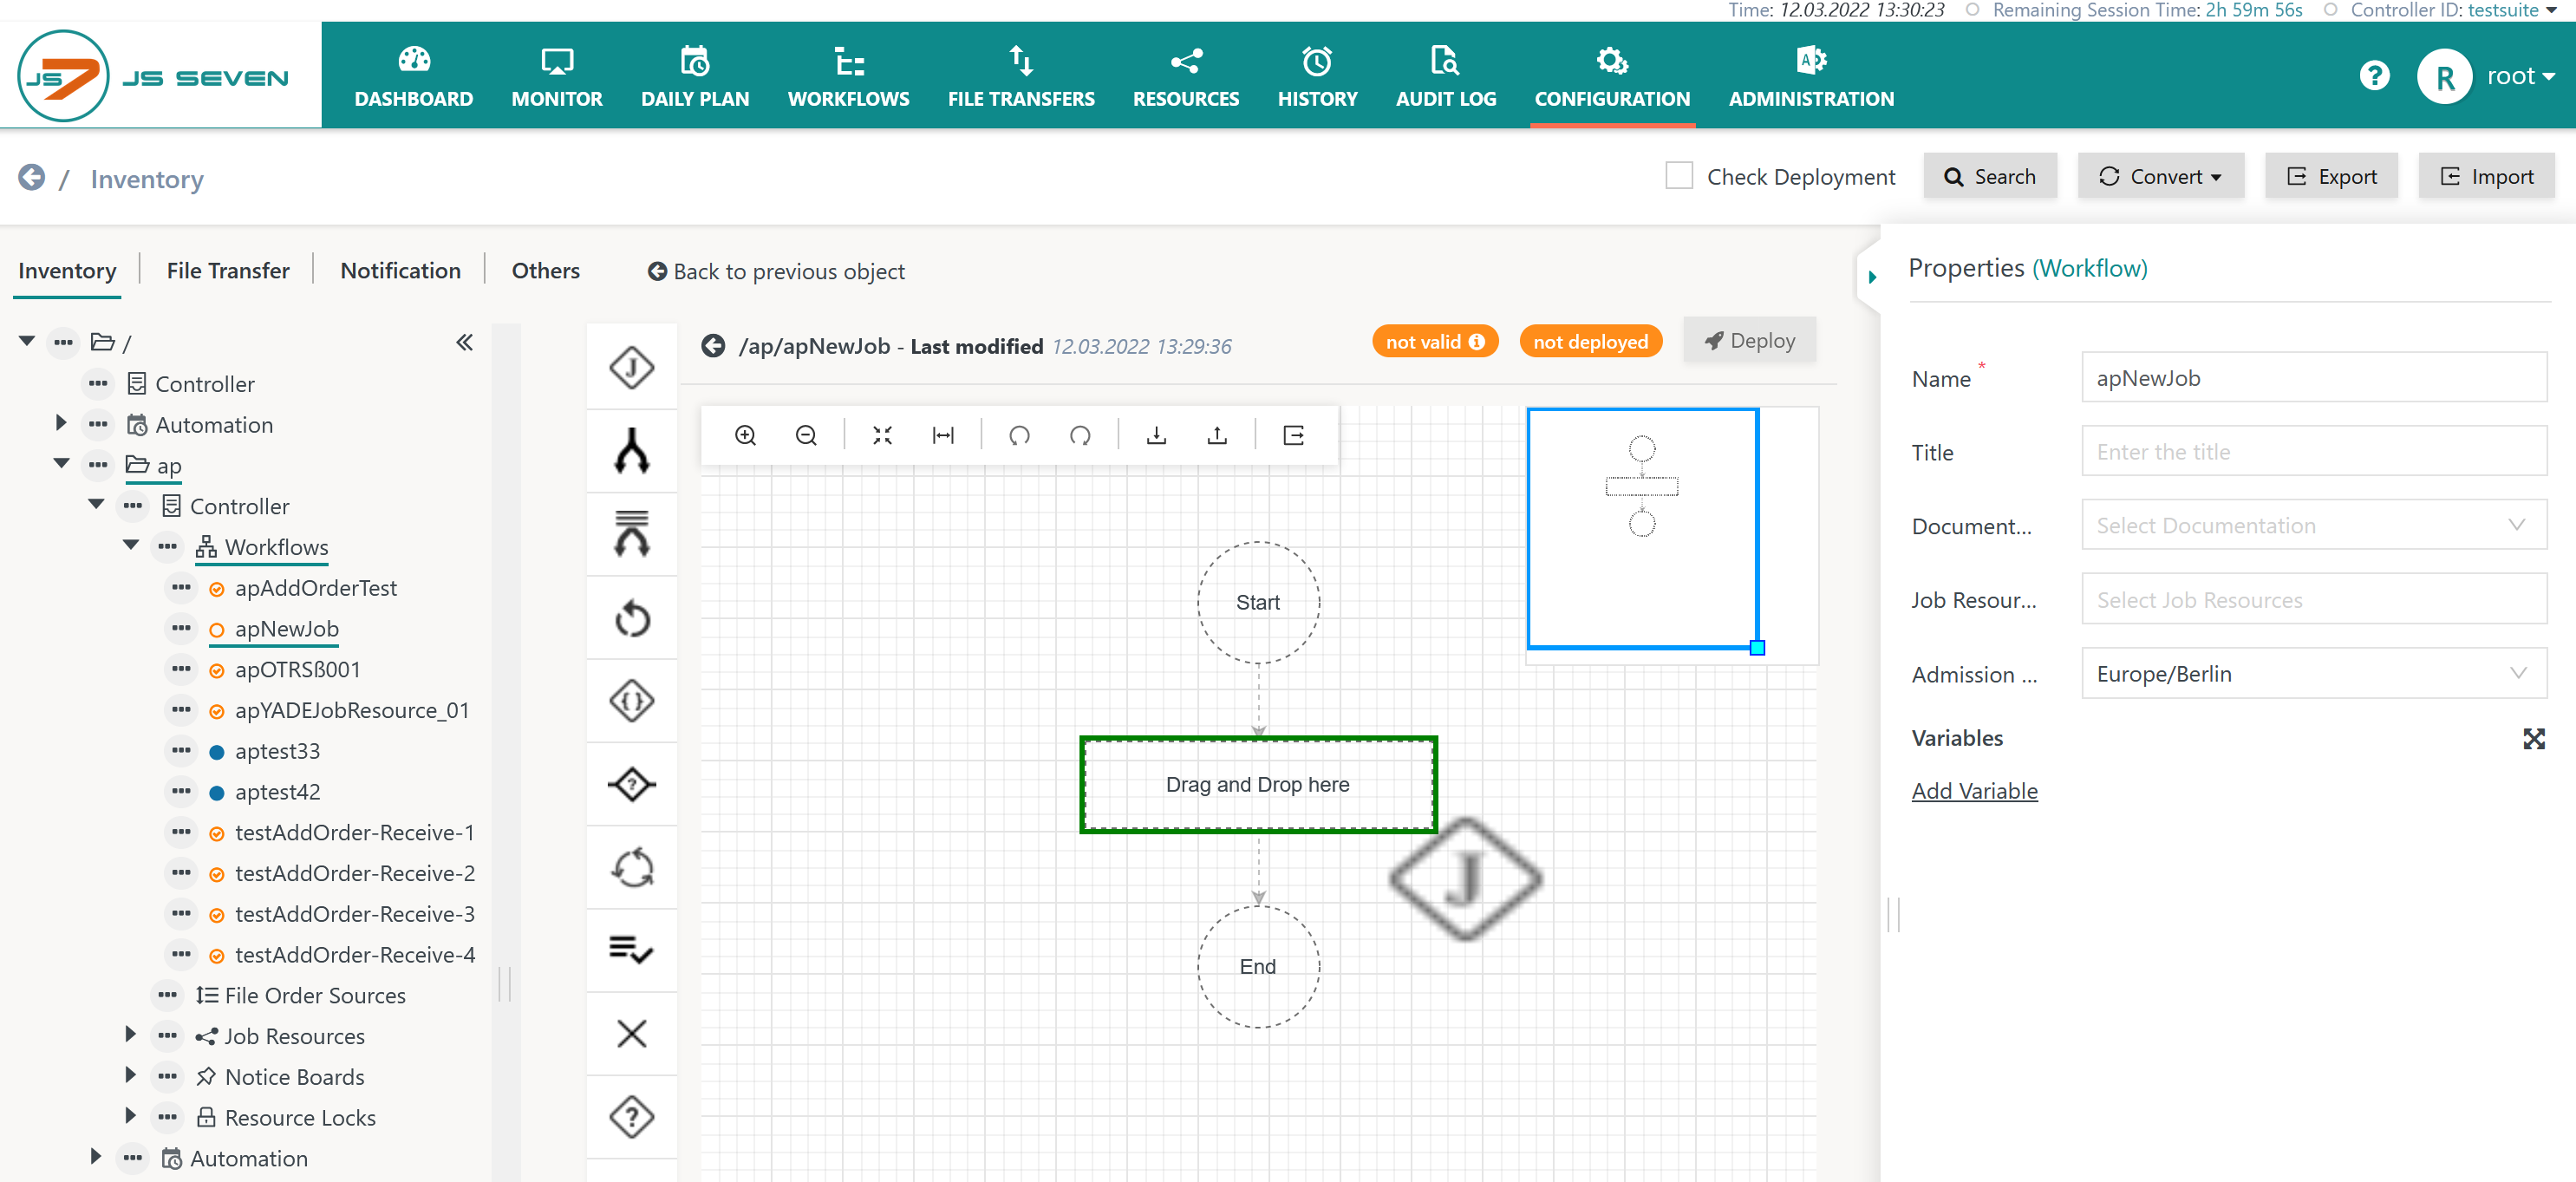
To add further instructions to a workflow, for example a second Jobjob, the Job Instruction is dropped on the connector lines before or after the existing job.
- The connector line has to be touched by the cursor, not by the Job Instruction icon.
Example for Adding Fork/Join Instruction Branches
...
To add a branch to the Fork/Join Instruction, for example a Job, the ![]() icon Job Instruction icon is dragged and dropped directly onto the Fork Instruction icon.
icon Job Instruction icon is dragged and dropped directly onto the Fork Instruction icon.
- The
 Fork Instruction icon has to be touched by the cursor, not by the icon for the Job Instruction that is being added.

When drag dragging and dropping of a Job directly onto Instruction onto the ![]() Fork Instruction icon is repeated, then an additional branch will be created each time as shown below:
Fork Instruction icon is repeated, then an additional branch will be created each time as shown below:
...
Users can add jobs to an existing branch by dragging and dropping the ![]() Job Instruction icon onto the connector lines before or after an instruction such as a Joblike this:
Job Instruction icon onto the connector lines before or after an instruction such as a Joblike this:

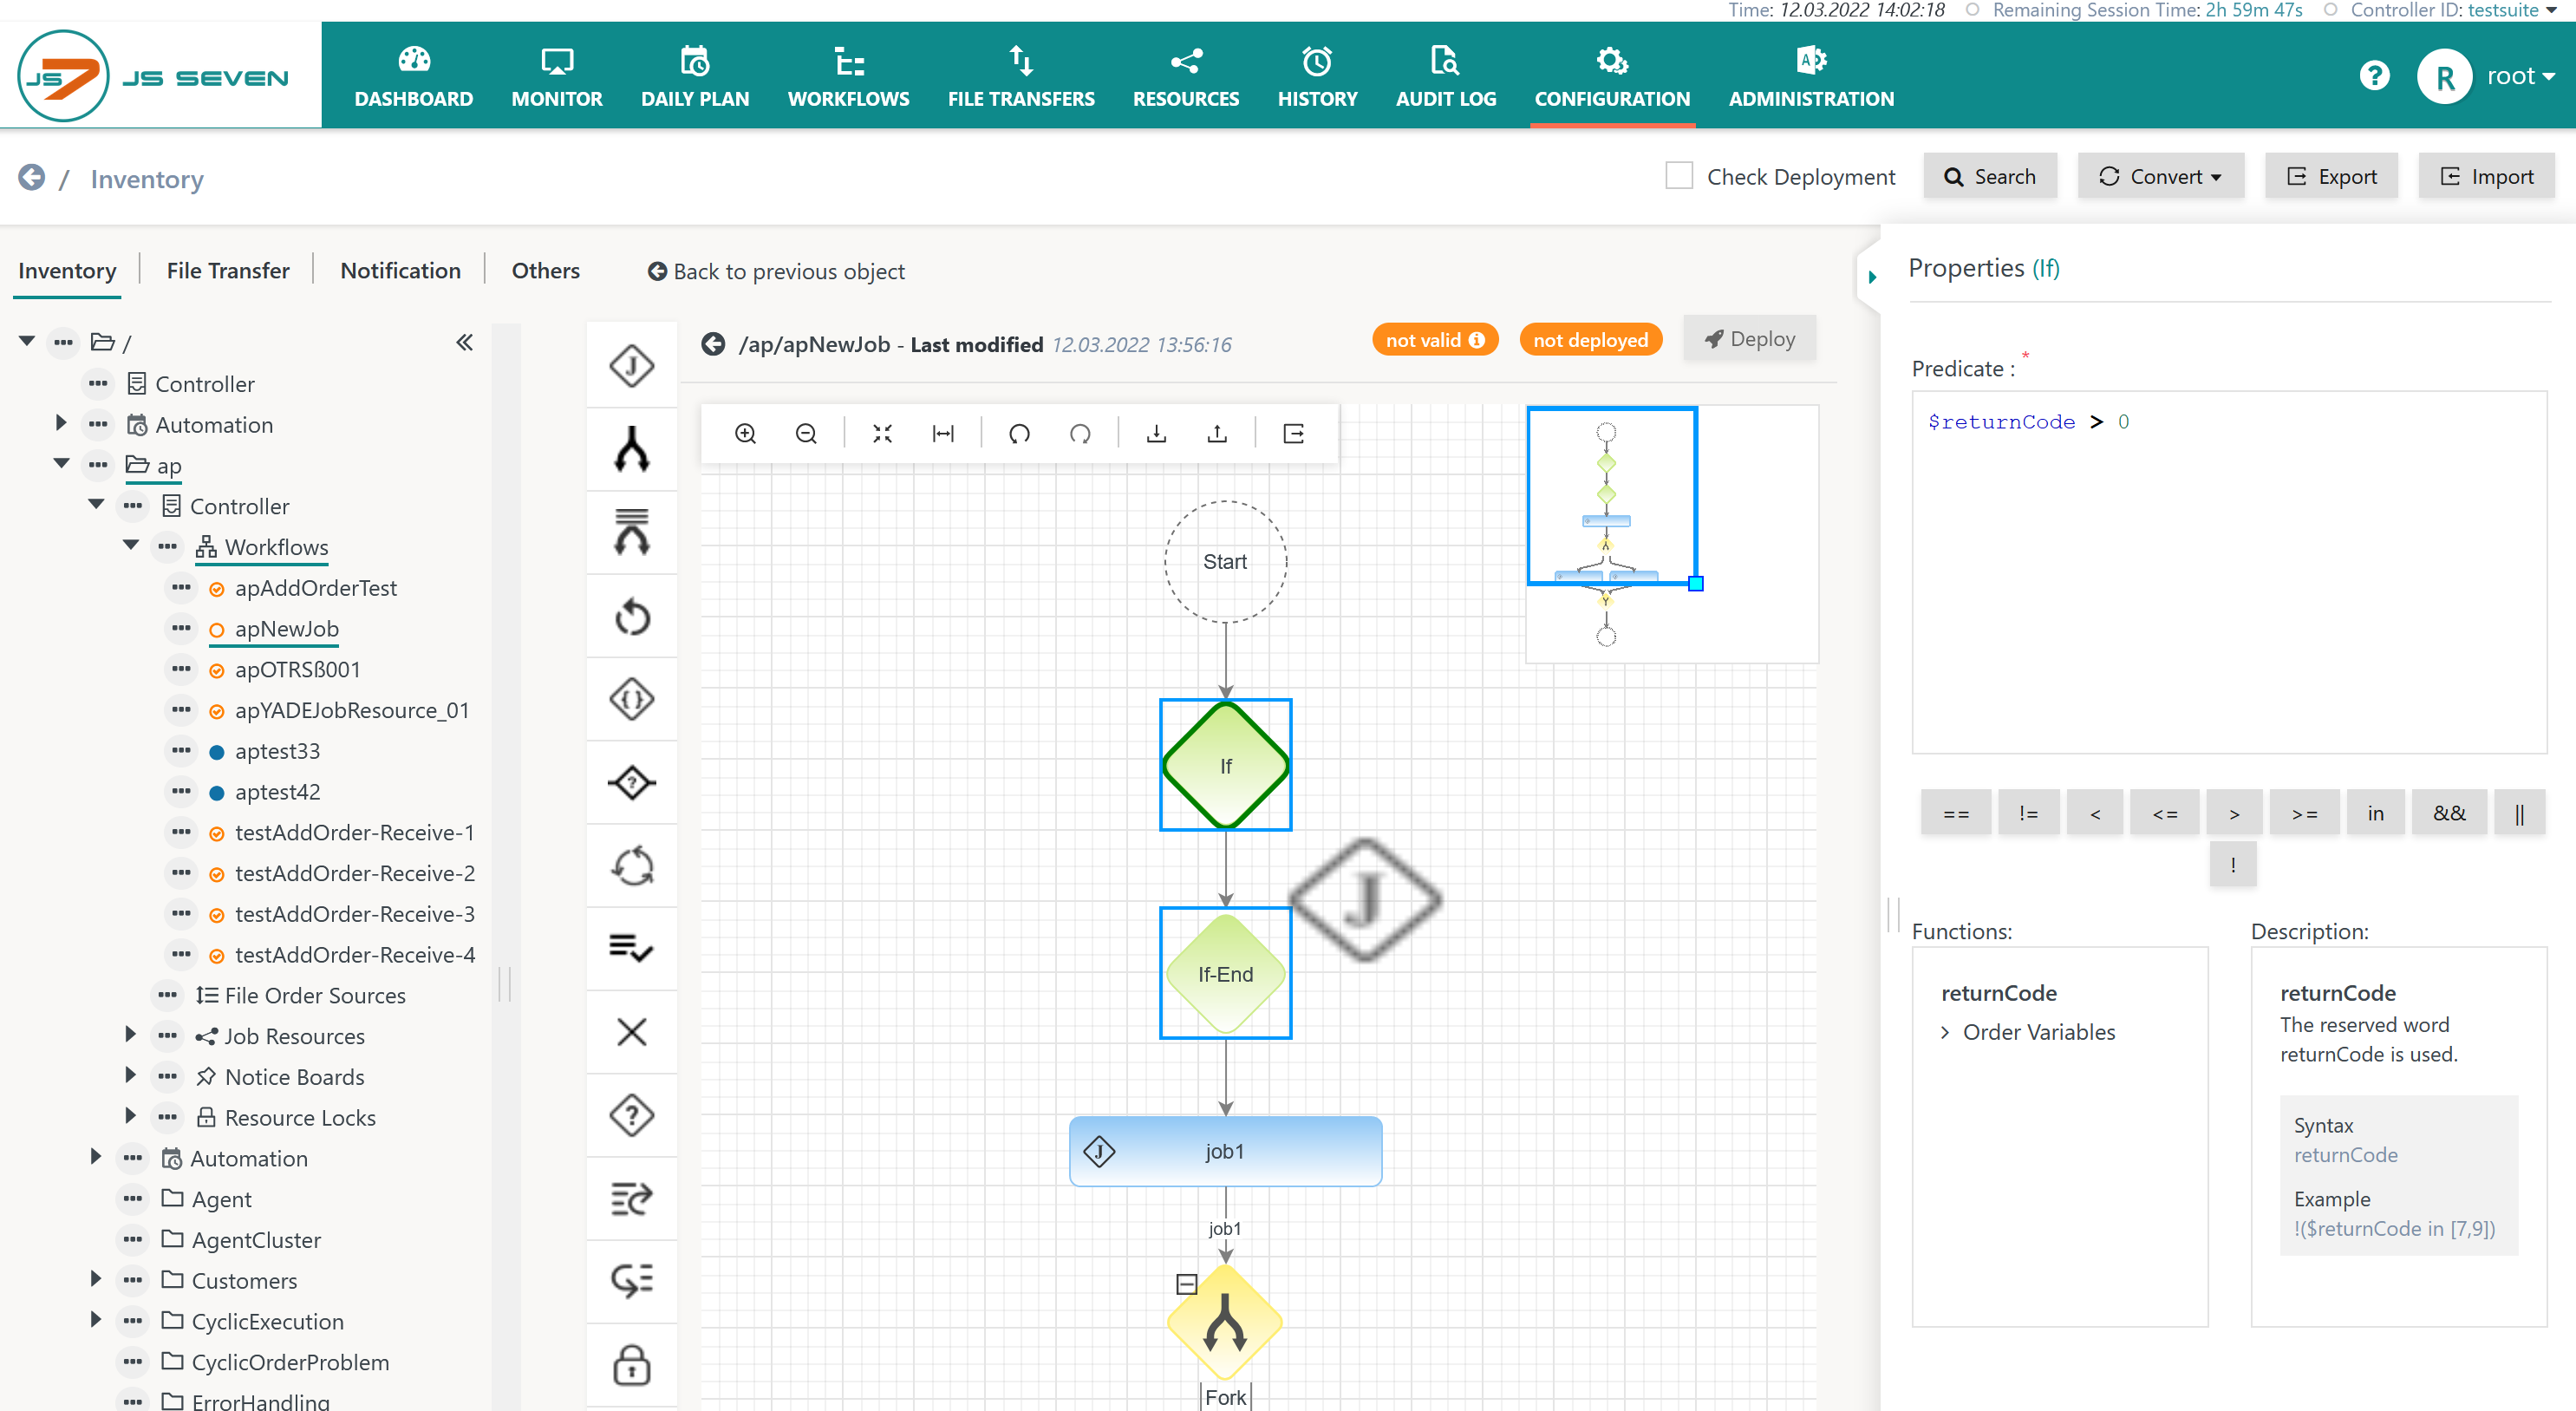
Example for Adding If Instruction Branches
Adding a JS7 - If Instruction to a workflow allows conditional execution of jobs and further instructions to be performed.
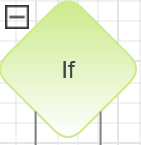
- The
 icon If Instruction icon is used to add an If Instruction from the toolbar.
 - In a first step an empty block for If and If-End is created.
- The property editor is then used to specify the predicate of the If Instruction, i.e. the condition.
...
To add a branch to an If Instruction for, for example, for a Jobjob, the ![]() icon Job Instruction icon is dragged and dropped directly onto the
icon Job Instruction icon is dragged and dropped directly onto the ![]() If If Instruction icon.
If If Instruction icon.
If a further Job Instruction is dragged and dropped directly onto the ![]() If Instruction icon, a second branch will be created for the If Instruction as shown in the diagram below.
If Instruction icon, a second branch will be created for the If Instruction as shown in the diagram below.
- The left hand branch will be processed if the condition evaluates to true, the right hand branch will be processed if it evaluates to false.
- The
 icon has to be touched by the cursor, not by the Job Instruction icon.
Visible Section Operations
Moving the Lens
The visible section of in the design panel can be moved by use of the mouse and by keyboard shortcuts:
- Left, right, up and down arrows move the lens to focus on different sections of in the design panel.
- Alternatively users can move the lens by clicking and moving the indicated blue frame with their mouse.

With each click on When hitting an arrow key the focus is moved to the respective direction.
...
When clicking into the design panel a horizontal toolbar is made available:
The toolbar offers
- the
 zoom-in button to enlarge objects in the visible section of the design panel.
 - the
 zoom-out button to reduce the size of objects in the visible section of the design panel.
 - the
 zoom-default button resets the zoom to its default value.
 - the
 zoom-fit button zooms the visible section to a size required to make all objects visible.
...
- Hitting the Ctrl+A key selects all objects in the design panel.
- Pressing the Ctrl key and clicking individual objects in the design panel selects the respective objects.
- Alternatively, users can highlight with the mouse an area with objects that should be selected:
...
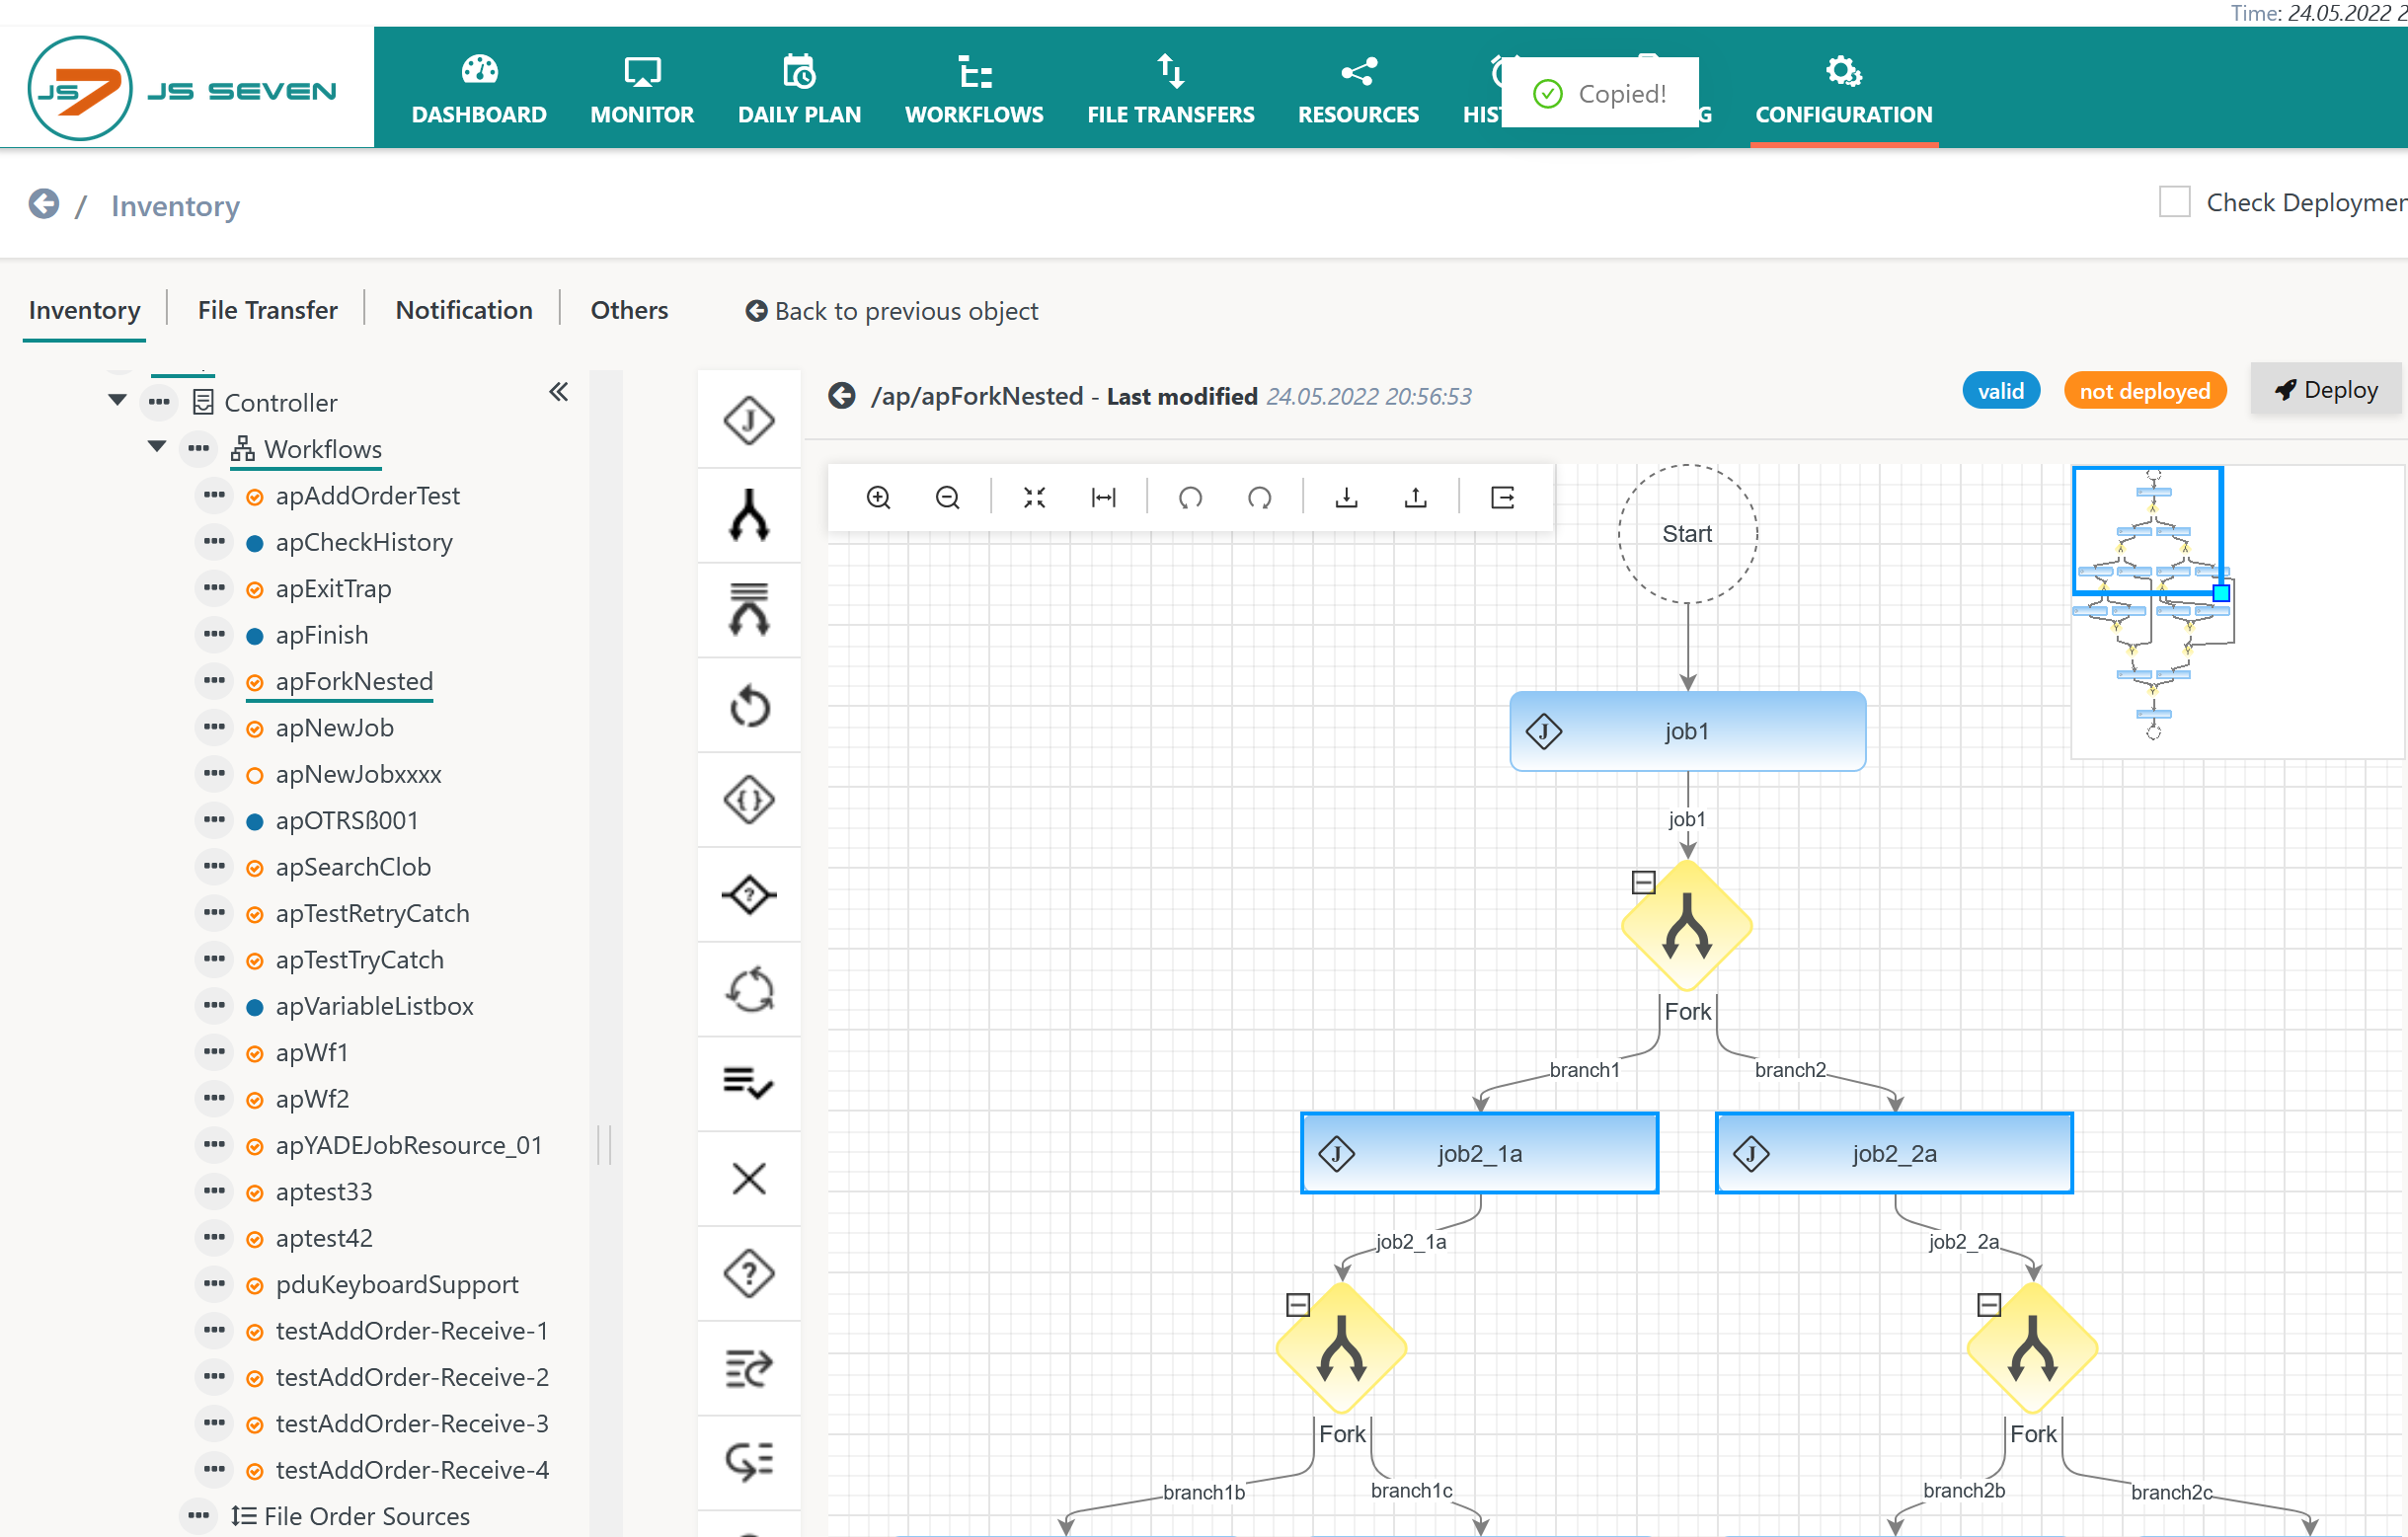
When hitting the Ctrl+C key a popup message appears that indicates: Copied!.
Similarly when using the Ctrl+X key a popup message indicates: Ready for paste!.
In order to select the position to which objects should be pasted users can click a connector line that will be highlighted in green color like this:
...
When hitting the Ctrl+V key the objects are object(s) are pasted to the indicated location:
...
The DEL key can be used to remove selected objects.
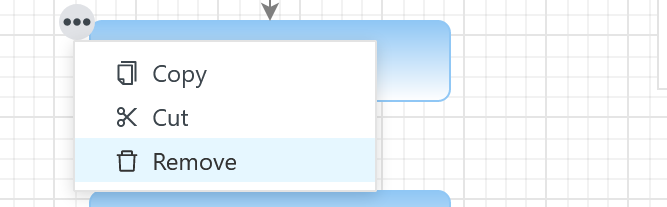
Alternatively, when moving the mouse on an individual object its ![]() action menu becomes visible:
action menu becomes visible:
...
Clicking the action menu brings forward the menu item to remove the respective object.
Removal of objects can be undone, see next section.
...
The Workflow Editor offers a stack of up to 20 levels to undo and to redo previous operations on graphical instructions and on text input to the Property Editor.
When clicking into the design panel a a horizontal toolbar is made available:
...
The toolbar offers
- the
 undo operation that allows to undo the most recent operation on a graphical instruction or on text input.
 - the
 redo operation that allows to redo the most recent operation that was undone.
Repeatedly hitting the undo / redo button buttons applies this operation on to previous operations further in the stack.
...
When clicking into the design panel a horizontal toolbar is made available:
...
When clicking into the design panel a horizontal toolbar is made available:
...
The Job Script Editor is explained in more detailed detail in the JS7 - Job Script Editor article.
Overview
Content Tools