Introduction
- Initial Operation is performed after installation of the JS7 Agent, Controller and JOC Cockpit.
- Tasks include registering a Standalone Controller and Agents.
Prerequisites
Initial Operation requires that a JS7 Agent, Controller and JOC Cockpit are successfully installed and are up and running.
- For details see JS7 - Installation
- The steps for initial operation are the same for all supported platforms:
Installation Video
This video explains how to register a Standalone Controller and Agents with JOC Cockpit:
Initial Operation
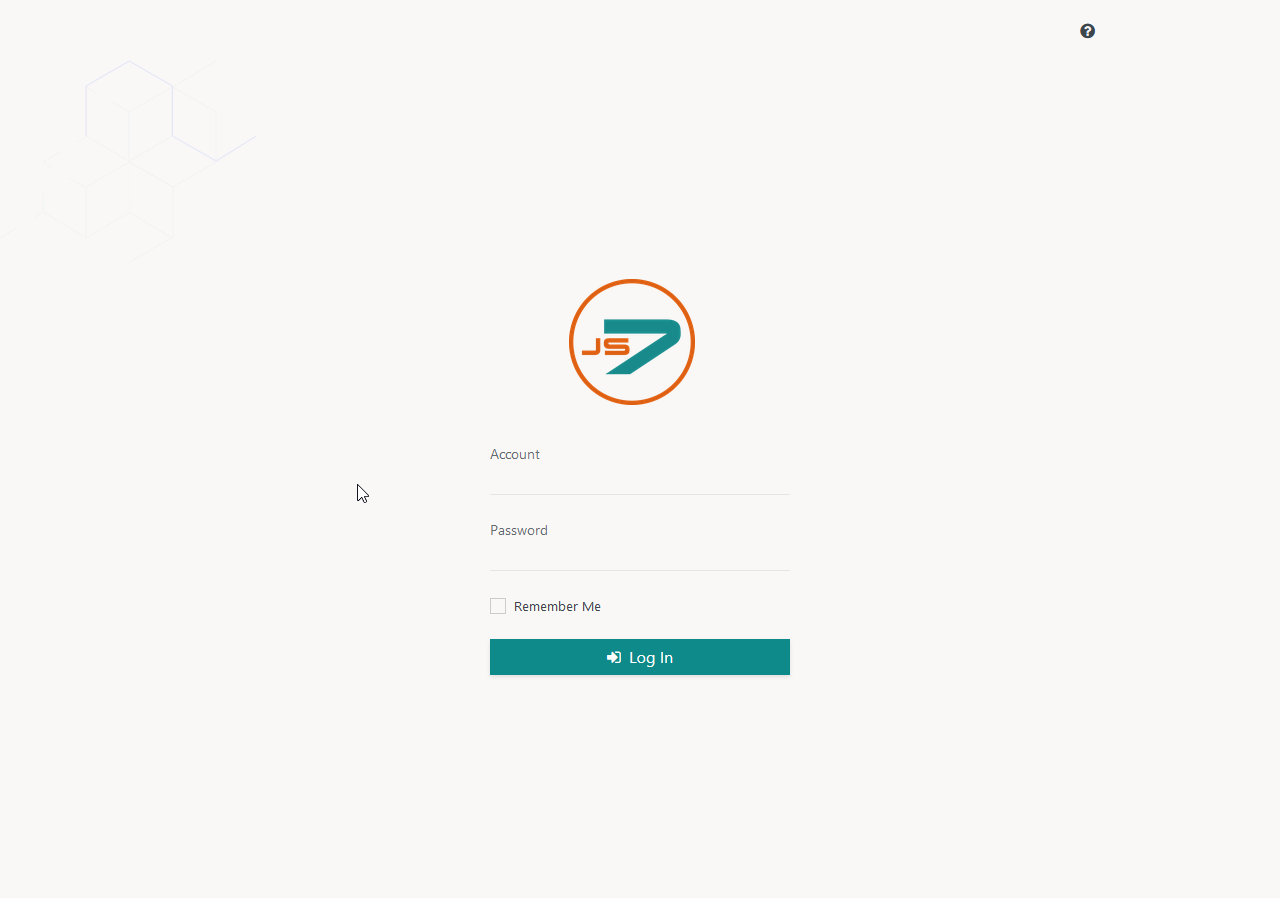
Login to the JOC Cockpit User Interface
In your browser navigate to the JOC Cockpit URL and enter the User Account and Password. Typically the URL includes the hostname and port that JOC Cockpit has been installed for:
For example,
http://myhost:4446. Please check that the JOC Cockpit port is accessible which might include adding firewall rules to allow access to this port from the computer that you operate the browser on.After initial installation of JOC Cockpit the default User Account
rootand the Passwordrootwill be available if no changes have been made to theshiro.iniconfiguration file.
Note that the root user is assigned the
allrole in the default configuration that includes all available permissions.
See the Authentication and Authorization - Configuration article for information about the configuration of other user profiles and authentication methods.Note that the JOC Cockpit web service might take a minute to start and to display the login window.
Register Controller and Agents
A dialog window appears after successful logging in to JOC Cockpit. This window asks you to register a Controller. You will find the same dialog later on using the User -> Manage Controllers/Agents menu item.
Registering a Standalone Controller
Registering a Standalone Controller is a straightforward task: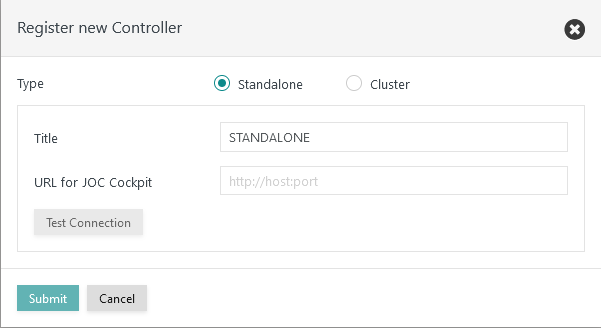
Explanation
- The title specified for the Controller will be shown in the JS7 - Dashboard view.
- The URL for JOC Cockpit is the hostname and port of the Controller as seen by JOC Cockpit. This URL is used by JOC Cockpit to connect to a Controller.
- Ensure that the Controller's port is accessible: this might include adding firewall rules to allow access to this port from the server that JOC Cockpit is operated on.
Register Agents
After the connection between JOC Cockpit and the Controller is established you can add Agents. To register an Agent switch to the Manage Controller/Agents view from the user menu. Click on the Controller Action Menu (the ellipsis symbol), which the Agent should be registered for and select Add Agent.
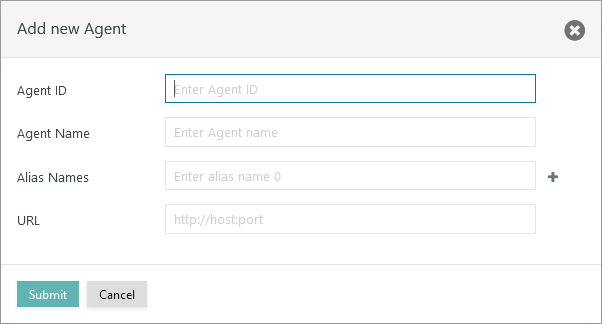
Explanation:
- The Agent is assigned an
Agent IDwhich is a unique identifier for this Agent that cannot be modified during the lifetime of an Agent. Change of theAgent IDrequires that the Agent is removed and then re-added to the JOC Cockpit. It is not necessary to uninstall/reinstall an Agent. - The
Agent Nameis a unique identifier that is used for example in the JOC Cockpit Configuration view to assign Agents to jobs. TheAgent Namecan be modified later on. - In addition, you can add
Agent Alias Namesto make the same Agent available under a number of names. - The
Agent URLincludes the protocol, the hostname and port used to operate the Agent.
Further References
- Installation
- Operation
- Configuration
Overview
Content Tools