...
- Select the Chain Nodes for hallo_world_job_chain by clicking on the Job Chains Steps/Nodes Element.
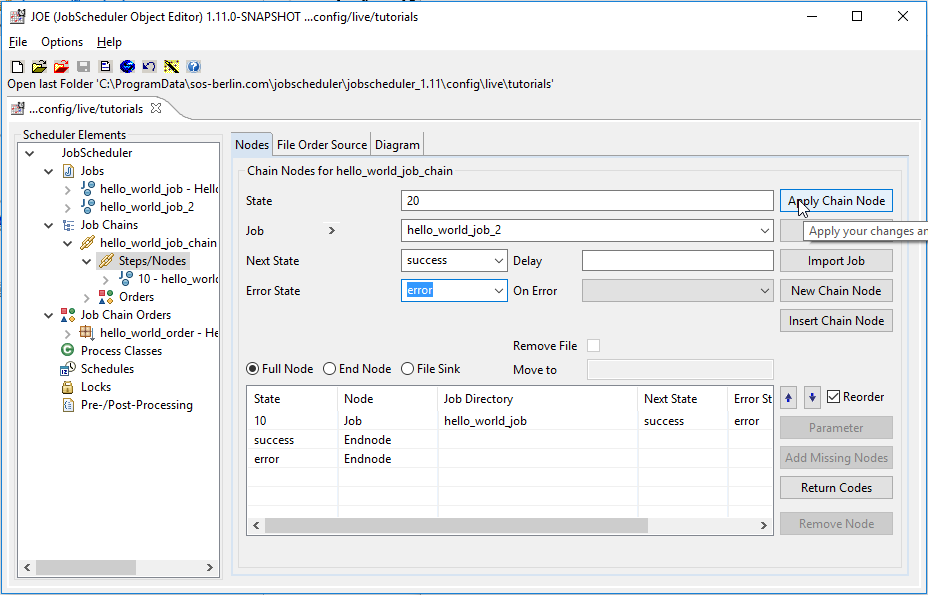
- Click on the New Chain Node button at the right
- Enter the information shown in the screenshot below and the click on the Apply Chain Node button:
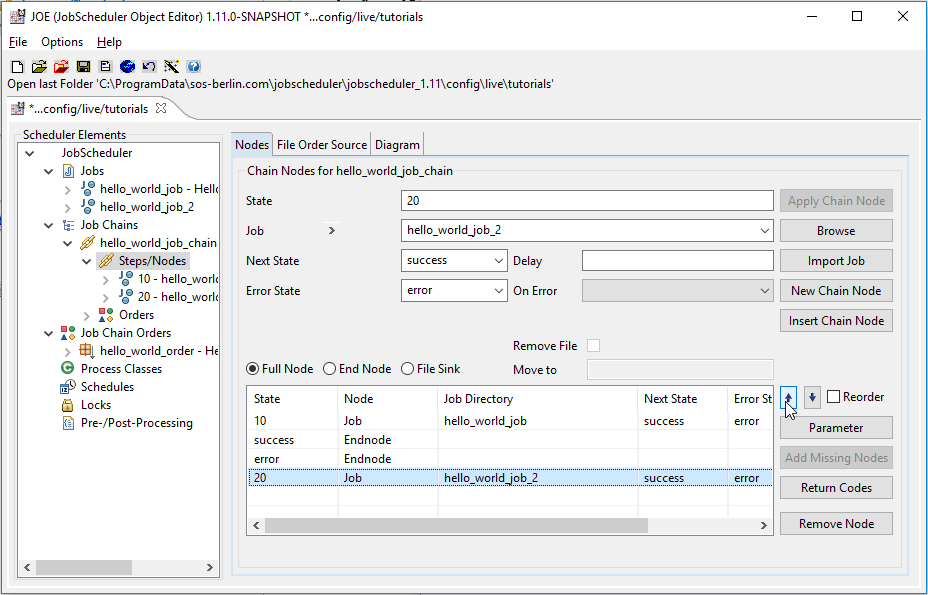
- Now deselect the Reorder checkbox (at the right, under the Insert Chain Node button).
- Select the hello_world_job_2 and then move it up to its correct position in the job chain by clicking as required on the Moves the selected data up one row arrow as shown:
- Lastly, change the Next State for the hello_world_job from success to 20 using the Next State select box as shown in the diagram below:
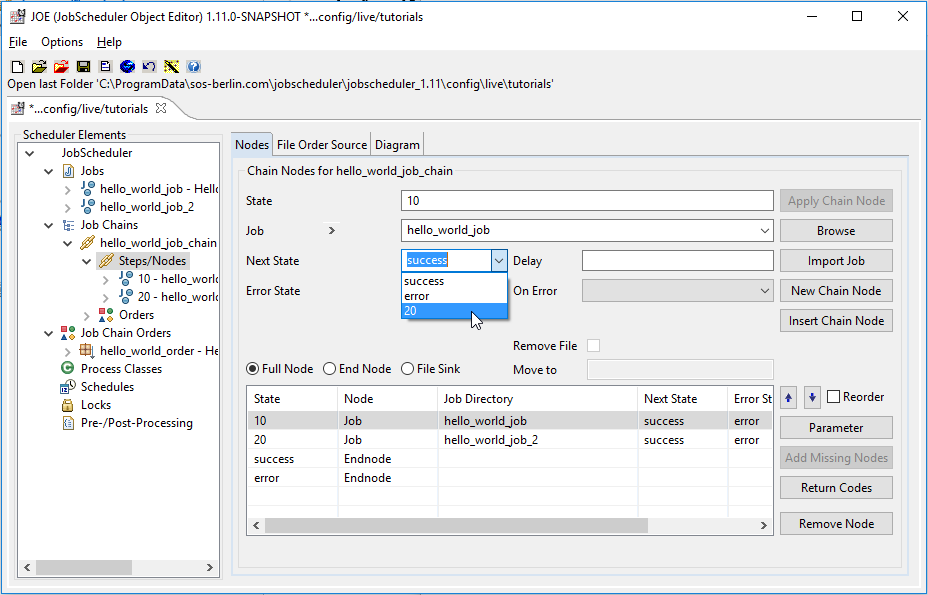
Don't forget to apply this change by clicking the Apply Chain Node button. - Save your updated configuration to the file system by clicking on the "Save Configuration" icon as already described above.
- Then click on the (unlabeled) grey icon with the arrow to update the Scheduler Elements pane view, answering yes to the Do you want to reload ..." info. box.
You will now see both jobs listed in the Scheduler Elements pane - under the Jobs element and under the Job Chains Steps/Nodes Element.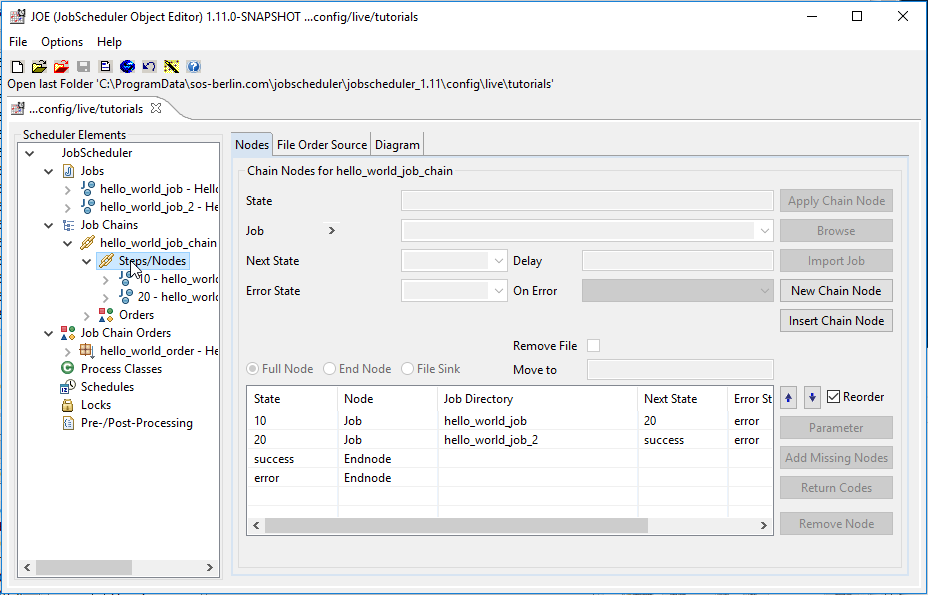
- The job chain could now be run using the JOC Cockpit's Start order immediately function as was done in the first tutorial.
However, in Instead, the next tutorial will demonstrate the use of JobScheduler's Run Time parameters and the use of the JOC Cockpit's Start Order Now and On-The-Fly Run-Time functions.
Summary
...
you will see how a run time can be set using the order'
...
s Run Time
...
property, a first step in learning to use JobScheduler'
...
s Schedule
...
functions.