Page History
| Table of Contents |
|---|
Introduction
- The JS7 - Download offers page provides information and links to download current releases of the product for download. For the initial installation see procedure see the JS7 - Installation articles.
- Any updates or upgrades are performed using the installer archive .tar.gz/.zip installer archive files provided for the initial installation of newer releases. Instructions provided by the JS7 - Installation section apply to updates and upgrades.
- JS7 follows semantic versioning, therefore with the wording is applied as follows:
- Update to newer JS7 releases: switch to a maintenance release within the same branch, for example within minor release 2.2
- update from 2.2.1 to 2.2.2
- update from 2.2.0 to 2.2.2 (the latest maintenance release includes any fixes of previous maintenance releases)
- JS7 - Upgrade to newer JS7 minor releases: switch to a newer minor release, for example from minor release 2.1 to 2.2
- upgrade from 2.1.0 to 2.2.0
- upgrade from 2.1.1 to 2.2.2
- Update to newer JS7 releases: switch to a maintenance release within the same branch, for example within minor release 2.2
...
Applicability
- For any update the JOC Cockpit and the Controller are required to use the same maintenance release, for example 2.2.2.
- Existing Agents can continue to be operated with newer Controller releases within the same minor release, for example 2.2.
- No newer Newer minor Agent minor releases can cannot be used with a Controller operated for an older minor release, an older minor Controller release: for example, an Agent 2.2 will not work with a Controller 2.1.
- No Agents using an older minor release can Older minor Agents releases cannot be used with Controllers of a newer minor release, Controller releases: for example, an Agent 2.1 will not work with a Controller 2.2.
Order of Components
- In a first step update First, update the JOC Cockpit.
- In a second step, update Controller(s) and Agents.
| Anchor | ||||
|---|---|---|---|---|
|
For The following procedure applies for any Docker® images for the JOC Cockpit, Controller and Agents:
- Refer also to the instructions in the following
...
- articles:Consider instructions from
- Tag the existing Docker® image for backup purposes.
- Pull the updated Docker® image.
- Stop and remove the container.
- Start the container.
Consider Note that the above procedure does not apply if you build your own images, see see the JS7 - Build Docker Images article for more information. Consider to map mapping the steps explained with in the Update Procedure for Headless Installation On Premises article.
| Anchor | ||||
|---|---|---|---|---|
|
JOC Cockpit
- Consider instructions from Refer to the instructions in the JS7 - JOC Cockpit Installation On Premises article.
- Take Make a backup of the JOC Cockpit's installation directory.
- Extract the installer archive .tar.gz/.zip file. It will create a sub-directory that includes the maintenance release number, for example
joc.2.2.2.- Users can re-use an existing
joc_install.xmlinstaller response file from a previous installation for the same minor release. - Consider to copy copying additional resources to the directory of the extracted installer archive, for example, to
joc.2.2.2:- any JDBC Drivers that you downloaded individually for installation with a previous JOC Cockpit release,
- the Hibernate configuration file that holds the database connection and that has been used for a previous installation,
- the JS7 license key *.pem file if JS7 is operated with a Commercial License.
- Users can re-use an existing
- Stop the JOC Cockpit daemon (Linux) or service (Windows).
- Run the JOC Cockpit installer:
- Invoke the installer script in the same way as for installation of a previous release, for example:
./setup.sh|.cmd joc_install.xml./setup.sh|.cmd -u joc_install.xml
- Invoke the installer script in the same way as for installation of a previous release, for example:
- Start the JOC Cockpit daemon (Linux) or service (Windows).
Controller
- Refer to the follwing articles:Consider instructions from
- JS7 - Controller Installation On Premises,
- JS7 - Automated Update of Controller that performs the blow steps described below.
- Take Make a backup of the Controller instance's installation directory.
- Extract the installer archive .tar.gz/.zip installer archive file from a neutral directory not related to the current Controller installation. This will create a sub-directory that includes the maintenance release number, for example
controller.2.2.2. - Stop the Controller:
- Standalone Controller
- Stop the Controller instance.
- Controller Cluster
- Take a note which Controller instance is the active node when stopping the Controller instances.
- Stop both Controller instances.
- Stop the Cluster Watch Agent.
- Standalone Controller
- From the existing Controller installation directory move Move or remove the
libsub-directory from the existing Controller installation directory. - Copy the
libandbinsub-directories from the extracted installer archive to the Controller instance's installation directory. This will replace the previouslibsub-directory and will overwrite the existingbinsub-directory from the new release. The Controller's instance start script that can contain individual settings is not included with the installer archive and therefore will not be overwritten, see JS7 - Controller - Command Line Operation for more inforamtion.- For a Controller Cluster consider to perform performing this step for both Controller instances.
- For a Controller Cluster update the Cluster Watch Agent as explained below and start the Cluster Watch Agent.
- Start the Controller.
Agent
- Refer to the following articles: Consider instructions from
- JS7 - Agent Installation On Premises,
- JS7 - Automated Update of Agent that performs the steps described below steps.
- Take Make a backup of the Agent's installation directory.
- Extract the installer archive .tar.gz/.zip installer archive file from a neutral directory not related to the current Agent installation. This will create a sub-directory that includes the maintenance release number, for example
agent.2.2.2. - Stop the Agent.
- From the existing Agent installation directory move Move or remove the
libsub-directory from the existing Agent installation directory. - Copy the
libandbinsub-directories from the extracted installer archive to the Agent's installation directory. This will replace the previouslibsub-directory and will overwrite the existingbinsub-directory from the new release. The Agent's instance start script that can contain individual settings is not included with the installer archive and therefore will not be overwritten, see JS7 - Controller - Command Line Operation for more inforamtion. - Start the Agent.
Troubleshooting
Controller Cluster
Should some of the above explained steps to update/upgrade a Controller have explained above have been missed, for example, if the Secondary Controller is still active while the Primary Controller is updated or upgraded, then the Cluster can become unavailable. In this situation apply the following procedure:
- Determine the Controller instance that is active.
- Stop both Controller instances.
- From the Controller instance that was previously was the active node copy the contents of the
statedirectory to the directory with of the same name of for the Controller instance that was previously the standby node. This operation can be considered a manual step for synchronization of the Controller Cluster. - Start both Controller instances.
Agent
Should some of the above explained steps to update/upgrade an Agent explained above have been missed, then Reset the Agent having updated/upgraded the Agent's installation directory.
The user account's menu in the right upper corner of any all JOC Cockpit page pages offers the Manage Controller/Agents operation:
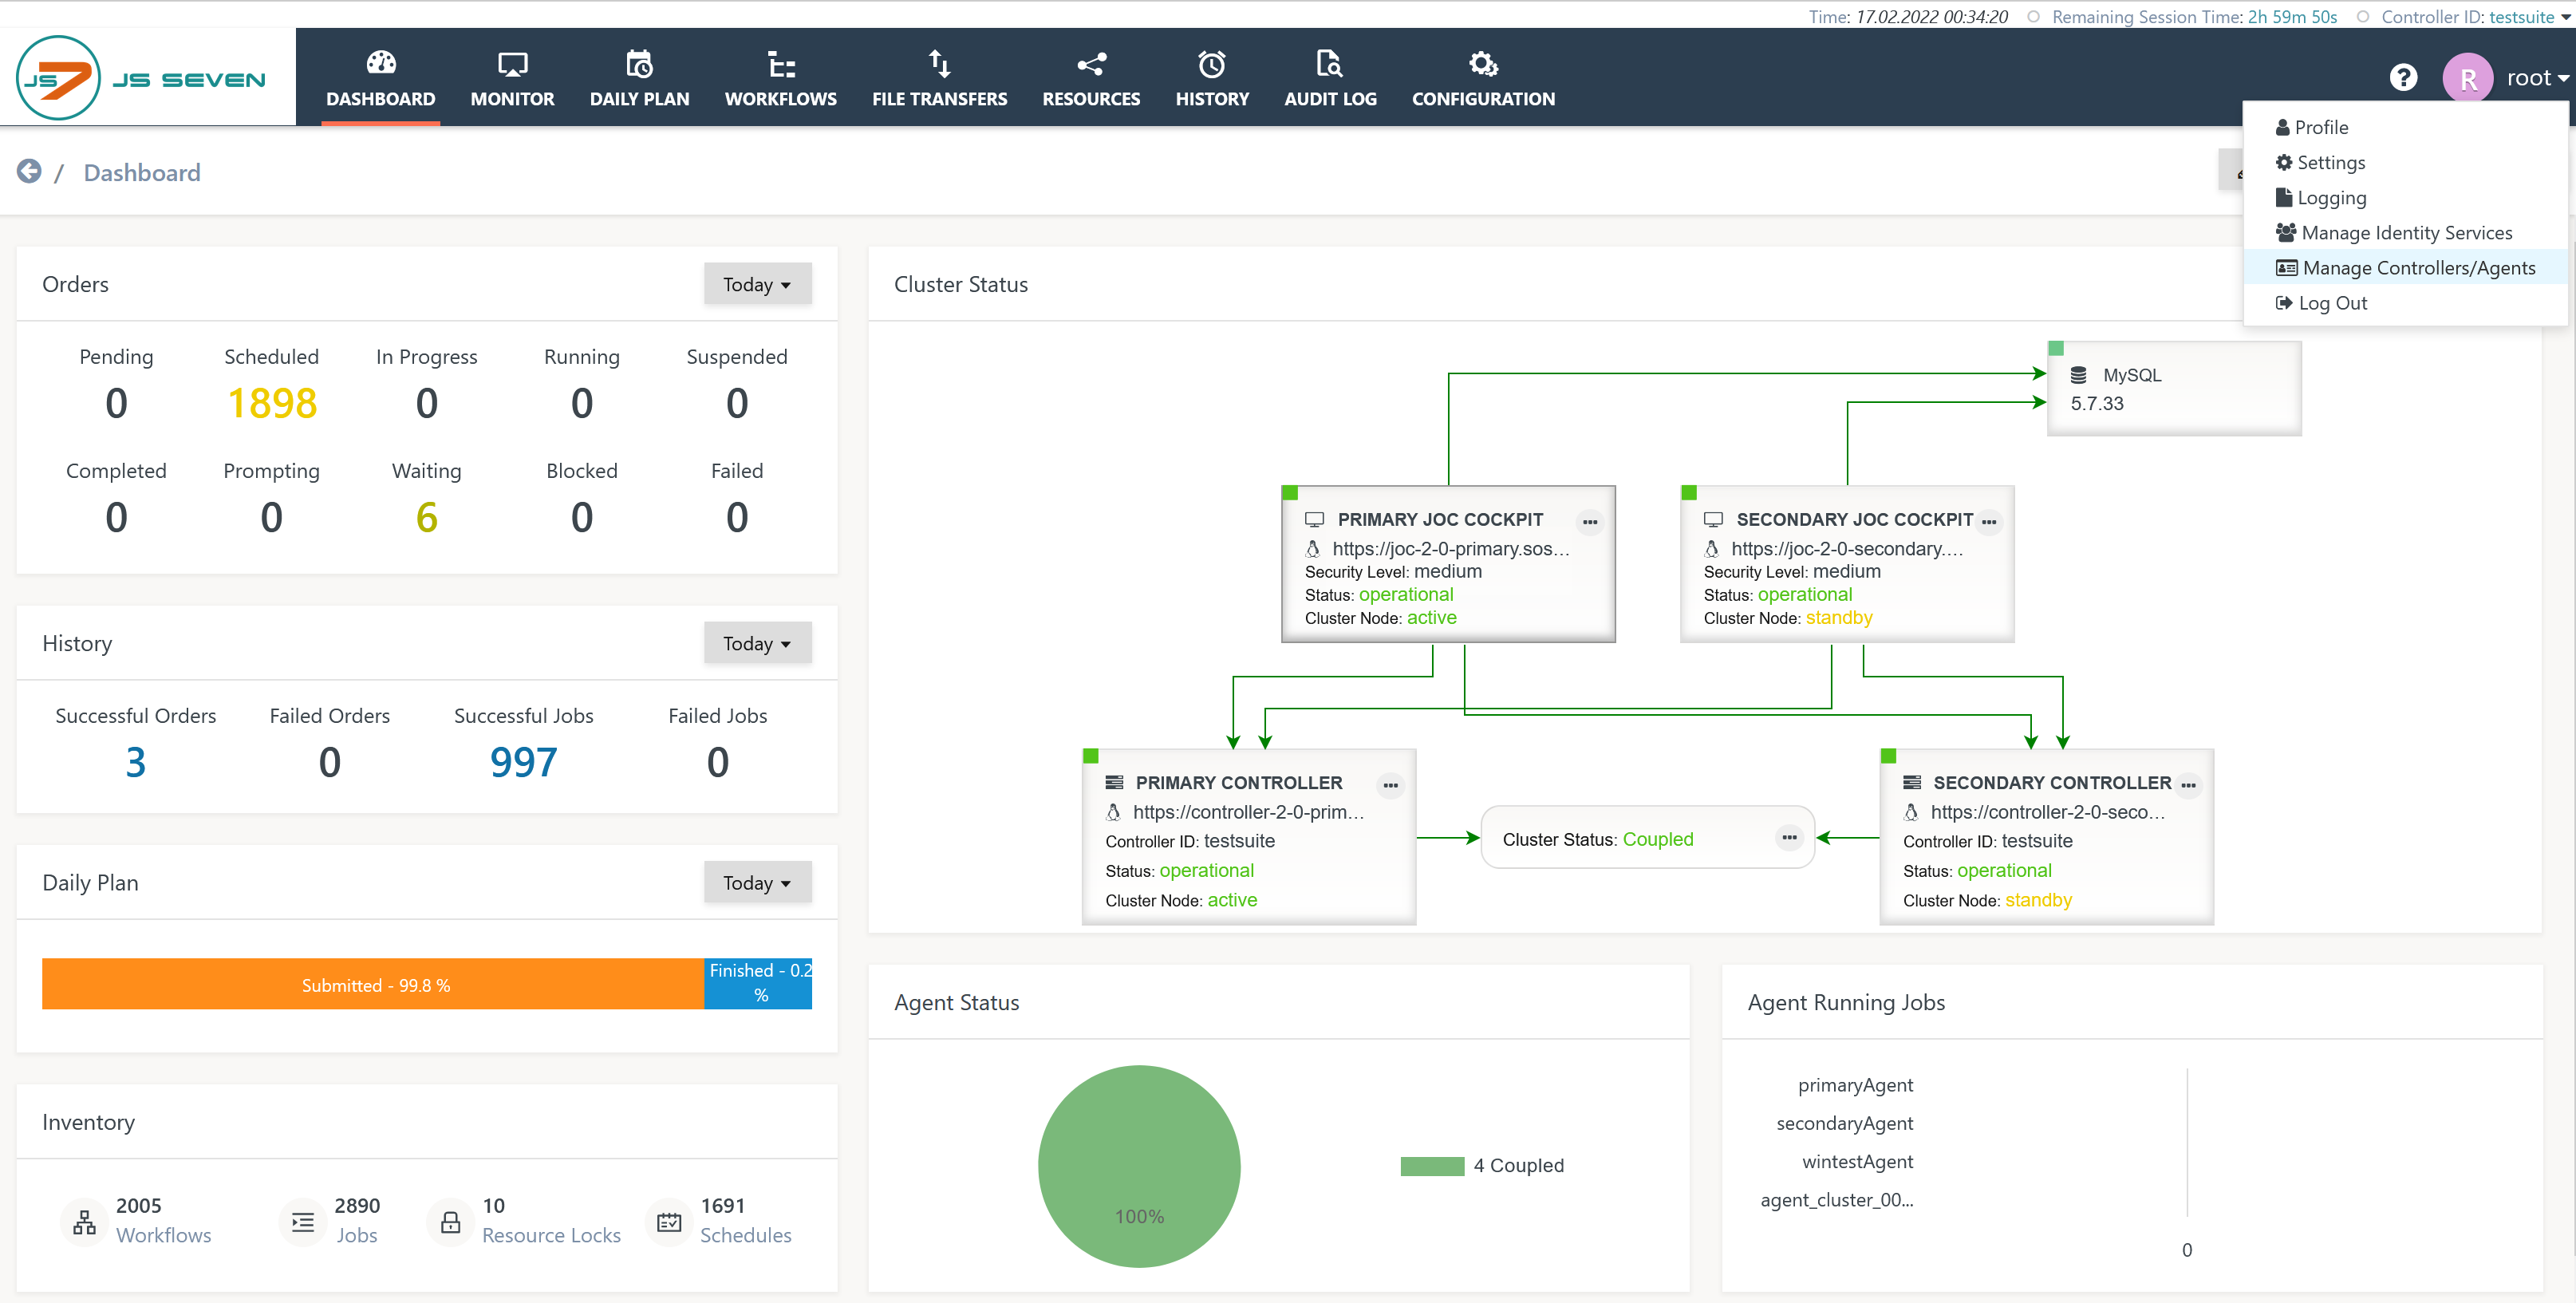
The respective page for relevant Controller/Agent management offers the operation to reset an Agentpage provides a reset operation for Agents:

Explanation:
- The Reset operation comes in two flavors:
- Reset: the Agent is requested to perform a restart. This operation is applicable if no orders have been started or are running with the Agent.
- Reset Forced: the Agent is forced to perform a restart and to drop its journal. The Controller will then re-deploy scheduling objects such as workflows to the Agent.
- The Reset operation can require 10 to 60 seconds depending on the time required to stop and to start the Agent.
...
Overview
Content Tools