Introduction
The JobScheduler Reporting Interface consists of two components:
- Database components such as tables and procedures
- Microsoft Excel template (JobSchedulerReporting.xlsx) with access to the database components
Before we start reading the JobScheduler data from the database we need to create some database tables, procedures and mappings.
Once database objects are on place, Office Data Connection, i.e. ODC, need to be configured. We suggest to
- put the ODC file at a centralized location accessible to all users.
- then to configure ODC file location in the JobSchedulerReporting.xlsx and to freely distribute JobSchedulerReporting.xlsx to intended users.
Connectivity Components
Office Data Connection ODC files
ODC files contains the database connection and data selection settings. To connect the JobSchedulerReporting.xlsx template sheet to the JobScheduler reporting database you have to update the following configuration files:
- The following ODC sample files are used to connect the database to the below reporting template.
- The samples are provided for a PostgreSQL database and make use of the procedures that are installed with JobScheduler.
- Adjust these samples to your needs, they are not under producte maintenance but used for instruction purposes.
- Inventory Reports
- Execution Reports
Update - JobScheduler Reporting Interface - Execution Summary.odc
- Open ODC file "JobScheduler Reporting Interface - Execution Summary.odc" in any text editor
- Update following settings with your JobScheduler database settings.
- DATABASE
- SERVER
- PORT
- UID
- PWD
- Save ODC file
- close text editor
Update - JobScheduler Reporting Interface - Installed Job Objects.odc
- Open ODC file "JobScheduler Reporting Interface - Installed Job Objects.odc" in any text editor and and repeat the steps from 2 to 4 from the previous section.
Update - JobScheduler Reporting Interface - Installed Order Objects.odc
- Open ODC file "JobScheduler Reporting Interface - Installed Order Objects.odc" in any text editor and and repeat the steps from 2 to 4 from the previous section.
Microsoft Excel Workbook
Configure - Execution Summary Report
- open JobSchedulerReporting.xlsx
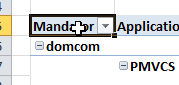
- open Execution Summary tab from the workbook
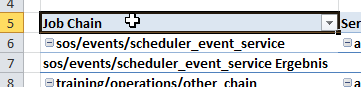
- click on the cell B5 "Mandator" to select the Pivot table
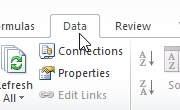
- click on the Data --> Connection
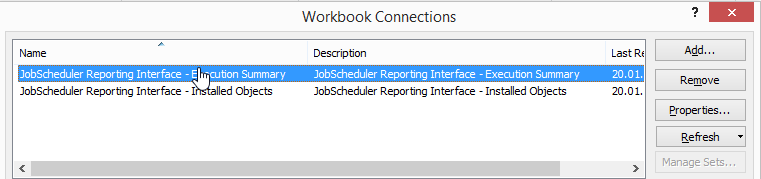
- double click on ODC file "JobScheduler Reporting Interface - Execution Summary"
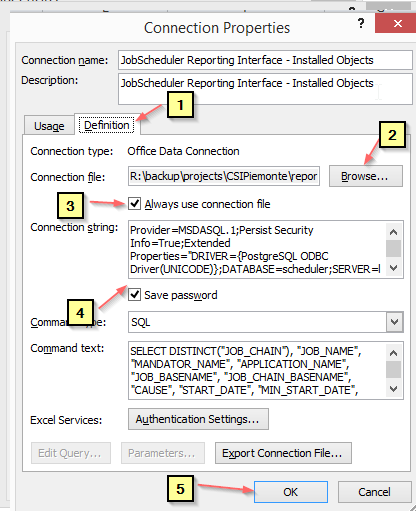
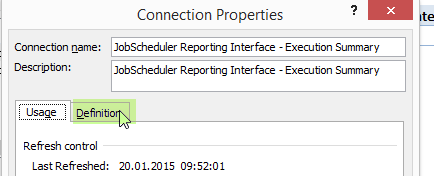
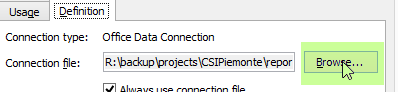
- select "Definition" tab and browse for the updated ODC file ( shared directory location)
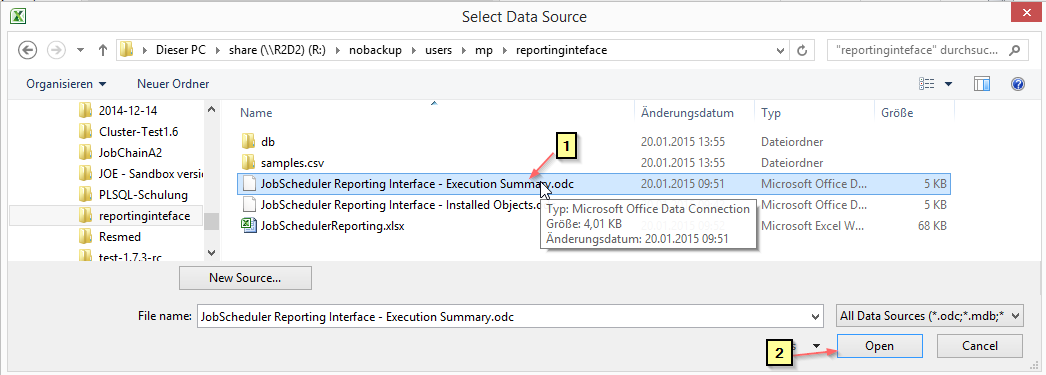
- click "Browse" , select the directory where ODC files are stored
- select "JobScheduler Reporting Interface - Execution Summary.odc" and click Open
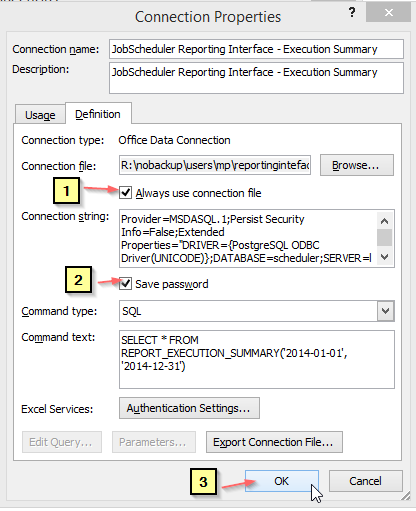
- next check "Always use connection file"
- also check "Save password" and click OK
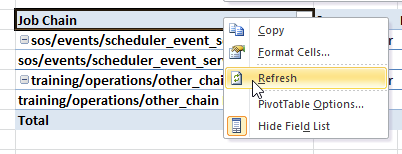
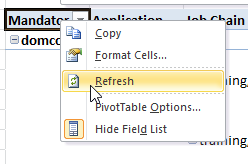
- click on the cell B5 "Mandator" to select the Pivot table , do a right click --> Refresh

Configure - Execution Summary Report: Monthly Executions
- click on the workbook "Monthly Execution"
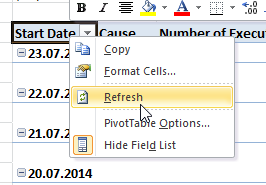
- click on the cell B5 "Start Date" to select the Pivot table,
- repeat 4 to 10 from (Execution Summary Report) for the ODC file "JobScheduler Reporting Interface - Installed Objects"
- click on the cell B5 "Start Date" to select the Pivot table,

Configure - Installed Job Object Report
- Click on the workbook "Installed Job Objects"
- click on the cell B5 "Start Date" to select the Pivot table,
- repeat step 4 to 10 from (Execution Summary Report) for the ODC file "JobScheduler Reporting Interface - Installed Objects"
- click on the cell B5 "Start Date" to select the Pivot table,