Introduction
- Before installing JOC Cockpit the following requirements should be met:
- A database is available and is accessible.
- Docker volumes are created to persist JOC Cockpit configuration data and log files.
- A Docker network or similar mechanism is available to enable network access of JOC Cockpit, Controller instance(s) and to Agents.
- Installation of JOC Cockpit includes the following steps:
- Start the JOC Cockpit container.
- Execute a script inside the container to create database objects.
- Initial operation for JOC Cockpit includes
- to specify the Controller instance(s) and Agents that are used in your job scheduling environment.
- to optionally specify a JS7 Controller cluster.
Pulling the JOC Cockpit Image
Pull the version of the JOC Cockpit image that corresponds to the JS7 release in use:
Pulling the JOC Cockpit Image
docker image pull sosberlin/js7:joc-2-0-0-SNAPSHOT
Running the JOC Cockpit Container
After pulling the JOC Cockpit image you can run the container with a number of options like this:
Running the JOC Cockpit Container for HTTP Connections
#!/bin/sh

docker run -dit --rm \
      --user="$(id -u $USER):$(id -g $USER)" \
      --hostname=js7-joc-primary \
      --network=js7 \
      --publish=17446:4446 \
      --env="RUN_JS_JAVA_OPTIONS=-Xmx256m" \
      --mount="type=volume,src=js7-joc-primary-config,dst=/var/sos-berlin.com/js7/joc/resources/joc" \
      --mount="type=volume,src=js7-joc-primary-logs,dst=/var/log/sos-berlin.com/js7/joc" \
      --name js7-joc-primary \
      sosberlin/js7:joc-2-0-0-SNAPSHOT
Explanations:
--userInside the container the JOC Cockpit instance is operated for the user accountjobscheduler. In order to access e.g. log files created by the JOC Cockpit instance that are mounted to the Docker host it is recommended that you map the account that is starting the container to thejobscheduleraccount inside the container. The--useroption accepts the user ID and group ID of the account that will be mapped. The above example makes use of the current user.--networkThe above example makes use of a Docker network - created e.g. with the commanddocker network create js7- to allow network sharing between containers. Consider that any inside ports used by Docker containers are visible within a Docker network. Therefore a JOC Cockpit instance running for the inside port4446is accessible with the container's hostname and the same port within the Docker network.--publishThe JOC Cockpit is prepared to listen to the HTTP port4446. An outside port of the Docker host can be mapped to the JOC Cockpit inside HTTP port. This is not required for use with a Docker network, see--network, however, it will allow direct access to the JOC Cockpit from the Docker host by its outside port .--env=RUN_JS_JAVA_OPTIONSThis allows to inject any Java options to the JOC Cockpit container. Preferably this is used to specify memory requirements of JOC Cockpit, e.g. with-Xmx256m.--mountThe following volume mounts are suggested:config: The optional configuration folder allows to specify individual settings for JOC Cockpit operation, see below chapters and the JS7 - JOC Cockpit Configuration article. Without this folder the default settings are used.logs: In order to have JOC Cockpit log files persisted they have to be written to a volume that is mounted for the container. Feel free to adjust the volume name from thesrcattribute, however, the value of thedstattribute should not be changed as it reflects the directory hierarchy inside the container.Docker offers a number of ways how to mount or to bind volumes to containers that include e.g. to create local directories and to bind them to volumes like this:
Example how to create Docker volumes# example to map volumes to directories on the Docker host prior to running the JOC Cockpit container mkdir -p /home/sos/js7/js7-joc-primary/config /home/sos/js7/js7-joc-primary/logs docker volume create --driver local --opt o=bind --opt type=none --opt device="/home/sos/js7/js7-joc-primary/config" js7-joc-primary-config docker volume create --driver local --opt o=bind --opt type=none --opt device="/home/sos/js7/js7-joc-primary/logs" js7-joc-primary-logs
There are alternative ways how to achieve this. As a result you should have a access to the directories
/var/sos-berlin.com/js7/joc/resources/jocand/var/log/sos-berlin.com/js7/jocinside the container and data in both locations should be persisted. If volumes are not created before running the container then they will be automatically mounted, however, you should have access to data in the volumes, e.g. by access to/var/lib/docker/volumes/js7-joc-primary-configetc.
Configuring the JOC Cockpit
Database Connection
JOC Cockpit requires a database connection, see JS7 - Database.
The database connection is configured after initial start of the JOC Cockpit container.
Check JDBC Driver
JS7 ships with a number of JDBC Drivers However, a few DBMS products such as Microsoft SQL Server require users to download the JDBC Driver as it cannot be bundled with open source software due to license conflicts. In this situation manually download the JDBC Driver and store the resulting *.jar file(s) with the locations: TBD
Configure Database Connection
The database connection is specified from a Hibernate configuration file:
- Location in the container:
/var/sos-berlin.com/js7/joc/resources/joc/hibernate.cfg.xml - Consider to access the configuration file from the volume that is mounted when running the container, e.g. from a local folder
/home/sos/js7/js7-joc-primary/config. - For modification of the Hibernate *.xml file consider explanations for your DBMS product available with the JS7 - Database article.
Install Database Objects
When the Hibernate configuration file hibernate.cfg.xml is ready then a script has to be executed that creates required objects in the database and that populates database tables.
Install Database Objects
# create database objects
 docker exec -ti js7-joc-primary /bin/sh -c /opt/sos-berlin.com/js7/joc/install/joc_install_tables.sh
Explanations:
docker exec -tiis the command that connects to the JOC Cockpit containerjs7-joc-primary.js7-joc-primaryis the name of the JOC Cockpit container as specified with the abovedocker runcommand./bin/sh -cruns a shell inside the container and executes a script to install database objects required for operation of JOC Cockpit.
Log Files
Access to log files is essential to identify problems during installation and operation of JOC Cockpit.
When mounting a volume for log files as explained above you should have access to the files indicated with JS7 - Log Files and Locations article.
- The
jetty.logfile reports about initial start up of the servlet container. - The
joc.logfile includes e.g. information about database access.
Initial Operation
For initial operation the JOC Cockpit GUI is used to make Controller instances and Agent instances known to your job scheduling environment.
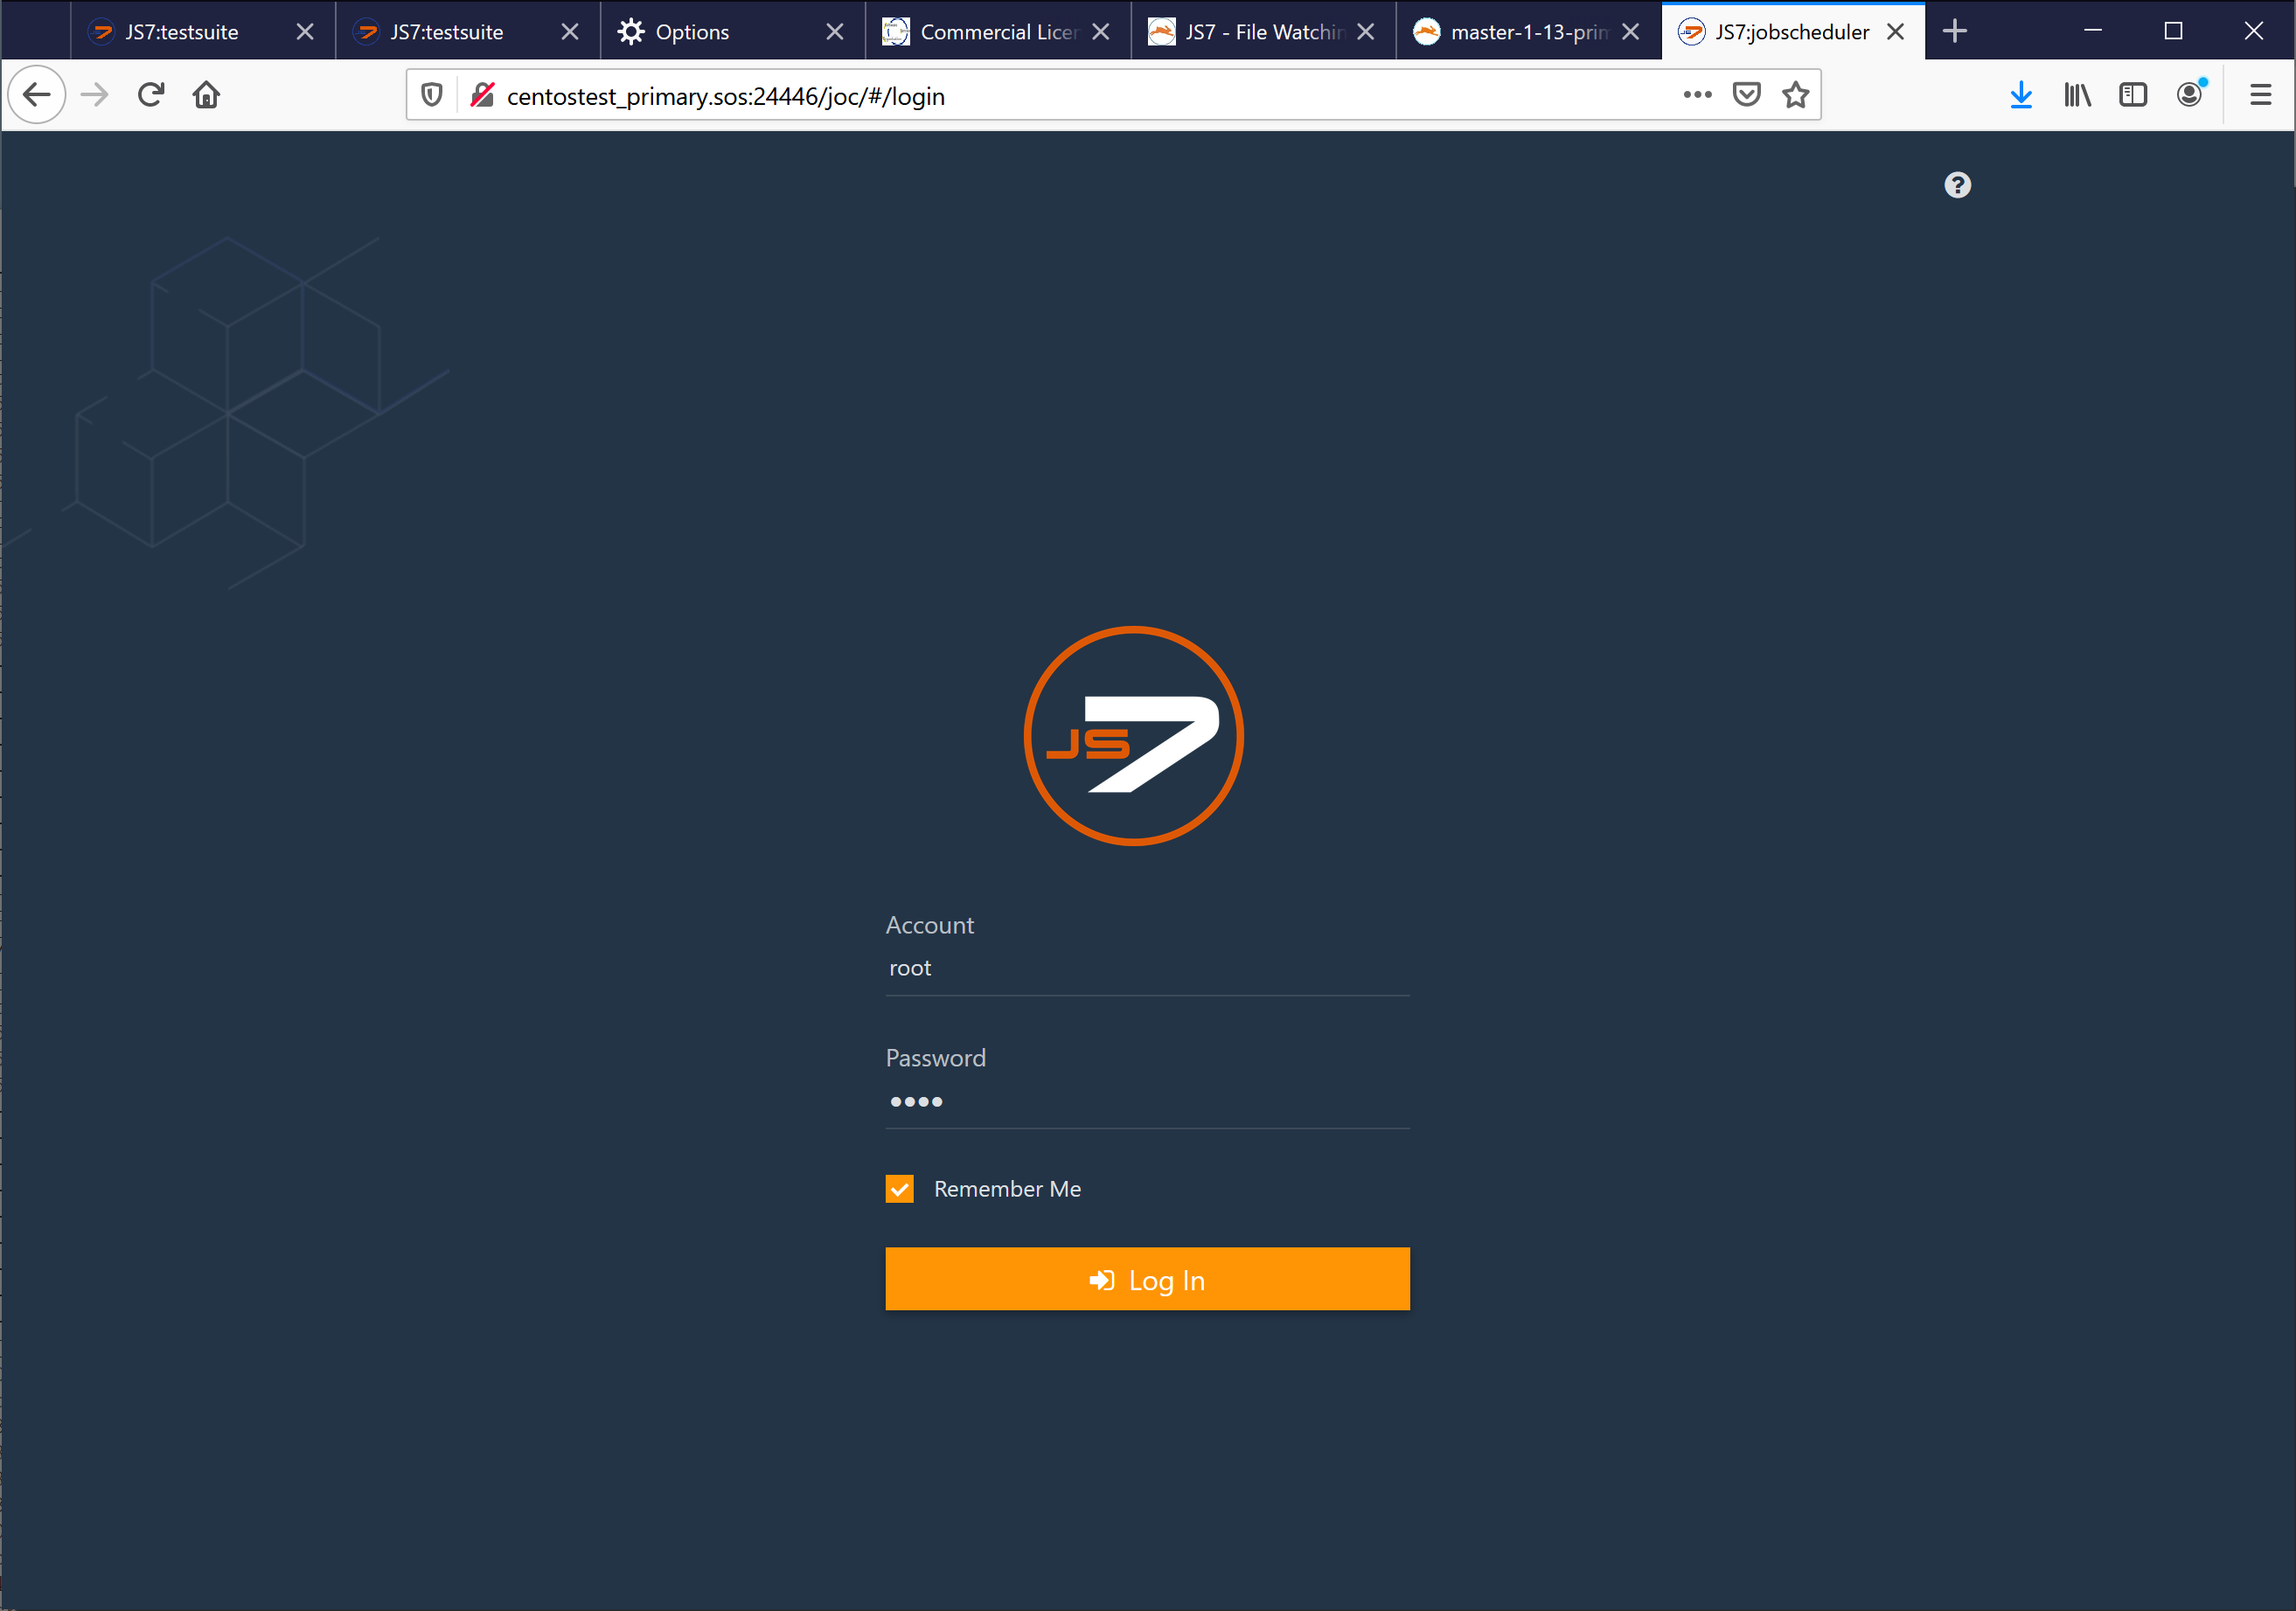
Access JOC Cockpit from your Browser
Explanations:
- For the JOC Cockpit URL In most situations you can use the host name of the Docker host and the port that was specified when starting the container.
- From the above example this could be
http://centostest_primary.sos17446ifcentostest_primary.soswere your Docker host and17446were the outside HTTP port of the container. - Consider that the Docker host has to allow incoming traffic to the port specified This might require to adjust the port or to create firewall rules.
- From the above example this could be
- By default JOC Cockpit ships with the following credentials:
- account:
root - password:
root
- account:
Register Controller and Agents
After login a dialog window pops up that ask to register a Controller.

Explanations:
- This dialog allows to specify a Standalone Controller or a Controller Cluster.
- Consider that use of a cluster is subject to JS7 - Licensing.
- Use of the Standalone Controller is in scope of the JS7 open source license.
- The URL of the Controller instance has to match the hostname and port that the Controller is operated for.
- Should you use a Docker network then all containers will "see" each other and all inside container ports are accessible within the network.
- In the above example a Docker network
js7was used and the Controller container was started with the hostnamejs7-controller-primary. - The port
4444is the inside HTTP port of the Controller that is visible in the Docker network.
- In the above example a Docker network
- Should you not use a Docker network then it is up to you how to map hostnames:
- The Controller Container could be accessible from the Docker host, i.e. you would specify the hostname of the Docker host.
- The outside HTTP port of the Controller has to be used that was specified with the
--publishoption when starting the Controller container.
- Should you use a Docker network then all containers will "see" each other and all inside container ports are accessible within the network.
After the connection between JOC Cockpit and the Controller is established you can add Agents like this:

Explanations:
- For each Agent a unique identifier is specified, the Agent ID. The identifier remains in place for the lifetime of an Agent and cannot be modified.
- You can add a name for the Agent that will be used when assigning jobs to be executed with this Agent. The Agent name can be modified later on.
- In addition you can add alias names to make the same Agent available with different names.
Overview
Content Tools