There are two points in time when the Job Streams functionality can be enabled:

  1. At the time of installation
  2. After the installation

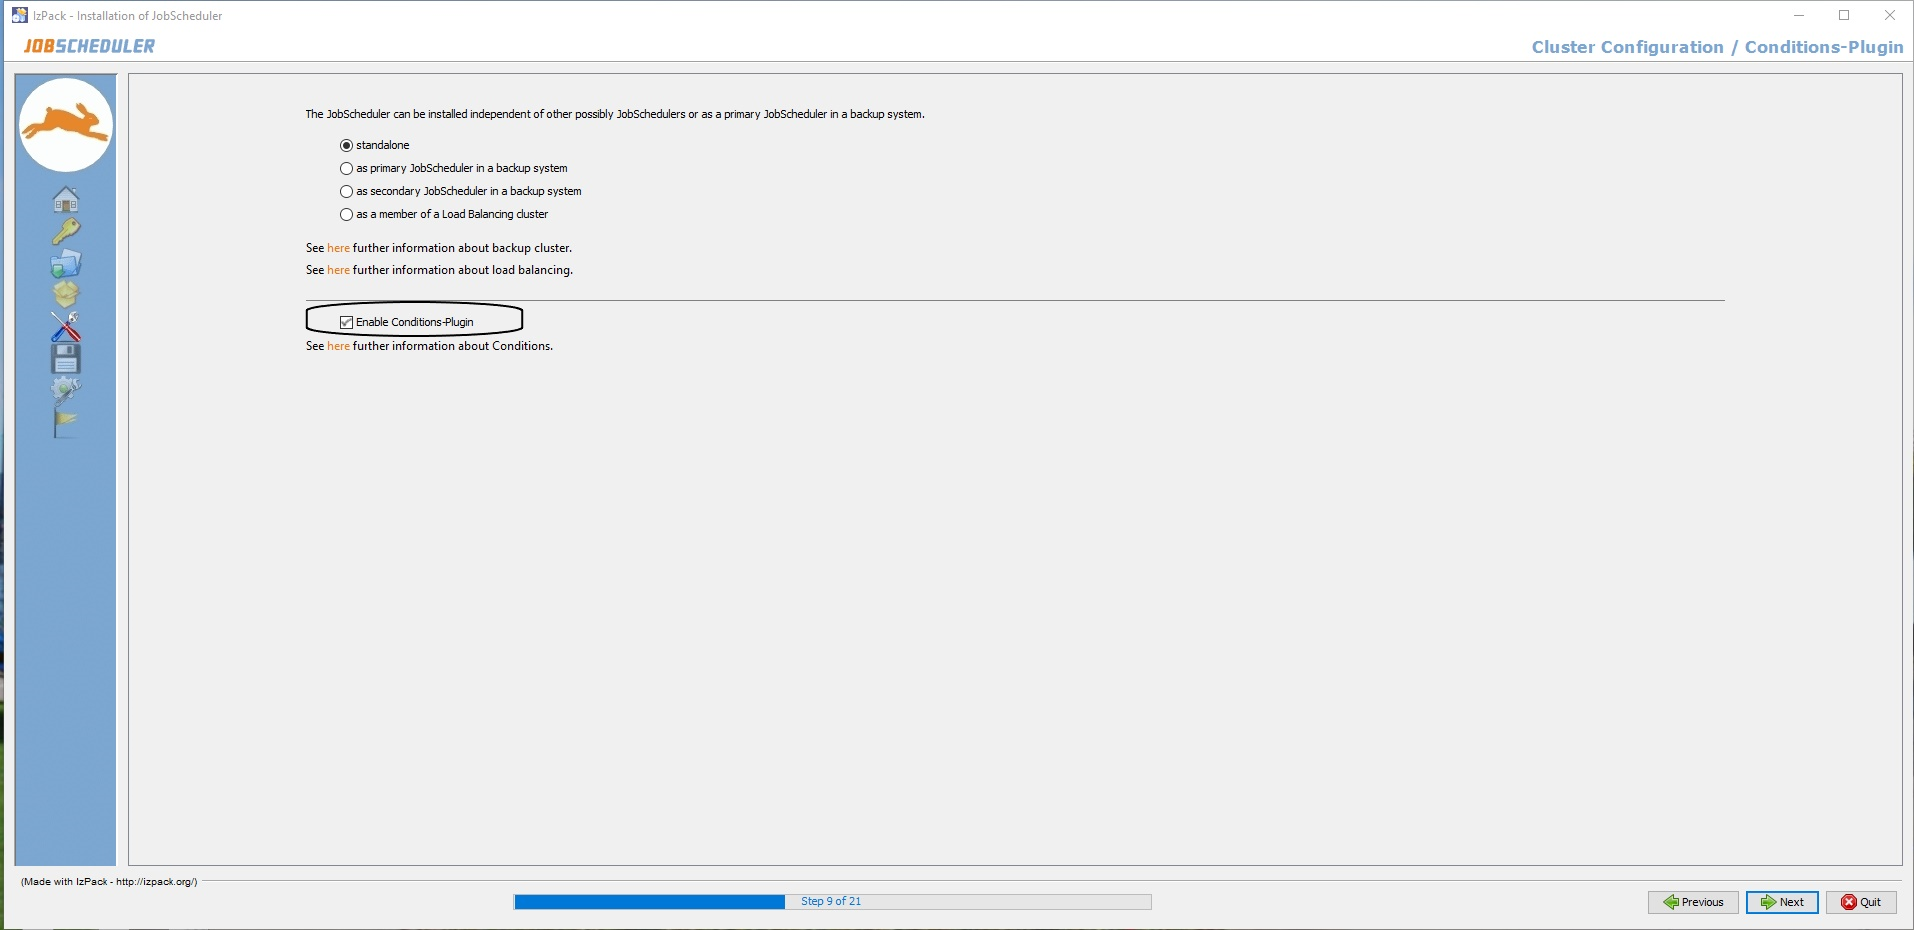
How to enable the Job Streams Functionality at the time of Installation

You just need to enable the Job Streams Plugin via a checkbox at Step 9 of the installation process. 


How to enable the Job Streams Functionality after Installation

The scheduler.xml configuration file of JobScheduler Master can be used to enable the Job Streams functionality like this:

  • Step 1

    Edit the scheduler.xml file present in the SCHEDULER_DATA/config directory of JobScheduler Master.
  • Step 2

    By default the plugin <!-- plugin java_class="com.sos.jobstreams.plugins.JobStreamsPlugin"/ --> is commented out. Remove the comment from the configuration.

Configuration file scheduler.xml
<?xml version="1.0" encoding="iso-8859-1" standalone="no"?>
<spooler>
		<config mail_xslt_stylesheet="config/scheduler_mail.xsl" http_port="40444">		
				<params>
						<param name="scheduler.variable_name_prefix" value="SCHEDULER_PARAM_"/>
						<param name="scheduler.order.keep_order_content_on_reschedule" value="false"/>
						<param name="sos.use_notification" value="false"/>
				</params>

				<plugins>
						<plugin java_class="com.sos.scheduler.engine.plugins.newwebservice.NewWebServicePlugin"/>
						<plugin java_class="com.sos.scheduler.engine.plugins.nodeorder.NodeOrderPlugin"/>
						<plugin java_class="com.sos.jitl.inventory.plugins.InitializeInventoryInstancePlugin"/>
						<plugin java_class="com.sos.jitl.reporting.plugin.FactPlugin"/>
						<plugin java_class="com.sos.jobstreams.plugins.JobStreamsPlugin"/>
				</plugins>
			
				<process_classes>
						<process_class max_processes="100"/>
				</process_classes>
		</config>
</spooler>
  • Step 3

    Restart JobScheduler Master after updating the SCHEDULER_DATA/config/scheduler.xml file to apply your changes.


  • No labels