Page History
| Table of Contents |
|---|
Introduction
Initial Operation is performed after installation of the JS7 Controller, Agent
...
and JOC Cockpit.
Operation of a Controller Cluster is subject to the agreements of the JS7 - License.
- Use of Standalone Controllers:
- available to Open Source License holders and to commercial license holders.
- Use of Controller Clusters:
- available to commercial license holders,
- for details see JS7 - Management of Controller Clusters
For a Standalone Controller initial tasks include
- .Tasks include registering a Standalone Controller,
- registering and Agents.
Prerequisites
Initial Operation requires that a JS7 Controller, Agent , Controller and JOC Cockpit are successfully installed and are up and running.
...
Login to the JOC Cockpit User Interface
...
Users can navigate with their browser to the JOC Cockpit URL and enter the User Account and Password. Typically the URL
...
will include the hostname and port that JOC Cockpit has been installed for:
For example,
Please checkhttp://myhost:4446.Check that the JOC Cockpit port is accessible
which might include adding. This might require additional firewall rules to allow access to
thisthe port from the computer that
you operatethe
browser onuser's browser is operated for.
After initial installation of JOC Cockpit the default
User Accountuser account
the Passwordrootandpassword
will be available if no changes have been made to therootshiro.iniconfiguration fileare available.
Note
...
: The root user account is assigned the all role in the default configuration
...
and is granted all available permissions.
...
For details see the JS7 - Identity Services and JS7 - Authentication articles.
Note: JOC Cockpit might take a number of seconds
...
to start and to display the login window.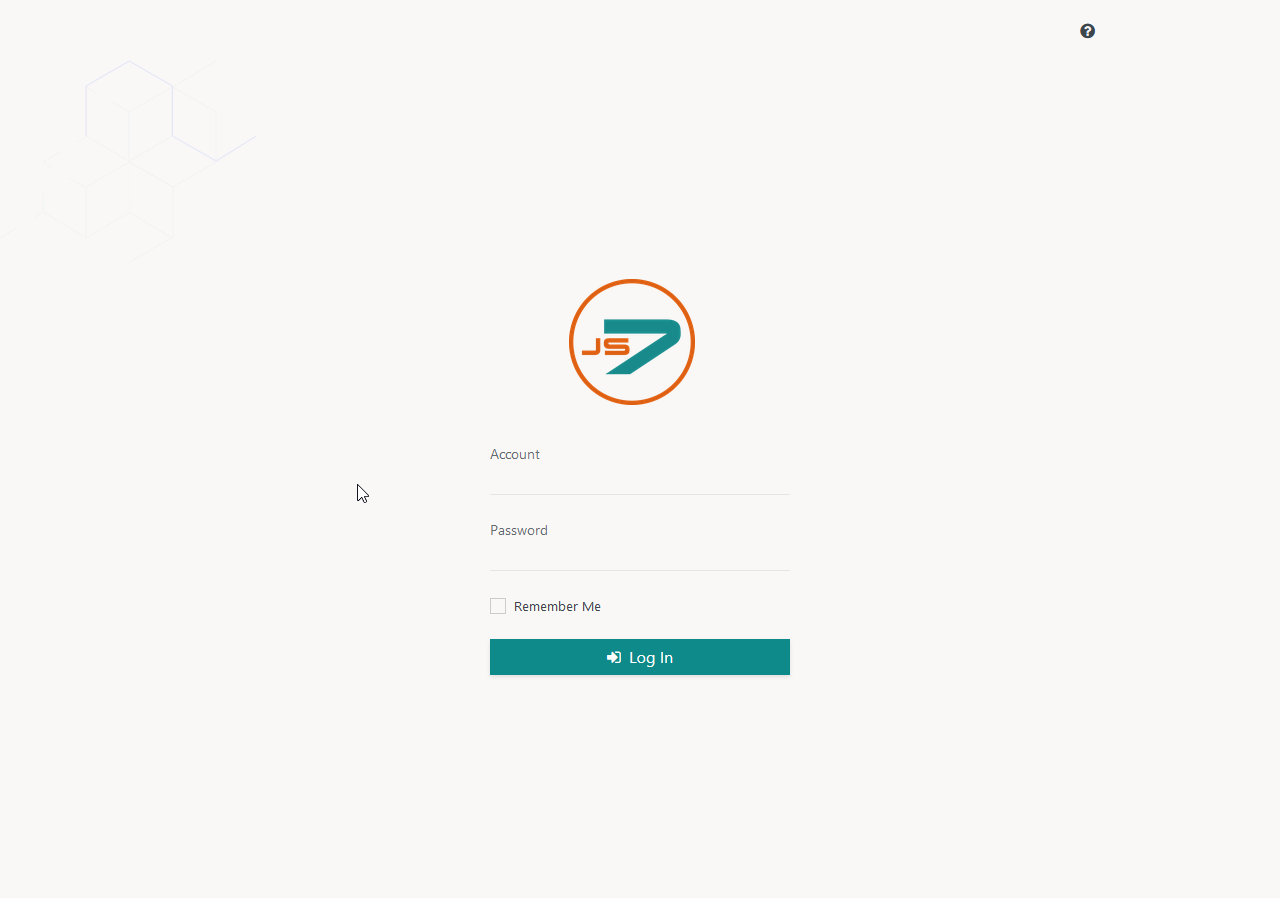
Register Controller and Agents
A dialog window appears after successful logging in login to JOC Cockpit. This The popup window asks you to register a Controller. You
Users will find the same dialog later on using the User -> Manage Controllers/Agents menu item from the New Controller button in the right hand upper corner.
Registering a Standalone Controller
Registering a Standalone Controller is a straightforward taskbrings forward the following popup window: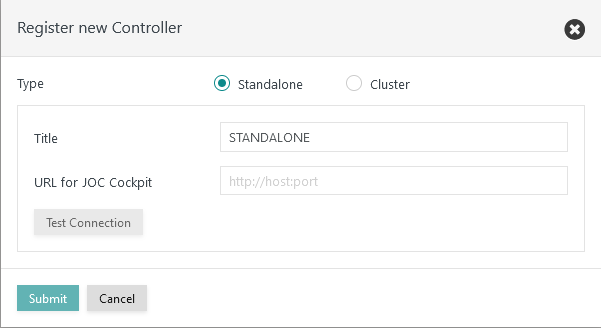
Explanation
- Title: The title specified added for the Controller will be shown in each Controller instance is displayed with the JS7 - Dashboard view.
- URL for JOC Cockpit: The URL for JOC Cockpit is the Controller instances are accessed by this URL from JOC Cockpit.
- The URL includes the protocol, hostname and port
- that the
- relevant Controller instance is operated for.
- By default the HTTP protocol is used. The HTTPS protocol can be used if TLS/SSL certificates are in place, see JS7 - Controller HTTPS Connections.
Note: The following connections should be accessible and might require additional firewall rules to allow access to
...
the relevant ports:
- JOC Cockpit connection
- to the Standalone Controller's host and port.
- Standalone Controller connection
- to any Agent's host and port.
For more information about network connections see JS7 - System Architecture.
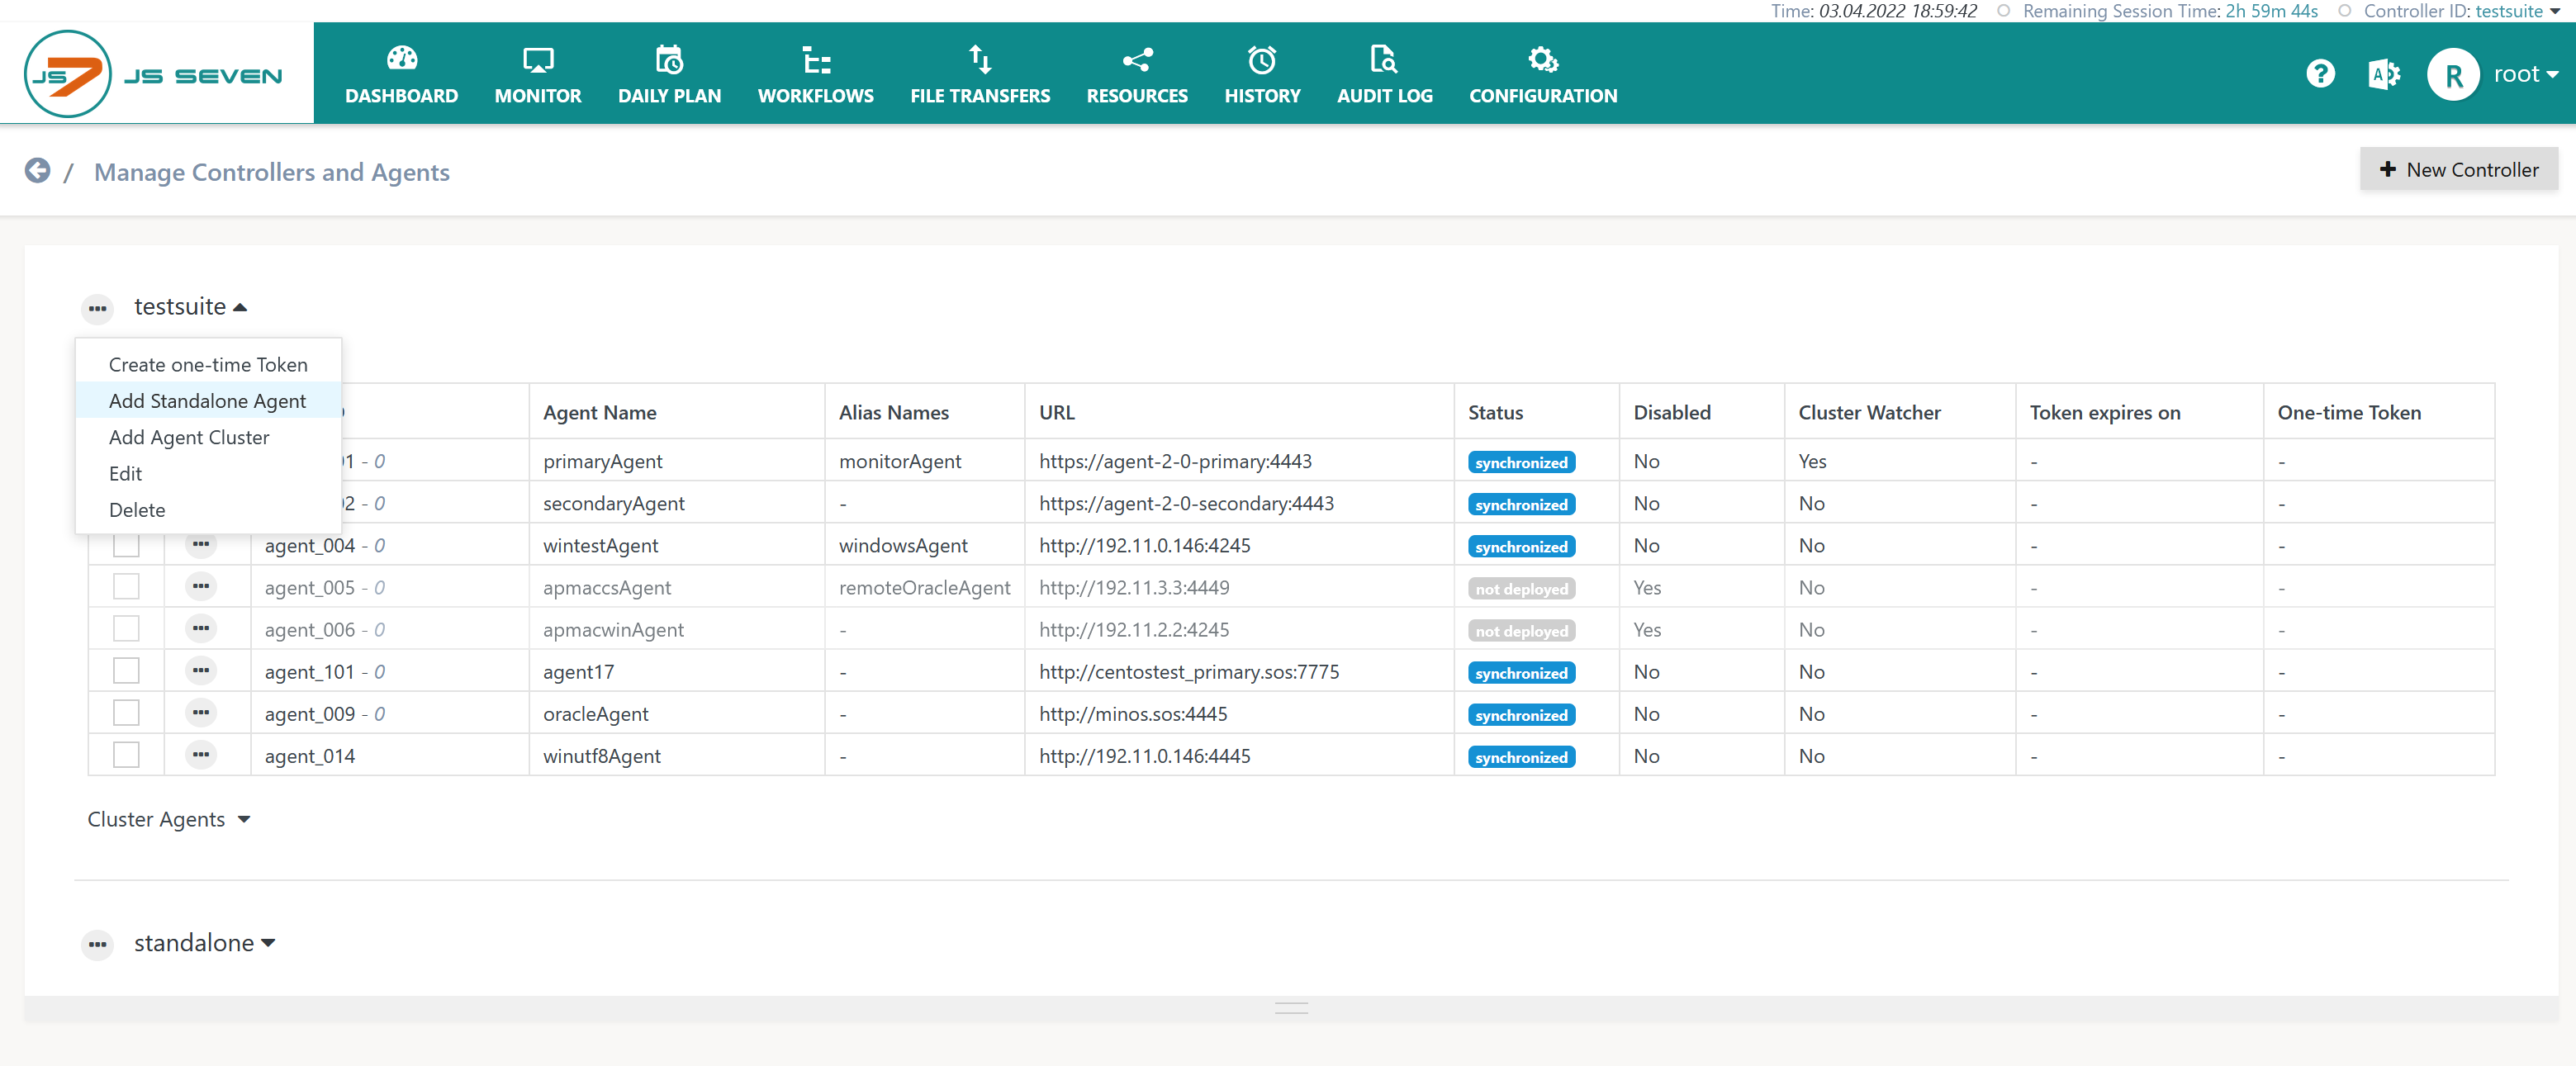
Register Agents
After Users can add Agents after the connection between JOC Cockpit and the Controller is established you can add Agents. To register an Agent switch to the Manage Controller/Agents view from the user menu. Click on the Controller Action Menu (the ellipsis symbol), which the Agent should be registered for and select Add Agent..
The ![]() icon in the JOC Cockpit main menu offers to select the Manage Controllers/Agents view:
icon in the JOC Cockpit main menu offers to select the Manage Controllers/Agents view:

This brings forward the following view that offers to add an Agent from the Controller's action menu:
The following popup window is displayed to add a Standalone Agent:
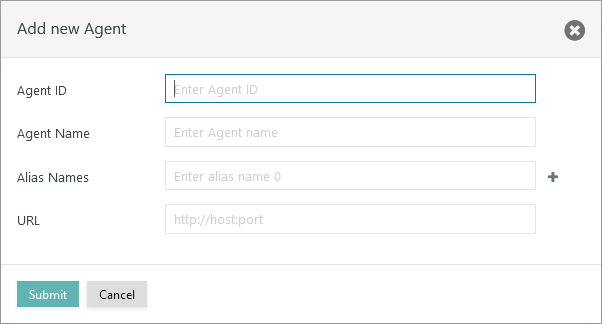
Explanation:
- The Agent is assigned an
Agent IDwhich is a unique identifier for this Agent that cannot be modified during the lifetime of an Agent. Change of theAgent IDrequires that the Agent is removed and then re-added to the JOC Cockpit. It is not necessary to uninstall/reinstall an Agent. - The
Agent Nameis a unique identifier that is used for example in the JOC Cockpit Configuration view to assign Agents to jobs. TheAgent Namecan be modified later on. - In addition, you can add
Agent Alias Namesto make the same Agent available under a number of names. - ID: A unique identifier of the Agent. Uniqueness is applied for all Agents registered with the same Controller. This identifier cannot be changed later on.
- Agent Name: The name of an Agent is used for example when assigning the Agent to jobs. Similarly to the Agent ID the Agent Name has to be unique but can be changed later on.
- Title: An individual description that can be searched for.
- URL: The protocol HTTP or HTTPS, host name or IP address and port by which the Agent is accessible to the ControllerThe
Agent URLincludes the protocol, the hostname and port used to operate the Agent.
Further References
- Installation
- Operation
- Configuration
Overview
Content Tools