Page History
...
Extract the downloaded archive to a directory, e.g.
C:\Temp.- After extraction of the .zip archive that includes the installer the directory structure includes:
agent_install.xml(installer response file)install_agent.txt(installation hints)js7_agent_windows.<release>.jar(installer for a given release)license.txt, license.html(copy of JS7 JobScheduler Commercial License)setup.cmd(installer script)
The installer can be run in graphical mode or in headless mode, see JS7 - Agent - Use of Unix/Windows Headless Installation.
- The installer asks for elevated administrative privileges, therefore it is not required to change the permissions in the
.\servicedirectory and the installer sets read/write permissions for the.\logsdirectory. - After the installation you will find
- a Windows Service "
SOS JS7 Agent -port=<port>" - an executable file
.\service\js7_agent_<port>.exethat is started by the Windows Service.
- a Windows Service "
Start Installer
Run the installer for the JS7 Agent using
Code Block language bash title Windows command to run the installer GUI > C:\Temp\agent.<release>\setup.cmd
- The installer asks for elevated administrative permissions.
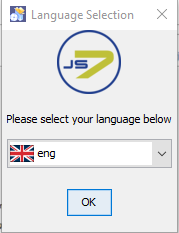
- Select the language to be used for the setup: English and German are available.
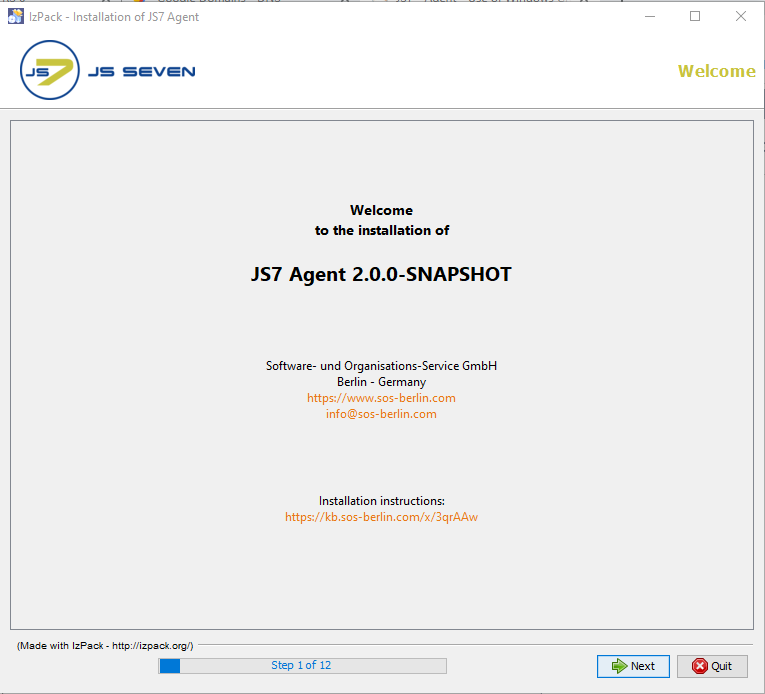
Welcome Window
- Click Next on the welcome window.
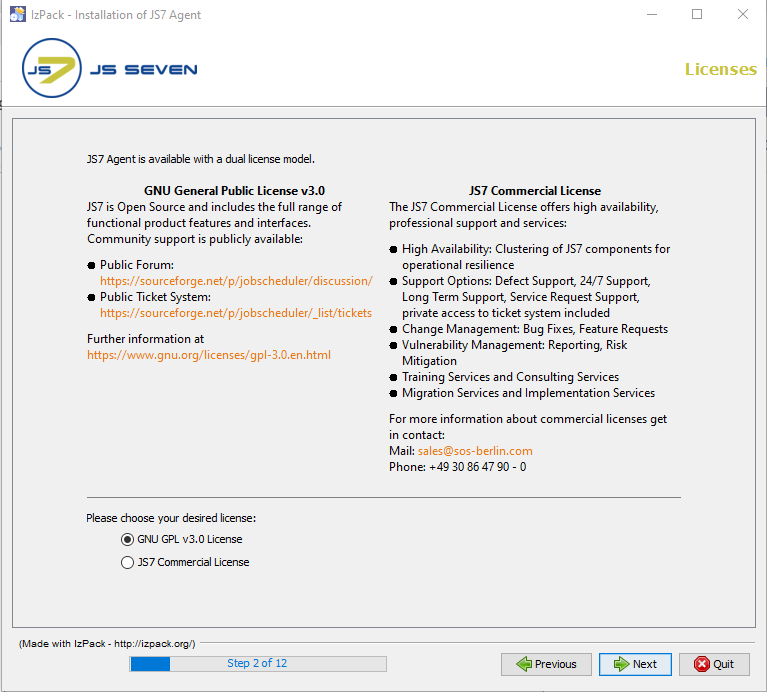
License Options
- The License page displays licenses available for the JS7 Agent.
- The Open Source License GPLv3 (General Public License) is available.
- The SOS Commercial License can be selected. When using this license then the license certificate file that you receive from SOS after purchase of a license is added when installing the Controller that forwards the license to the Agent. For details see JS7 - FAQ - How to apply a JS7 License Key.
License Agreement
- The License Agreement corresponding to the license option selected has to be accepted before installation can occur.

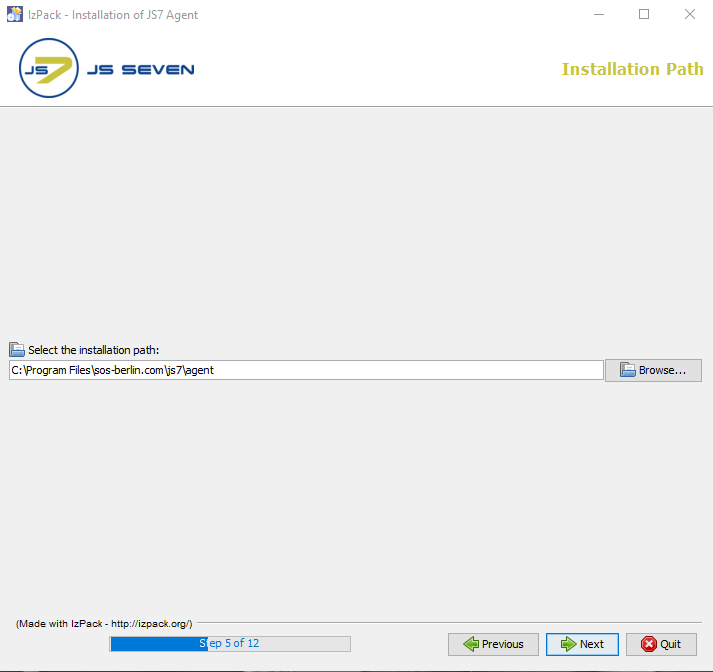
Installation Directory
- The installer opens a GUI window to specify the installation directory after you accept the terms of the License Agreement.
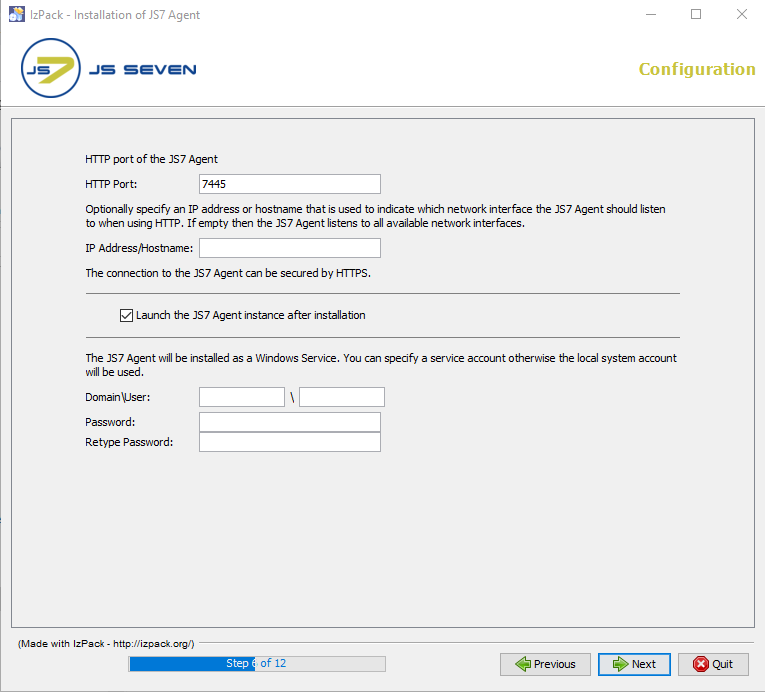
Installation Settings
- Add the HTTP port that is used by the JS7 Agent. Make sure that the HTTP port is available, i.e. is not otherwise used. If you run other applications that use this port then choose a different port.
- If you specify a Windows Service account then make sure that this account has "Log on as service permissions". Consider that credentials that you enter to this window are stored in clear text with the installer response file. It is considered more secure not to add credentials with this step, but to add credentials directly with the Windows Service panel after installation.
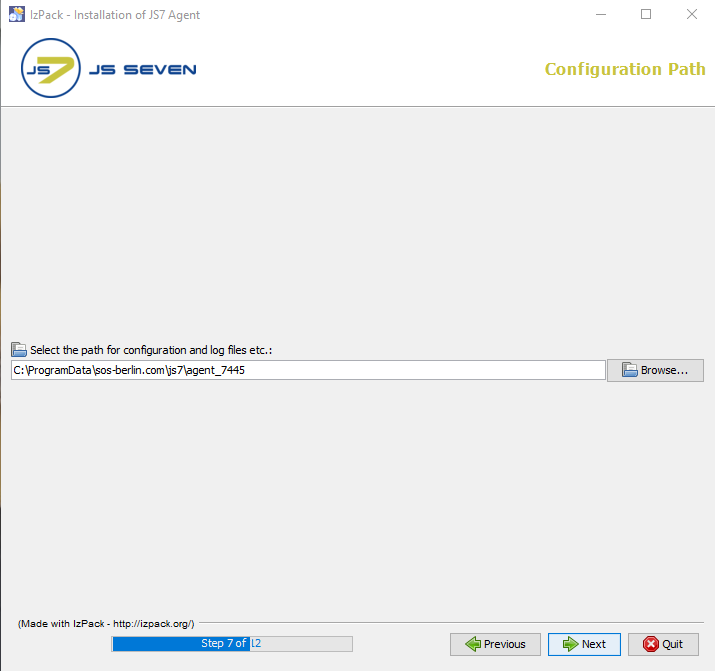
Configuration Directory
- Choose the configuration directory for the Agent to which you want to store the Agent's configuration files and journal files.
Specific Directories
- If you choose the installation directory to be located in
C:\Program Filesthen it is recommended to choose the log directory outside of the installation path, e.g.C:\ProgramData\sos-berlin.com\js7\agent_<port>\logs. - The installer sets read/write permissions for the specified Windows Service account. Typically only the administrator group should have write permissions for
C:\Program Files.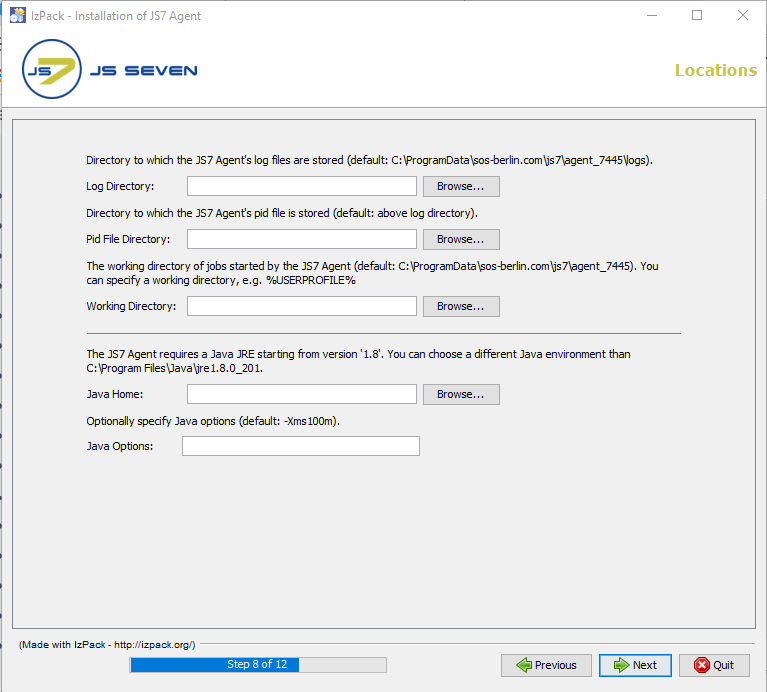
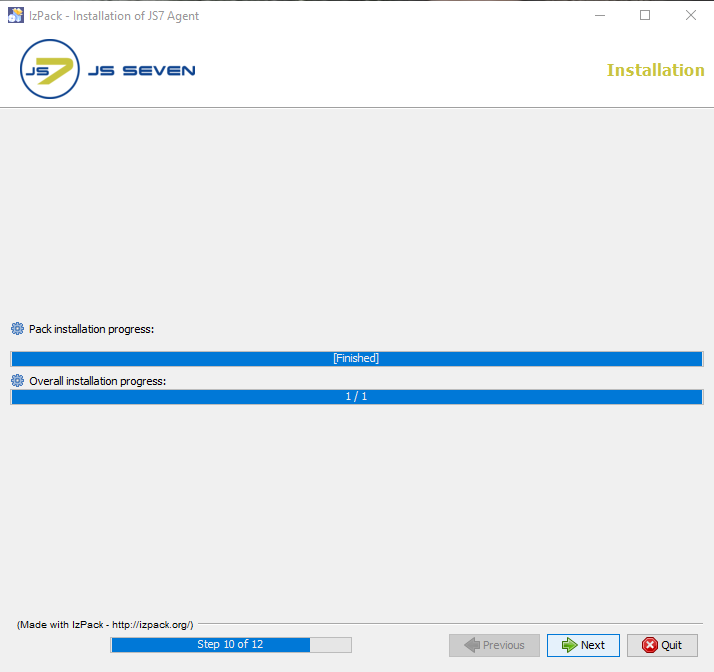
Installation Progress
- This step displays progress of the first part of the installation procedure.
- Changes to installer options can no longer be applied once this step is started.
Configuration Progress
- The processing panel displays progress of the second part of the installation procedure that includes to set permissions and to install the Windows Service.
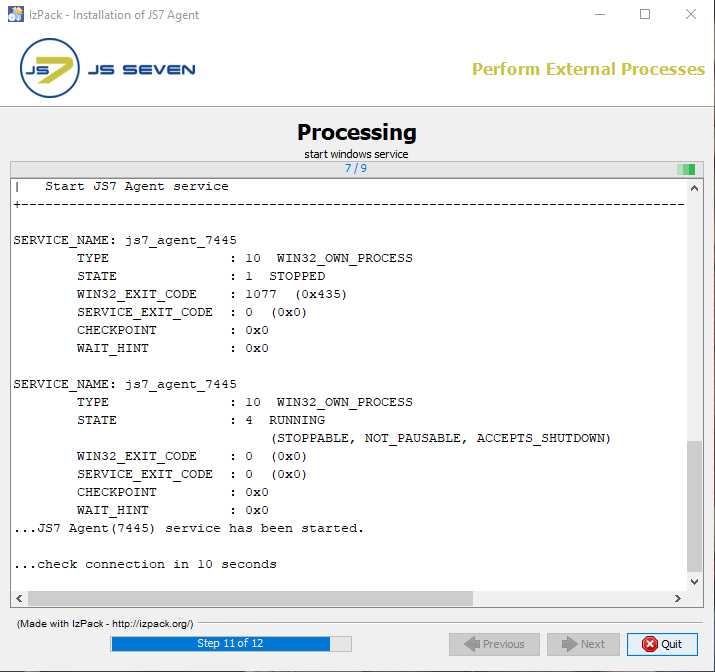
The information displayed with this step will be written to the installation log file that can be found in the
JS7_AGENT_DATA/logsfolder.
Completion
The last step of the installation displays a summary of the installation (success/error) and paths to relevant information.
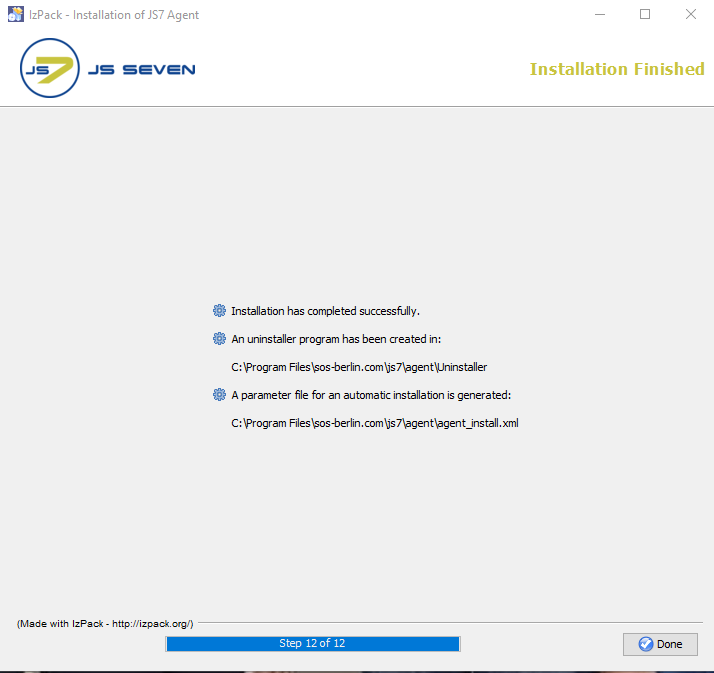
Note that if a problem occurs during installation a warning will be displayed and a link to the installation log file will be provided.
- A failed installation can be repeated at any time, no uninstallation is required.
Directory Structure
- The resulting directory structure after installation includes (only files and folders immediately relevant):
agentbinagent.cmd|sh- The Start Script for Windows/Unix platforms
agent_watchdog.cmd|sh- Restarts the Agent for Windows/Unix platforms
agent_instance.sh-example- The template for the Agent Instance Start Script
lib- The directory for Java libraries
service- For operation as a Windows Service
varlogs- The directory for log files
config/private- For setting up HTTPS connections see JS7 - Agent Configuration Items
tmp- The directory for temporary files
yade- For use of the YADE file transfer utility
license.gpl(copy of GPLv3 (General Public License) )license.html, license.txt(copy of JS7 JobScheduler Commercial License)ThirdParty.txt(list of 3rd party components and licenses included with Agent)
Updating the JS7 Agent
The update of the JS7 Agent is performed from the same download archive as used for any fresh installation:
...
Overview
Content Tools