Introduction
The JS7 Product Knowledge Base includes a larger set of examples that are explained in a number of articles and JS7 - How To sections.
Examples are offered for download in the following formats:
- As .json files for upload to individual scheduling objects such as workflows and calendars which are managed from the JOC Cockpit's Configuration view..
- As .zip archives for import from JOC Cockpit's Configuration view.
- Instructions are provided in the JS7 - How to import .zip and .tar.gz examples article.
Upload of .json Files
Consider the following .json sample file of a Job Resource and which is available for download: Global-Variables.jobresource.json
- The sample file implements a number of global environment variables which can be assigned to workflows and jobs - for details see JS7 - Job Resources.
- File names indicate the object type: .jobresource.json, .workflow.json, .calendar.json, .schedule.json etc.
- Files include the JSON representation of scheduling objects which is the storage format for objects in JS7.
The upload procedure is the same for all object types.
Proceeding for Upload
Step 1: Create a new corresponding object
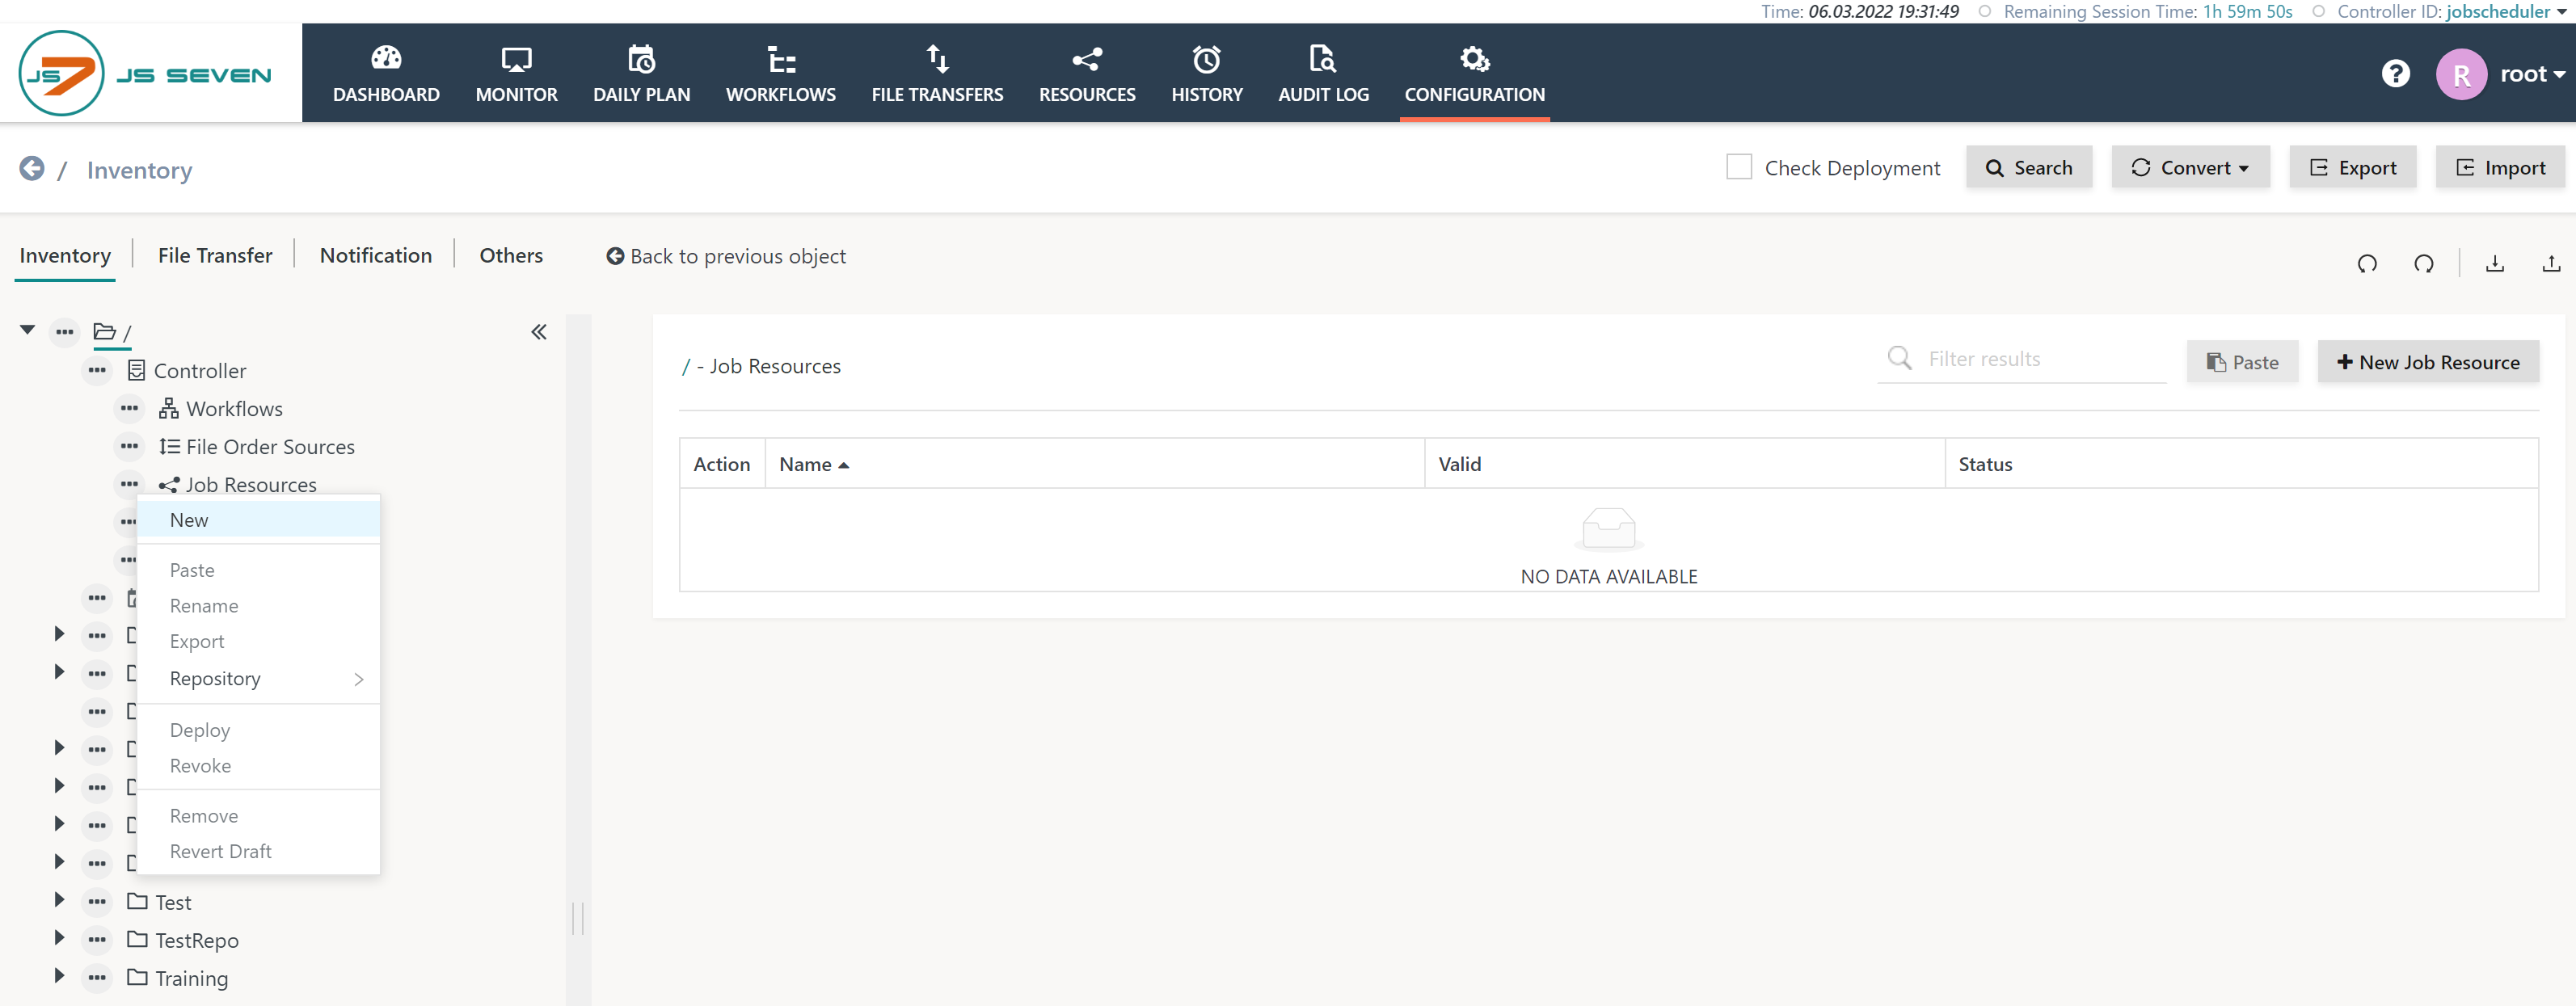
To upload a file navigate to the Configuration view and create an object of the corresponding type:
- In the left panel select a folder from the tree and use the
 action menu of the sub-folder that indicates the object type Job Resources.
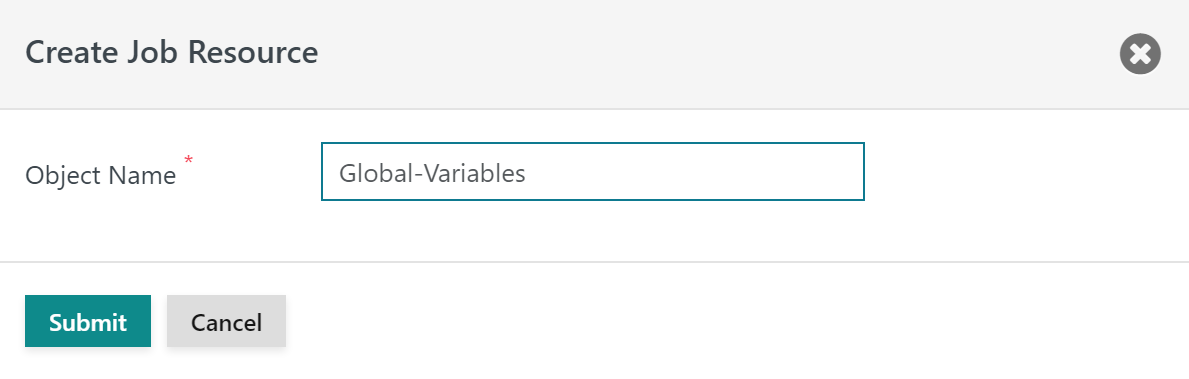
In a next step a popup window appears that asks for the object name like this:
- Enter an object name of your choice (within the scope of JS7 - Object Naming Rules).
- Apart from use of spaces most Unicode characters can be used.
Step 2: Upload the sample file
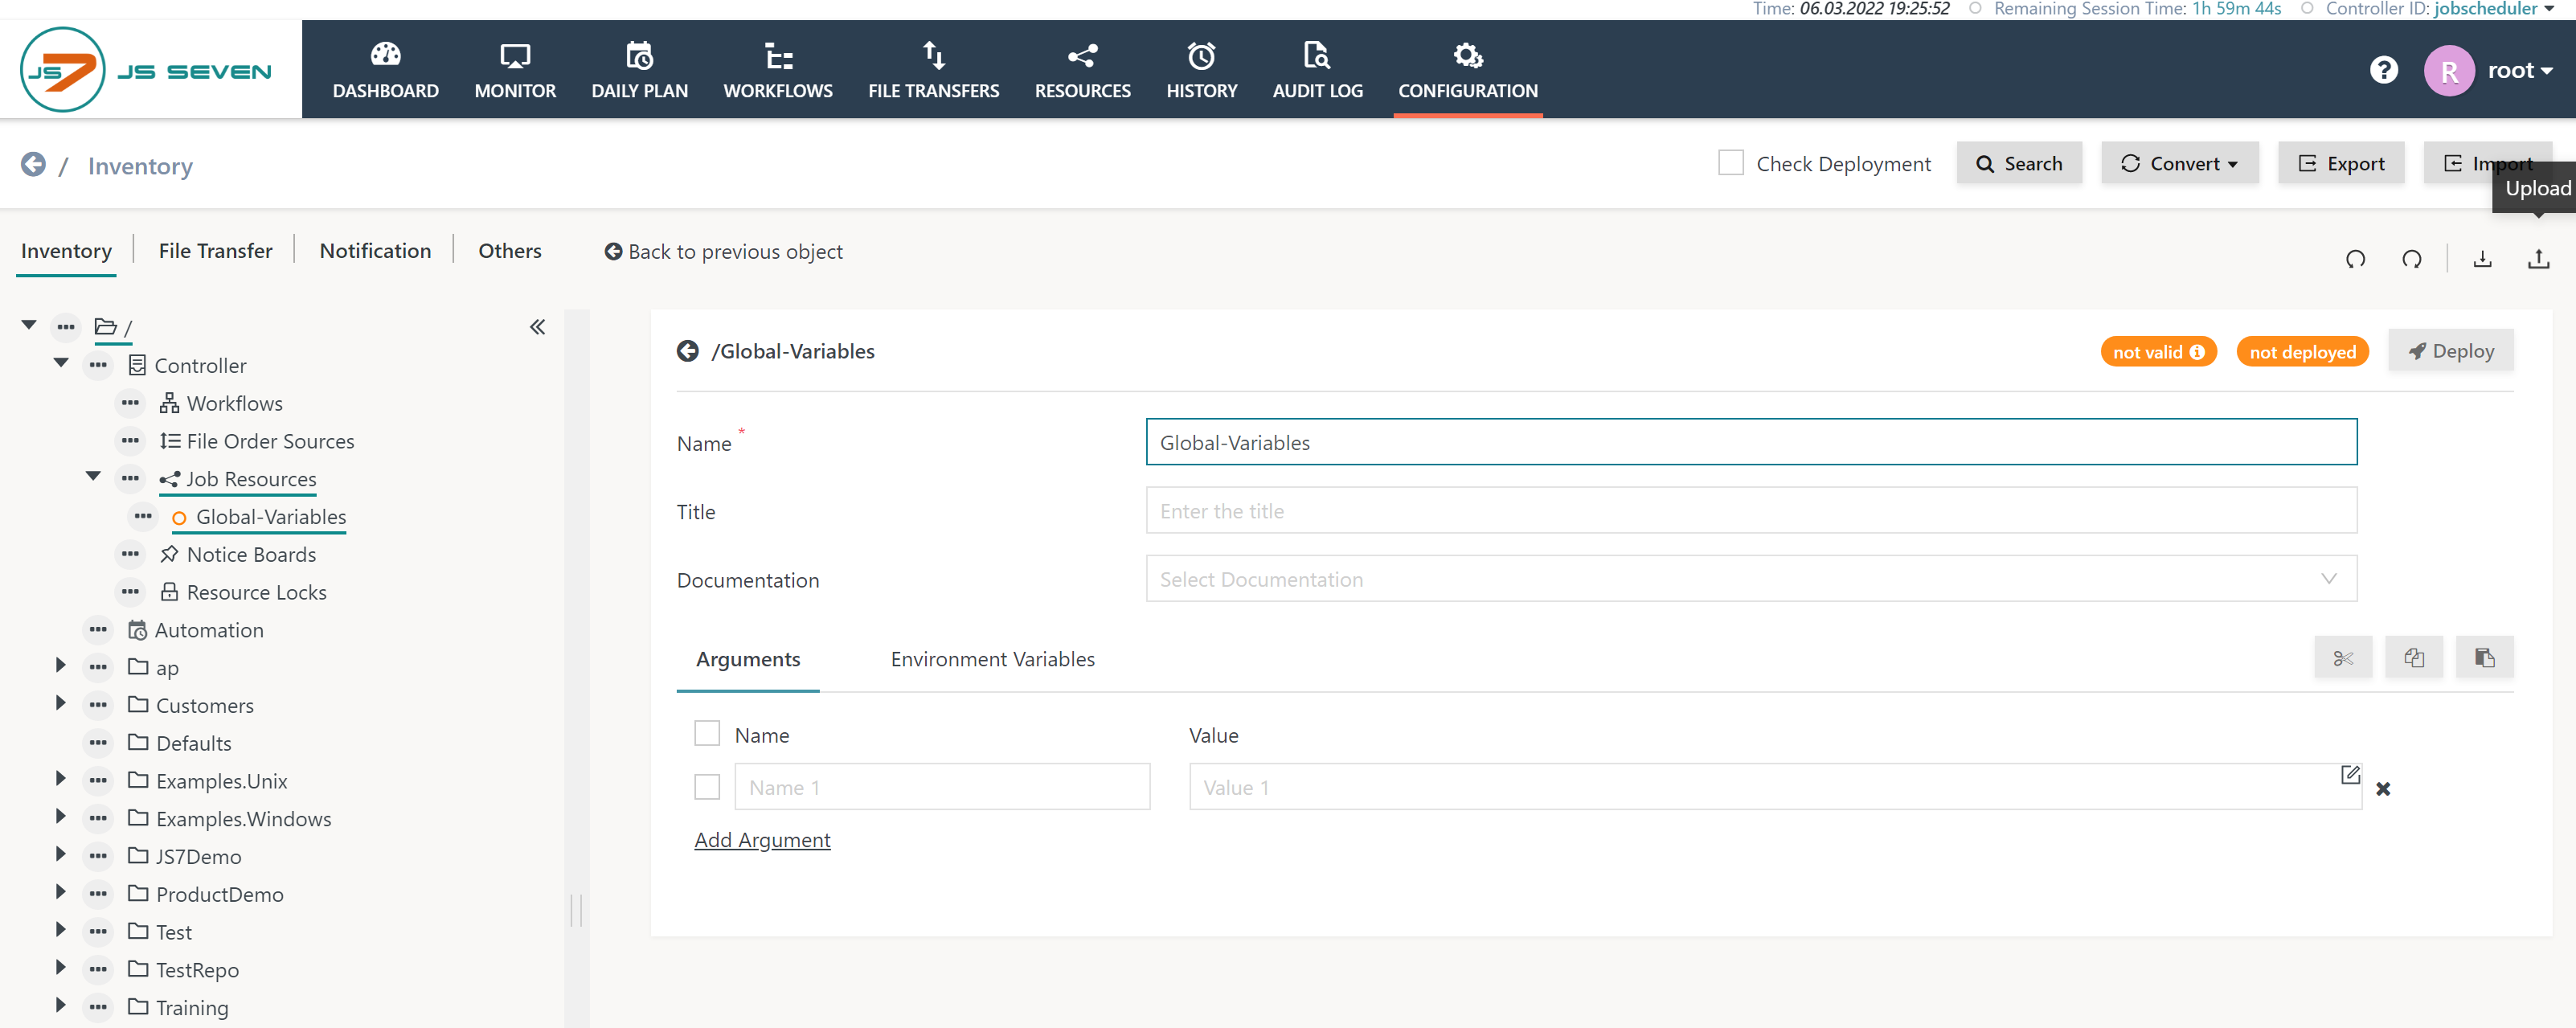
You now should find an empty object with the specified name.
- In the right upper corner you find the
 upload icon like this:
Having clicked the upload icon a popup window invites to select a file for upload:
- You can select a file from the Choose Files for Upload button and you can drag & drop files.
- With the file being selected the screen will look like this:
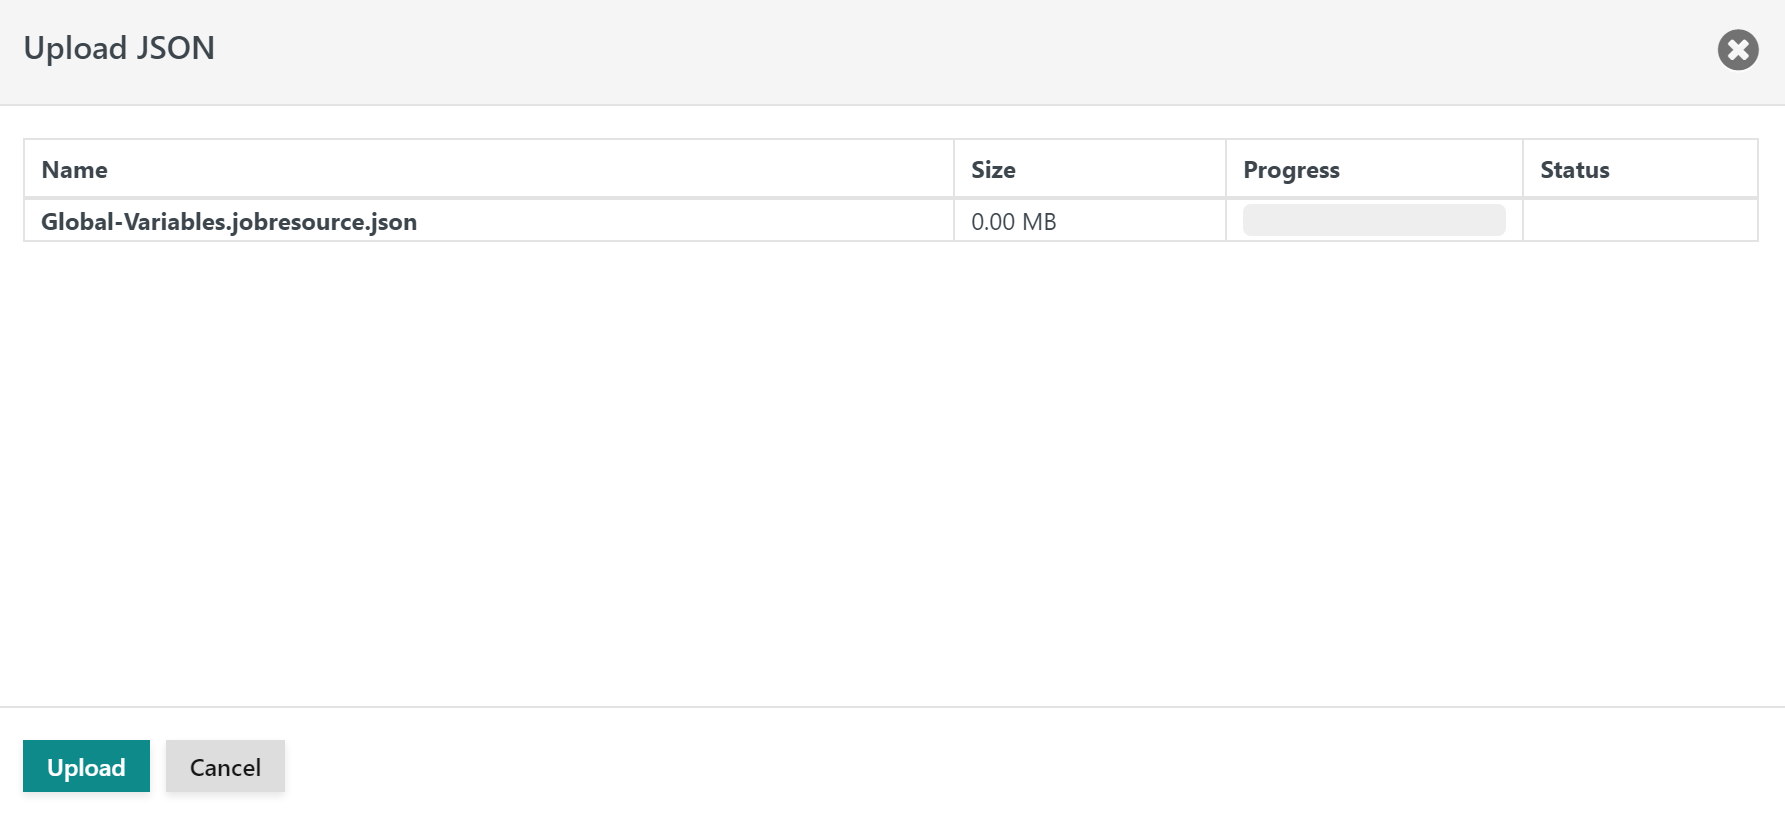
When clicking the Upload button the object on your screen will be replaced by the contents of the uploaded file.
Step 3: Find the updated object
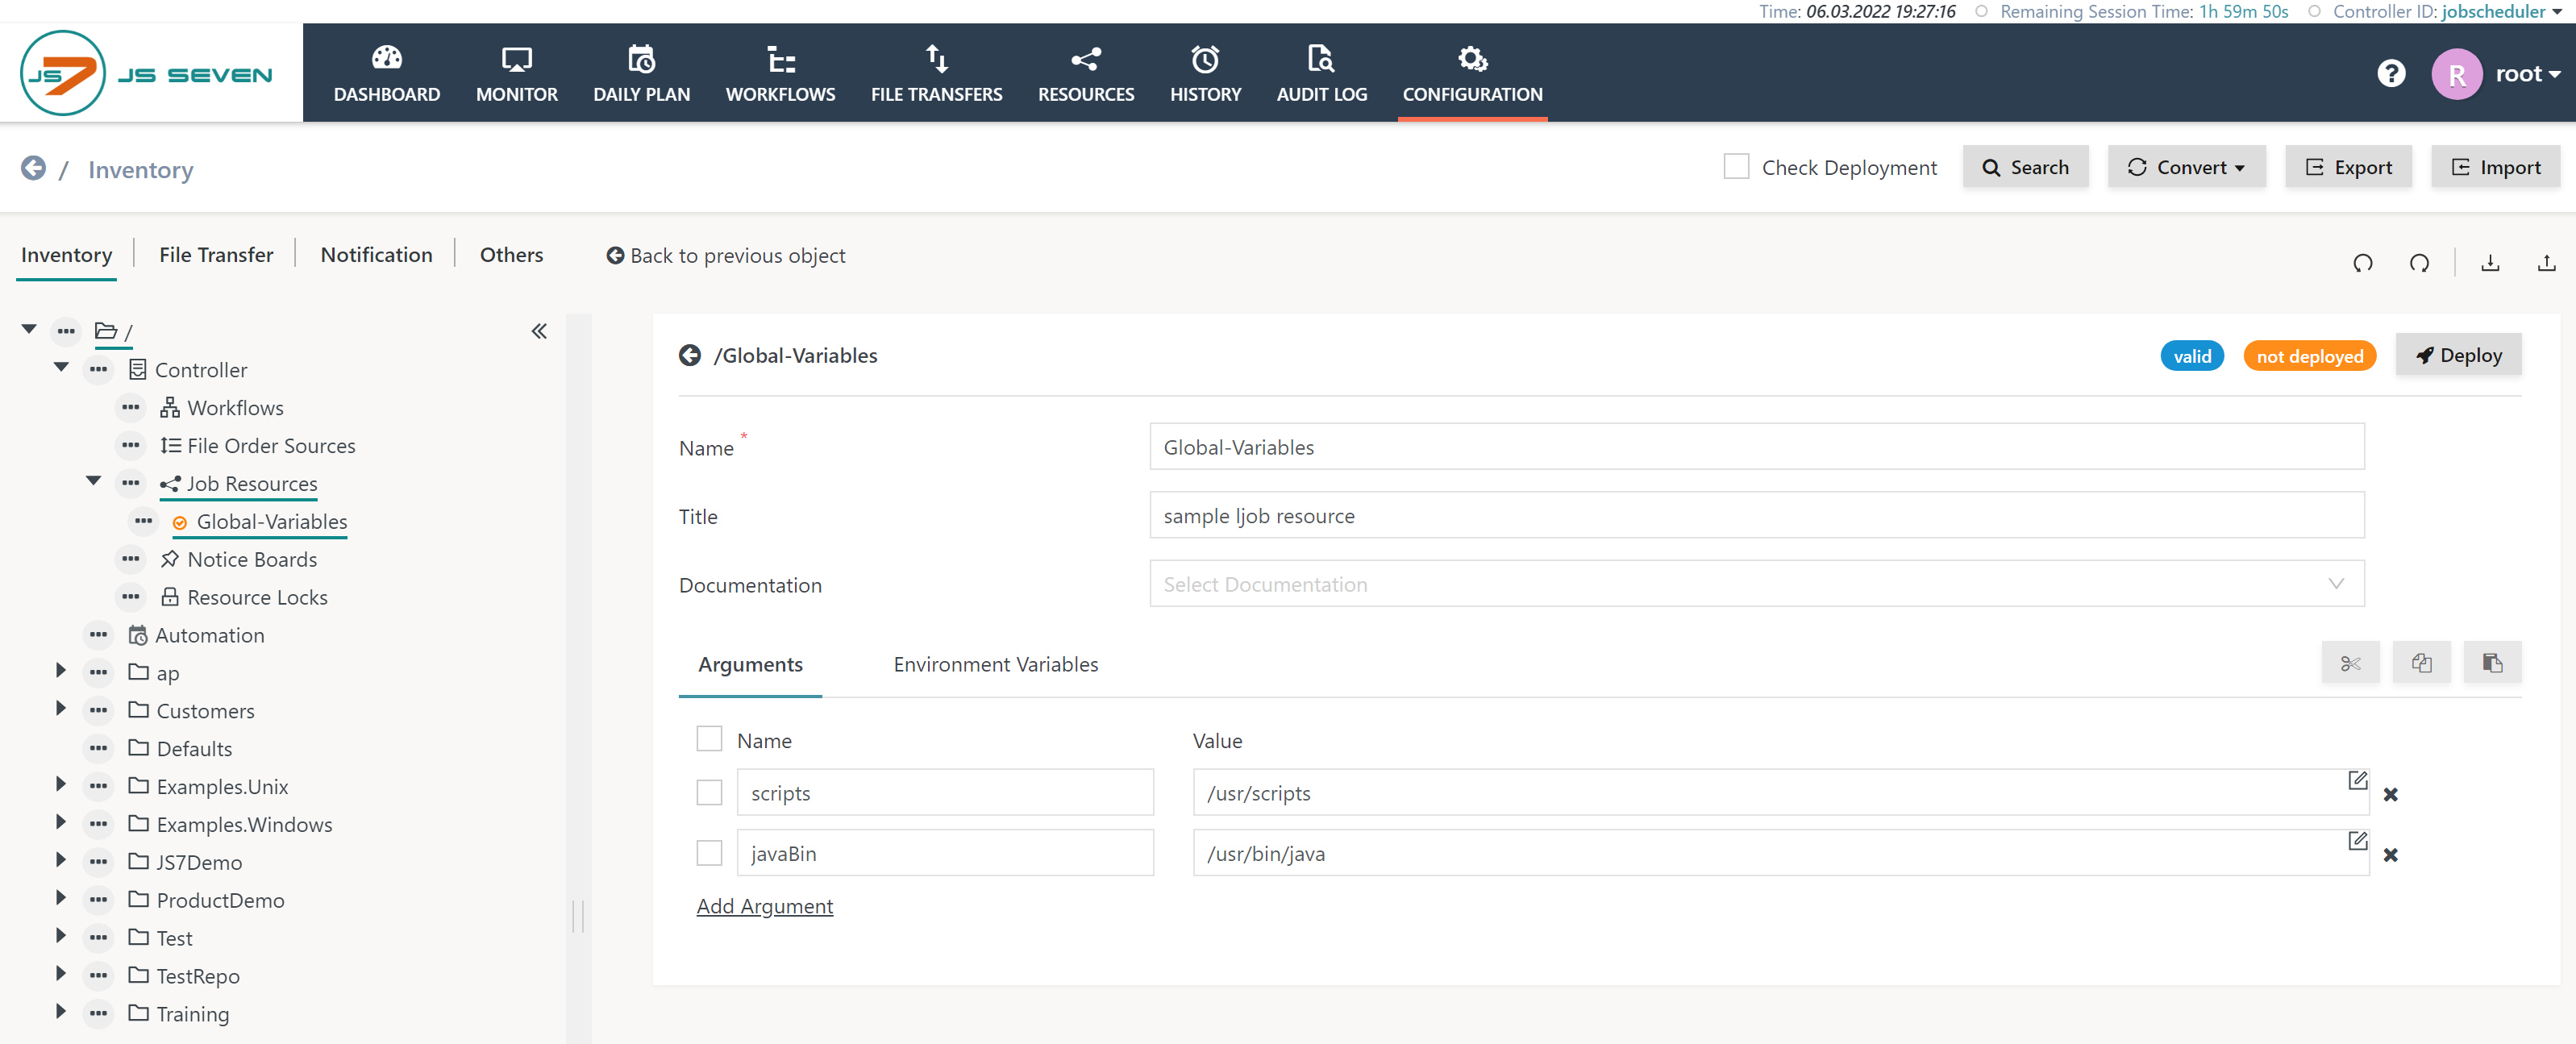
The resulting object should look like this:
Proceeding for Copy & Paste
As an alternative you can copy & paste the contents of a downloaded file like this.
- Create a new corresponding object as explained with Step 1 of the previous chapter.
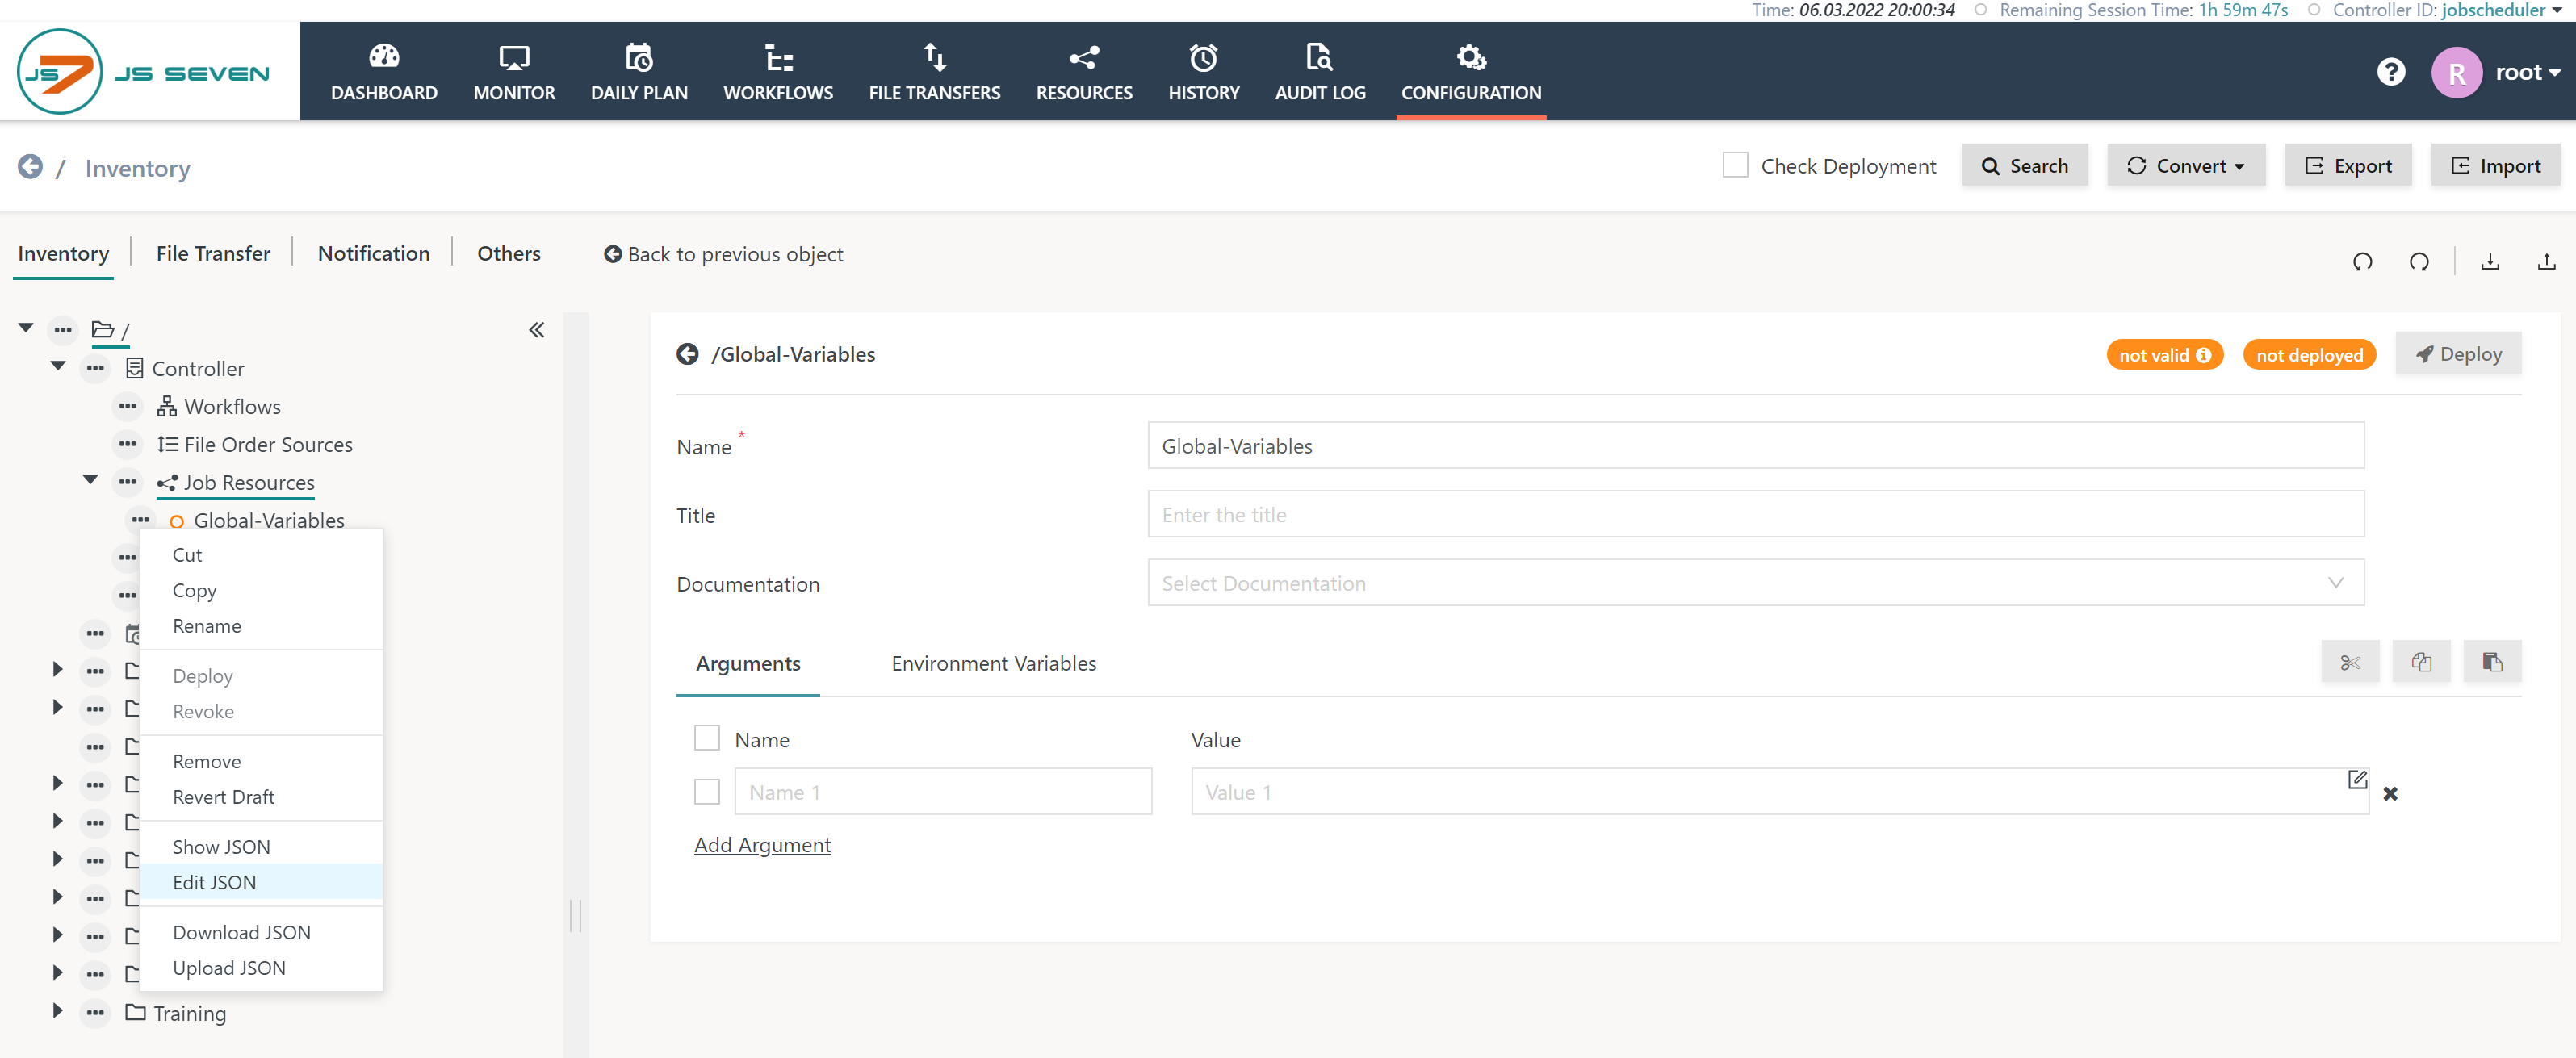
- Use the object's action menu and select the Edit JSON action like this:
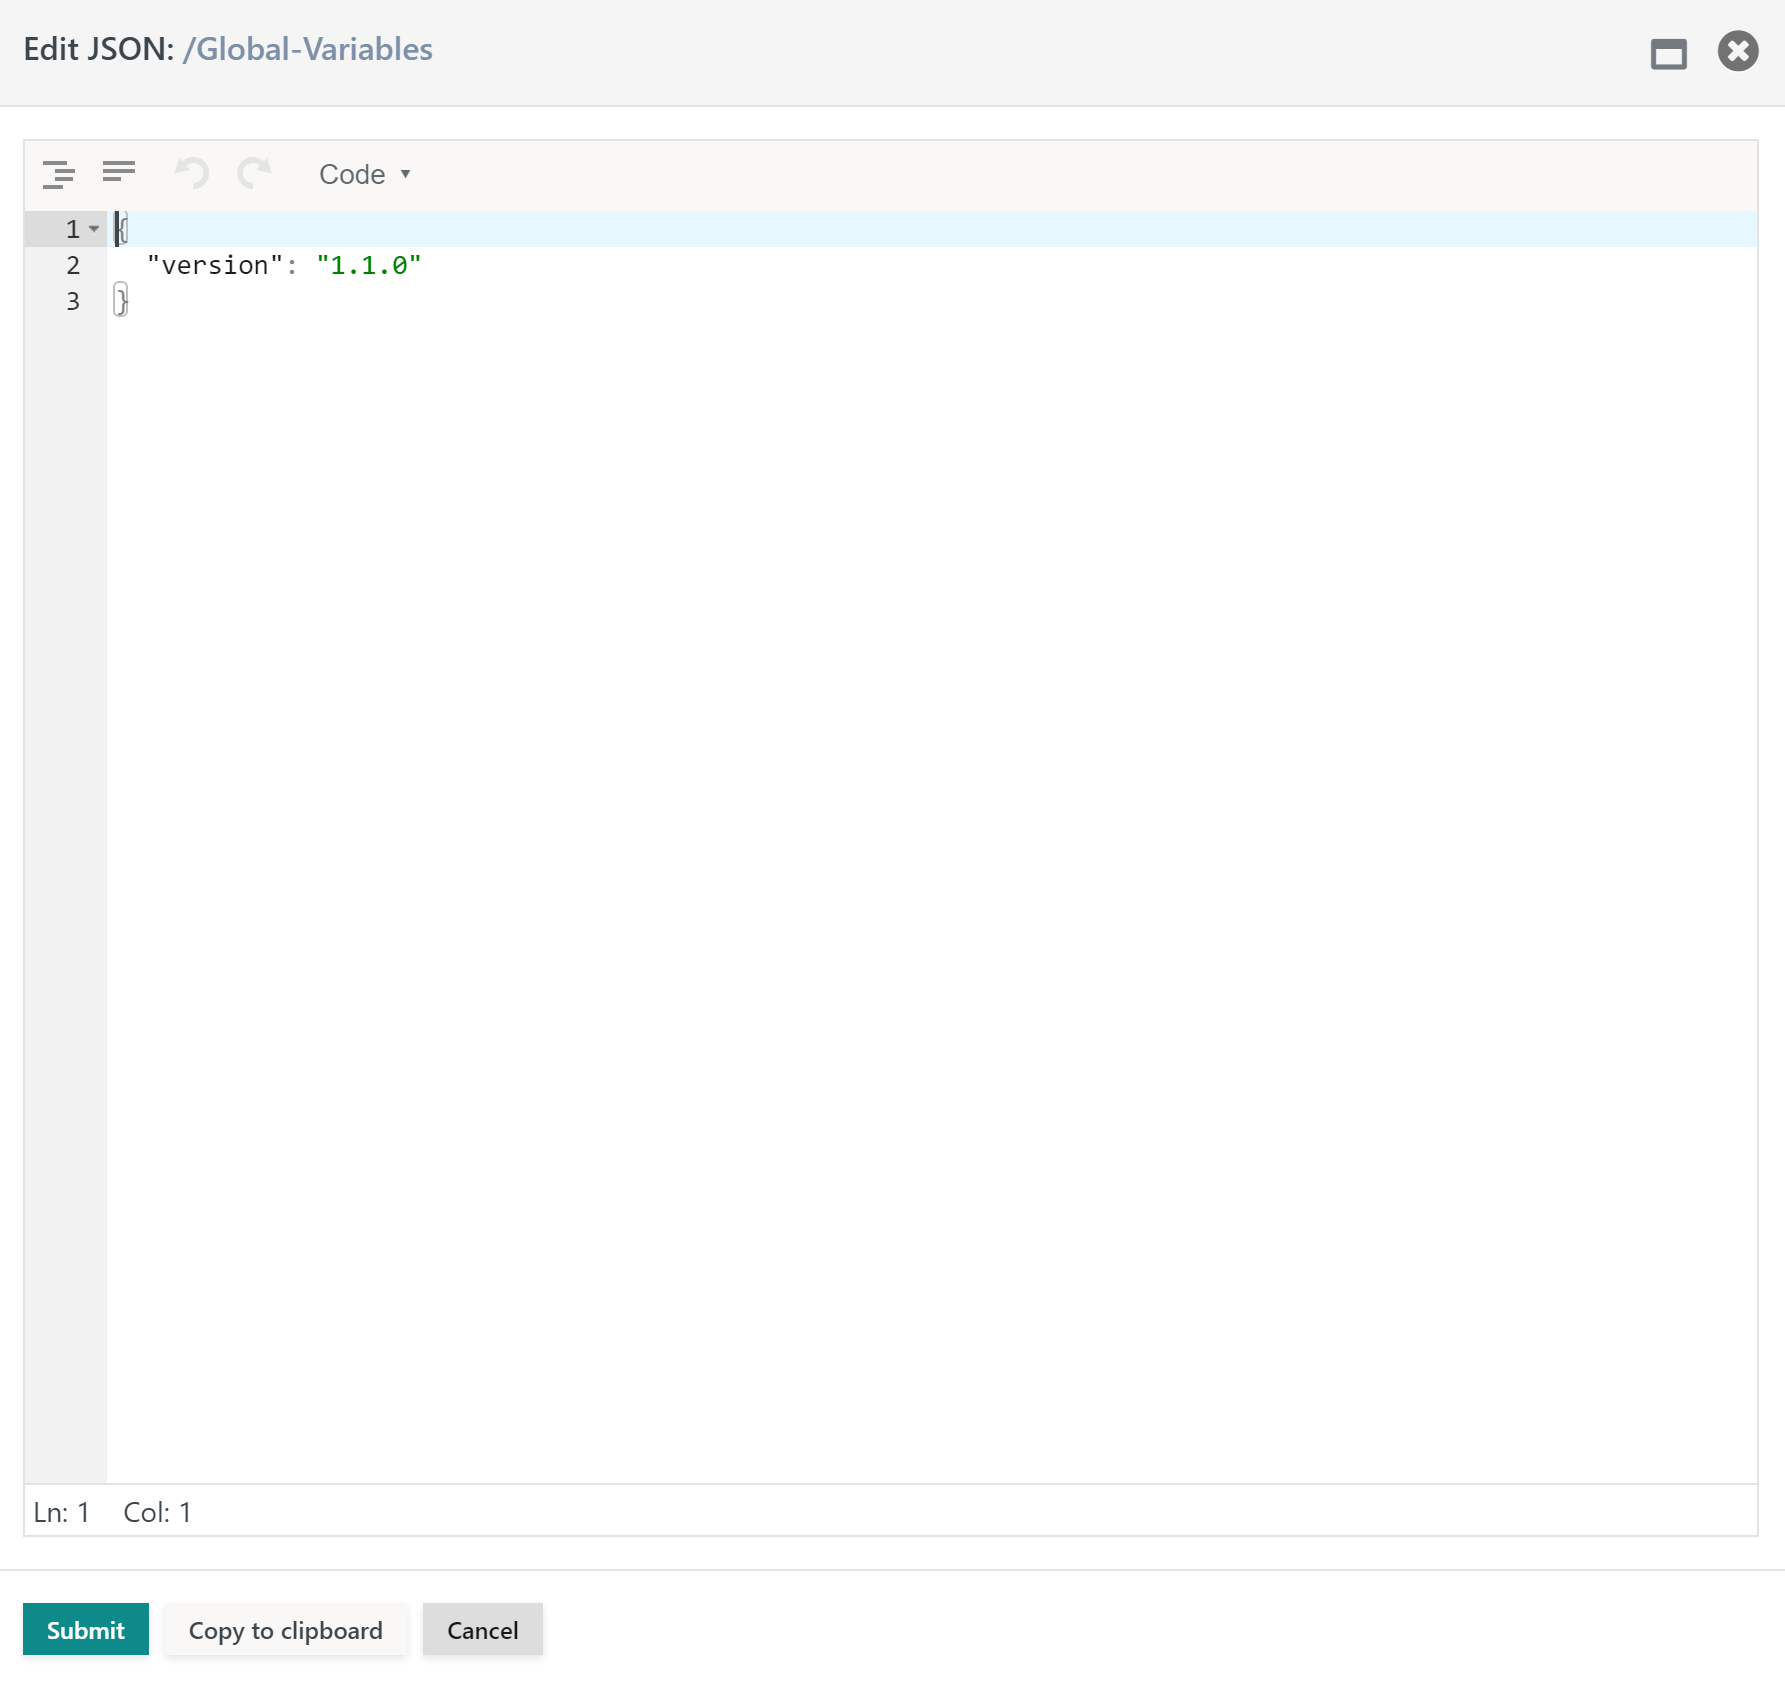
Subsequently a popup window is displayed for the JSON representation of the empty object like this:
Paste the contents of the download file into this window.
- You can open .json files with any text editor and paste to your clipboard.
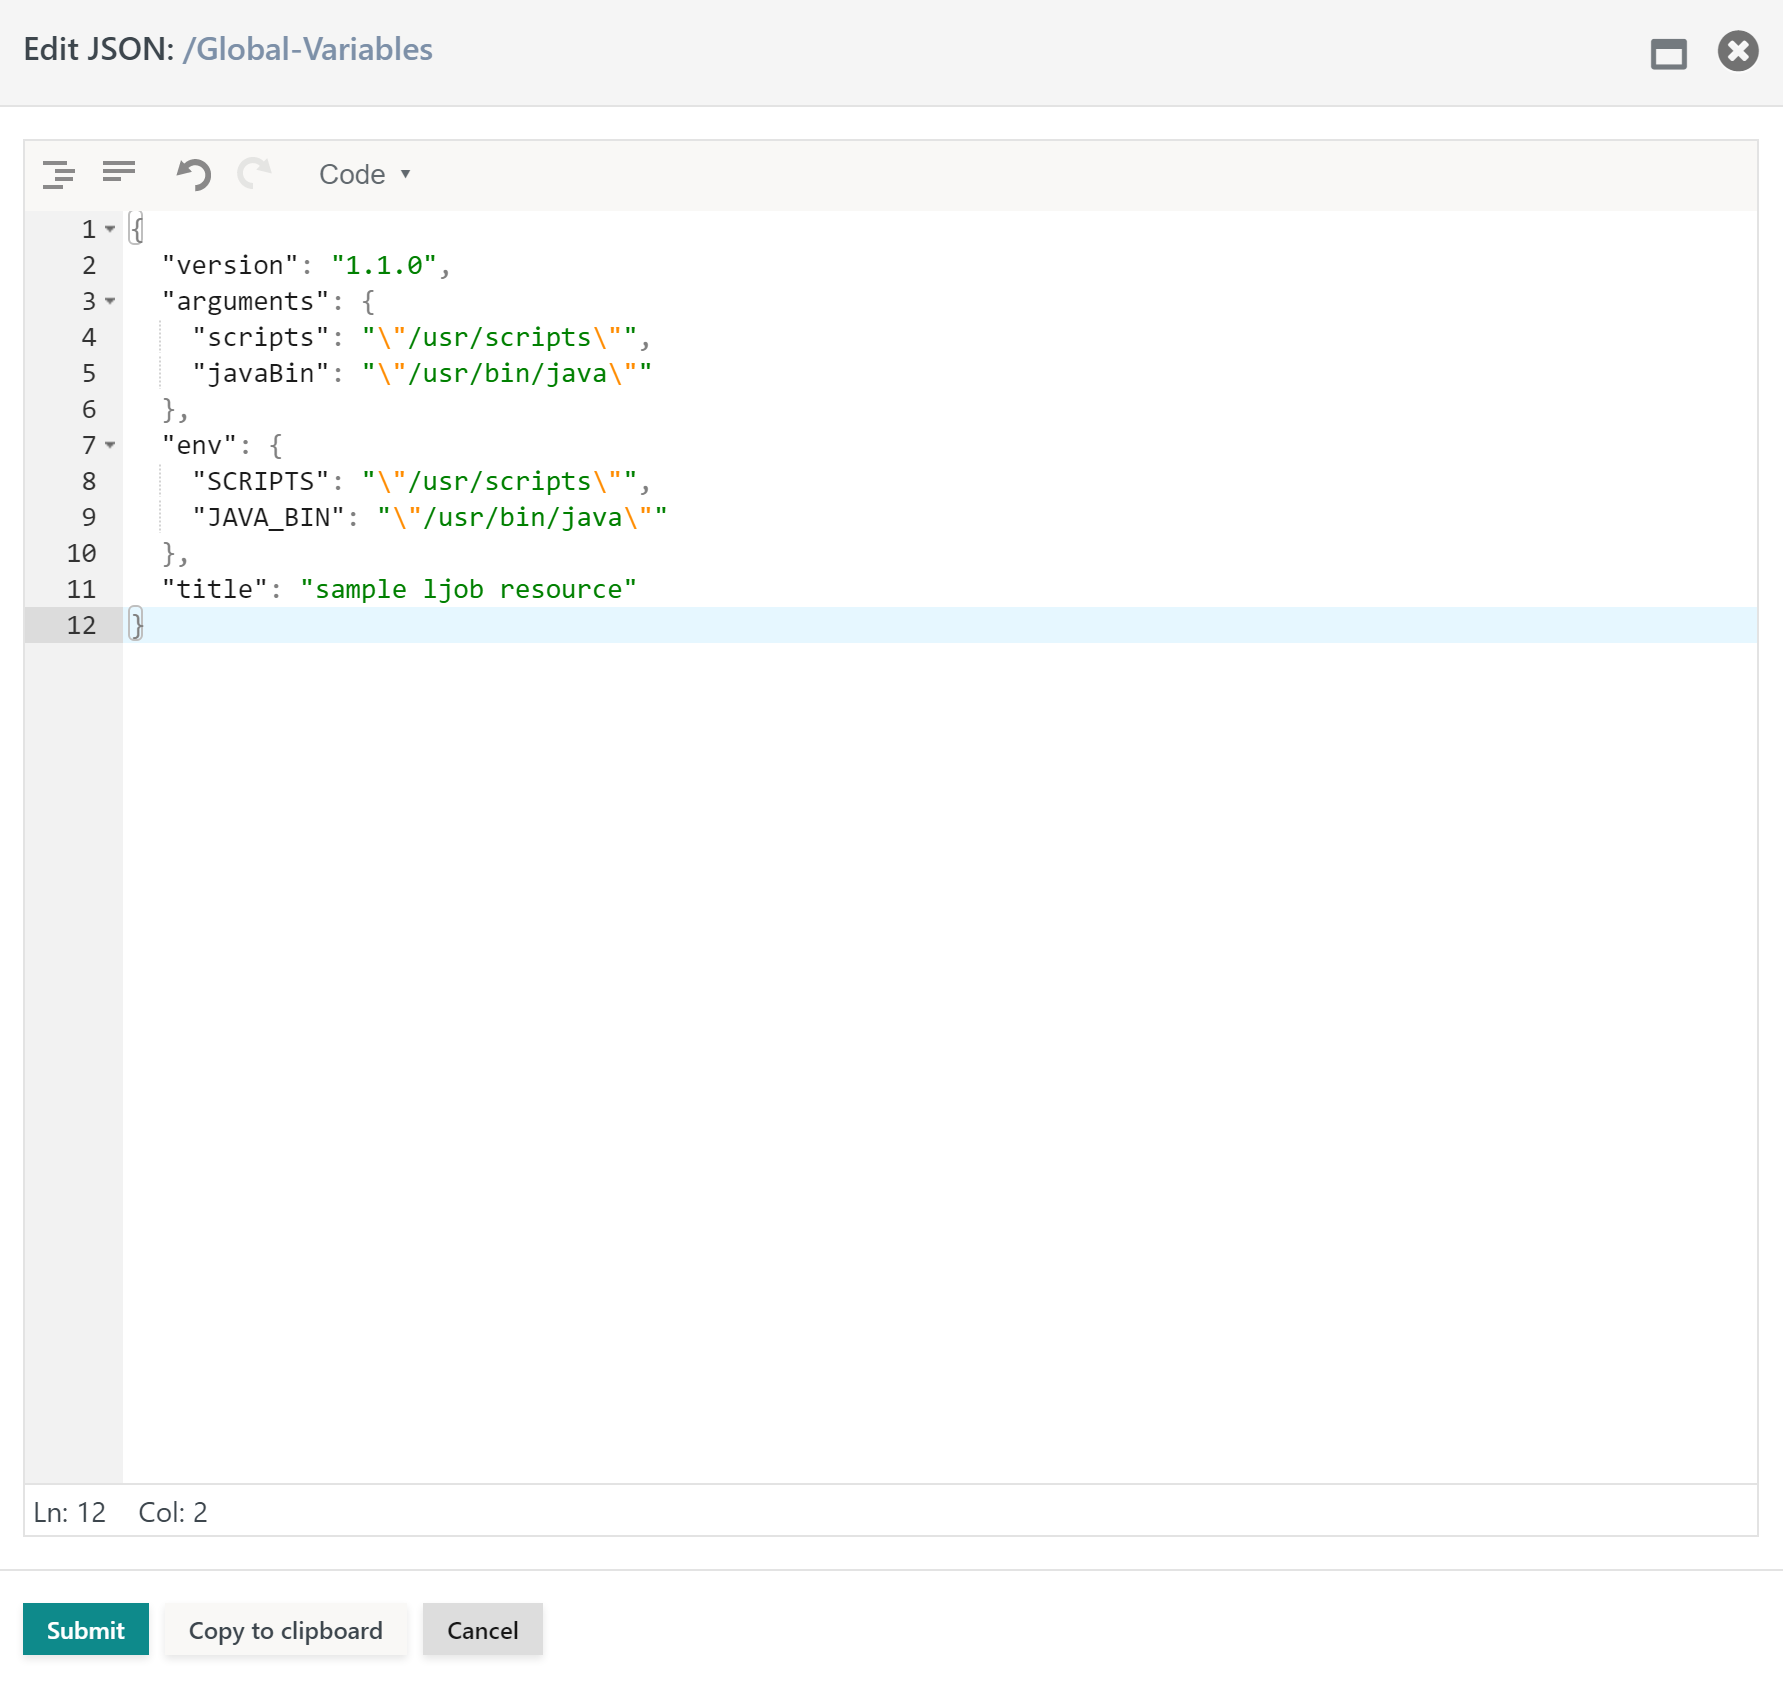
- After pasting the popup window should look like this:
After clicking the Submit button you should find the object has been updated and is visible as described in Step 3 of the previous section.
Overview
Content Tools